First things first, find a bus to convert. We found ours on Craigslist, but you can also search on facebook marketplace, ebay and at auctions. People also post buses for sale on forums like skoolies.net as well. Short buses like ours are harder to find and as a result usually more expensive than a full size bus.
Insurance, Title and Administrivia
Once you find a bus the next steps can be more frustrating than the conversion itself. These steps include finding insurance, getting the vehicle title changed (usually to a motorhome), and bringing your new baby home/finding a place to work on it. The rules for getting your bus retitled as a motorhome vary from state to state and though not technically required depending on what you want to do, having your vehicle re-titled as a motorhome can make change certain rules around where you can legally park can affect your insurance. We bought and registered our bus in Florida which had pretty lax requirements for changing the title. We just had to sign an affidavit that we had either 110-volt power, water plumbing or gas plumbing installed, and get an official weight. We see a lot of people registering their buses in Vermont as well. As for insurance, we ended up finding a policy with National General. We started with a liability policy for while we were converting it and they told us once we were done to provide them with pictures and a coverage amount and we could upgrade to full coverage. After completing our conversion in just under a year we called back and they no longer offer full coverage. It seems most companies will only offer full coverage insurance if your bus is professionally converted, if at all. As for bus storage, we were lucky enough to have a friend willing to let us park our bus in her backyard while we worked on it. This worked out for about 11 months until the City of Denver came to pick up a downed tree in the alleyway and noticed it at which point they told us to either pave the back yard or move it, per the city regulations. Luckily we were done with all the work at this point so we just moved it to a nearby storage area.
Starting the Conversion
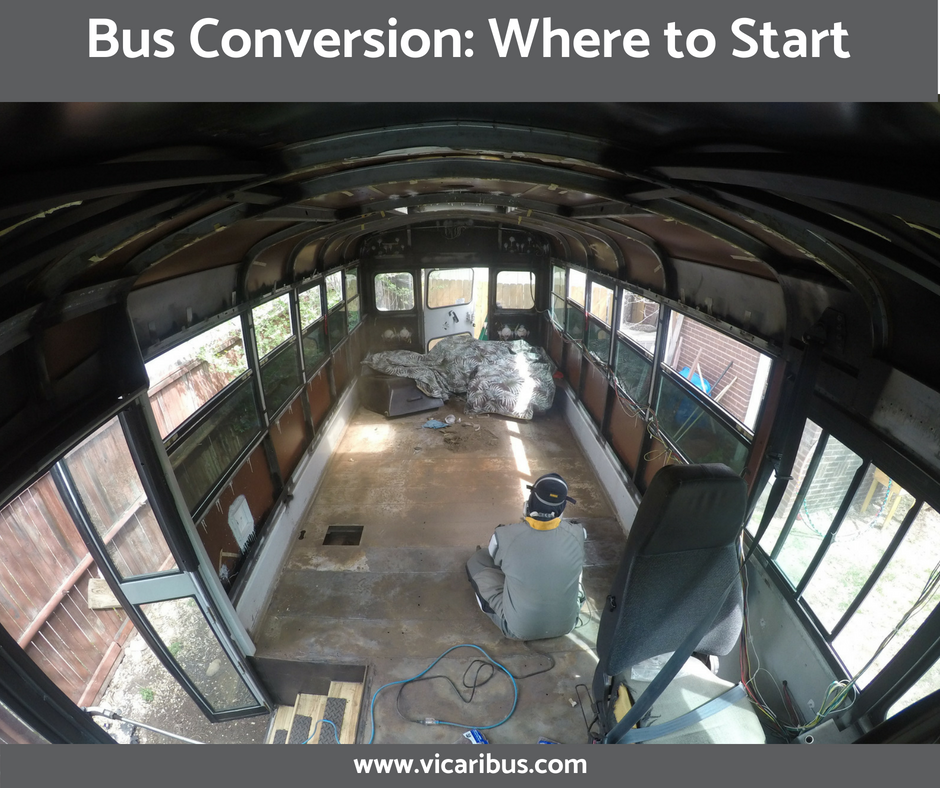
Once all the administrative stuff is out of the way, you get to start the actual conversion! The first steps are all demolition – you have to tear the bus apart in order to put it back together. This includes taking out the seats (luckily this was already done for us), ripping out the floor, walls, ceiling and the crappy old insulation that is under them. (And if you are like us, you may have to remove two perfectly functional A/C units.) Once you rip everything out, you’ll want to make sure to clean up any rust you find as well. These steps can be grueling, tedious, and boring, so some people skip this part and just start with the bus shell, but we wanted to ensure we wouldn’t have problems down the road, so we got down to the bare bones. We were actually good about blogging during this part of the conversion so see these links for more details: The Walls/Ceiling, The Floor, The A/C units.
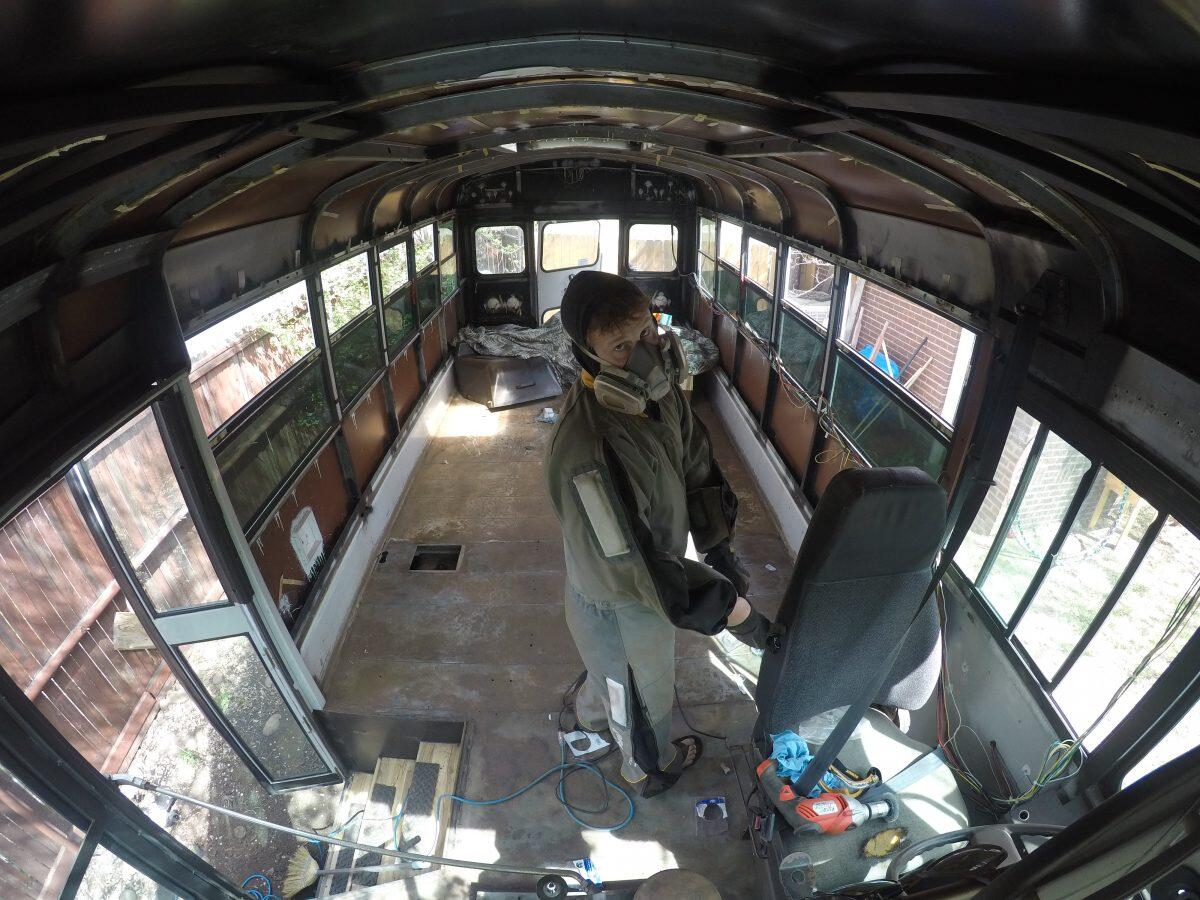
Empty Bus
Now that you’ve torn the whole bus a part, the next step is to put any holes in the bus that you need to. This includes holes for things like plumbing, propane lines, power lines, ventilation holes and whatever else you can think of. This is when we installed our Maxxair fan in our emergency exit hatch. We did this by building a frame out of sheet metal and attaching it to the interior roof of the bus and then putting the fan in that frame. The fan fits perfectly in the hole from the hatch and really helps to moderate the temperature in the bus as well as suck out fumes from various agents of the conversion process – and now that the bus is done, it sucks out the smells of every day living. This is also when we installed our water tanks and propane tanks under the bus and our rooftop deck on top!

Fan Install
Next, you have to start putting the bus back together. This includes building a new subfloor and putting in insulation as well as insulating the walls and ceiling. We chose to cover everything with plywood at this point so we would have a uniform blank canvas to work with. We probably could have skipped the plywood on the ceiling and gone straight to our tongue and groove boards, but we didn’t know what we wanted to use for our ceiling yet when were at this stage. We also have a great blog on this process.

Insulating the Floor

Putting the Walls Back Up
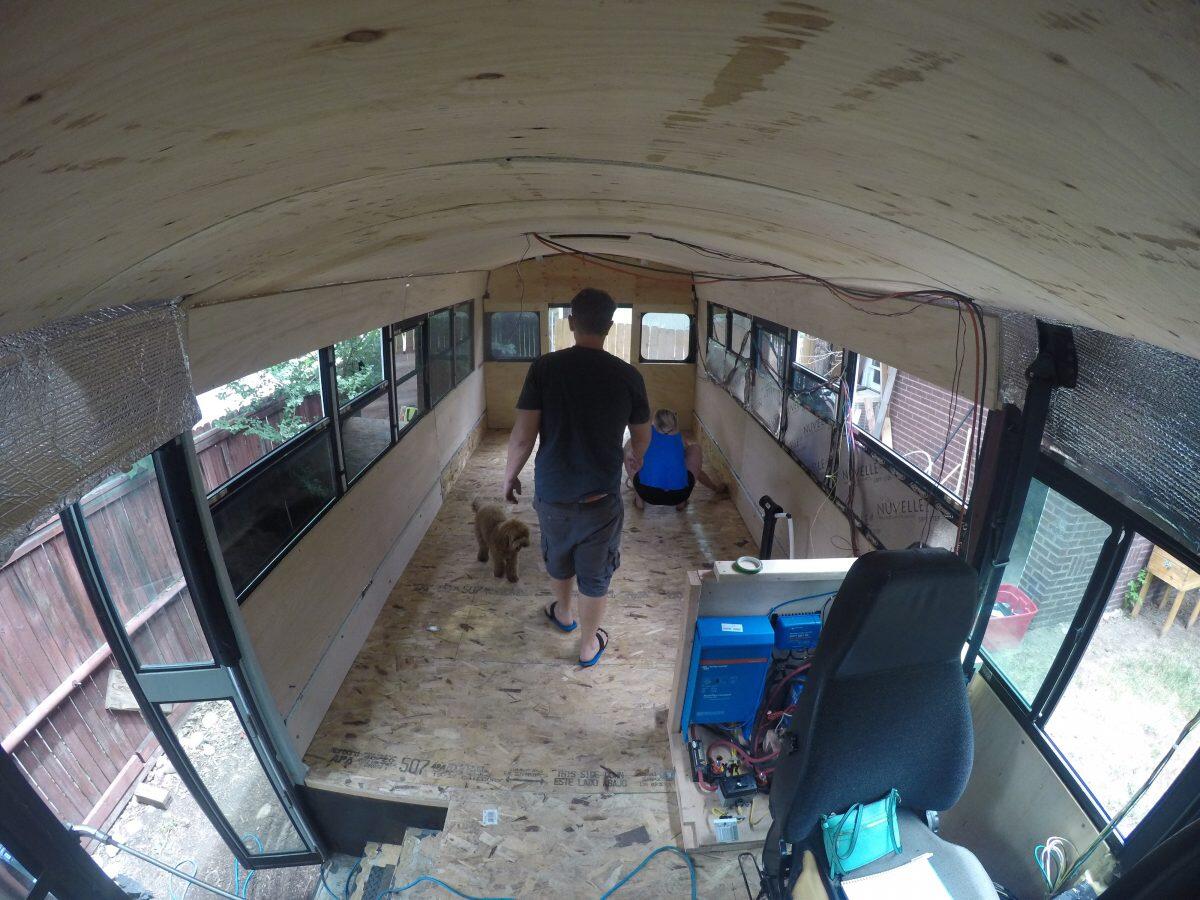
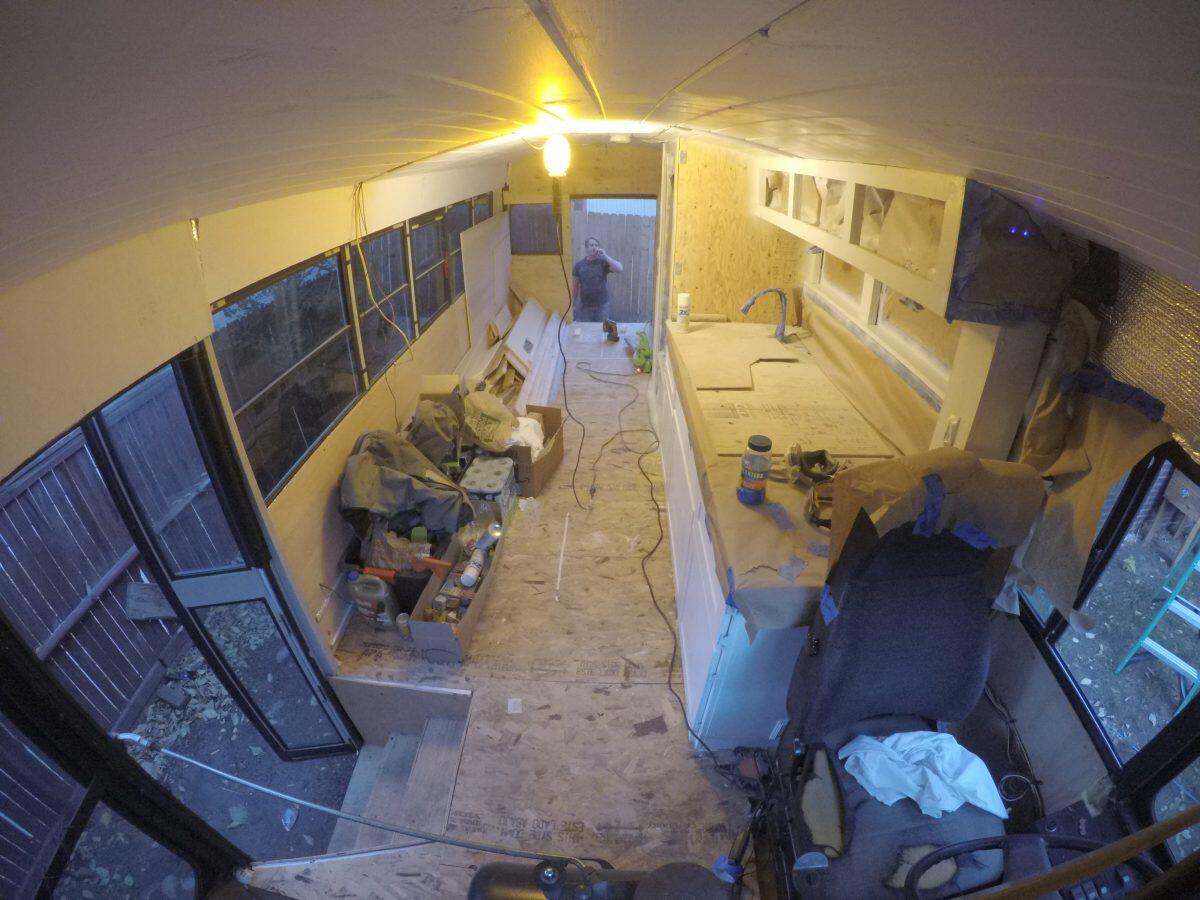
Blank Canvas – Floors, Walls and Ceiling!
Now you have a blank canvas to work with and the bus is your oyster (that’s how the saying goes right?) A lot of people choose to frame out their whole floor plan next, but we decided to build in sections instead. This gave us more working space in the bus and more time to figure out the specifics of how we wanted to do each section. The downside of doing it this way is that not everything in our bus ended up perfectly square or lined up, since things shift and move and bend some when you start screwing them together. We’re saying it gave our bus character, and unless you look very closely you can’t really tell.
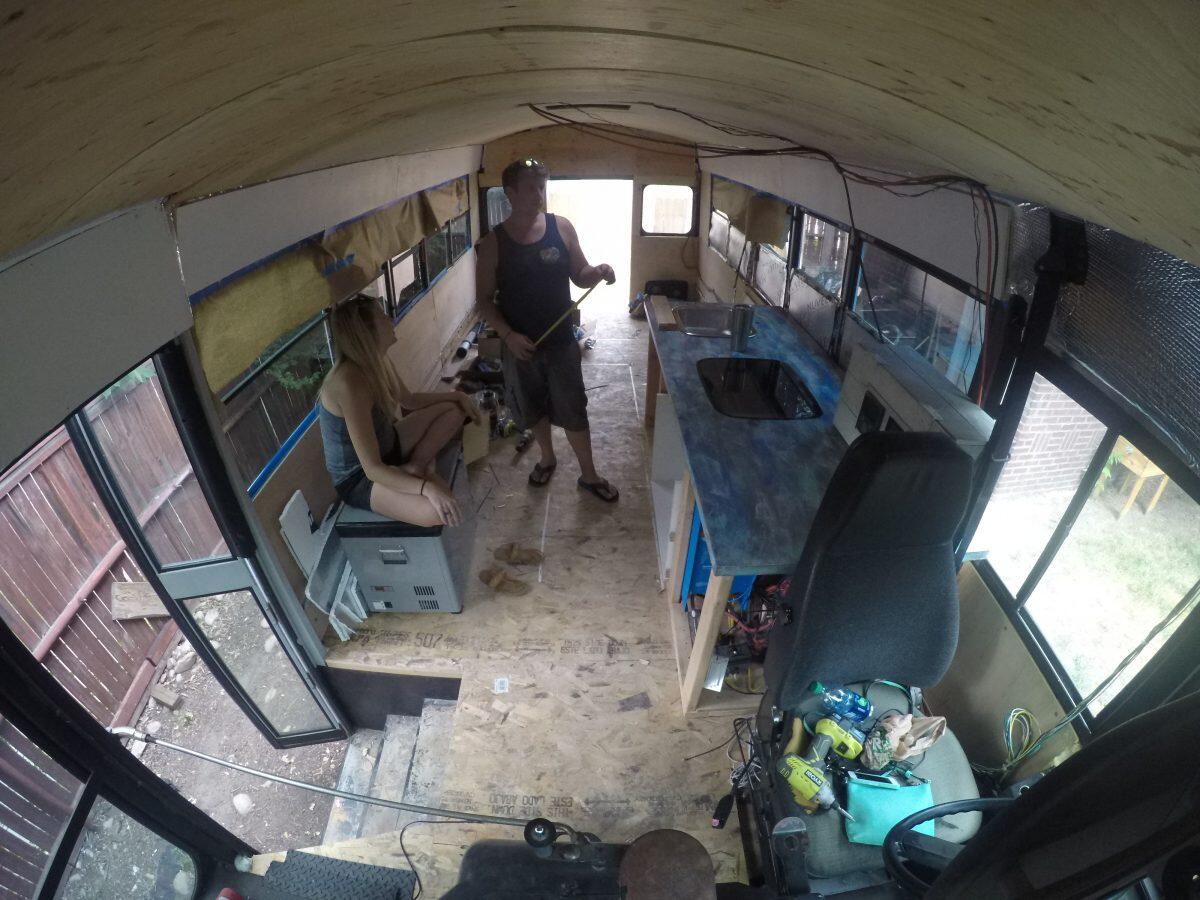
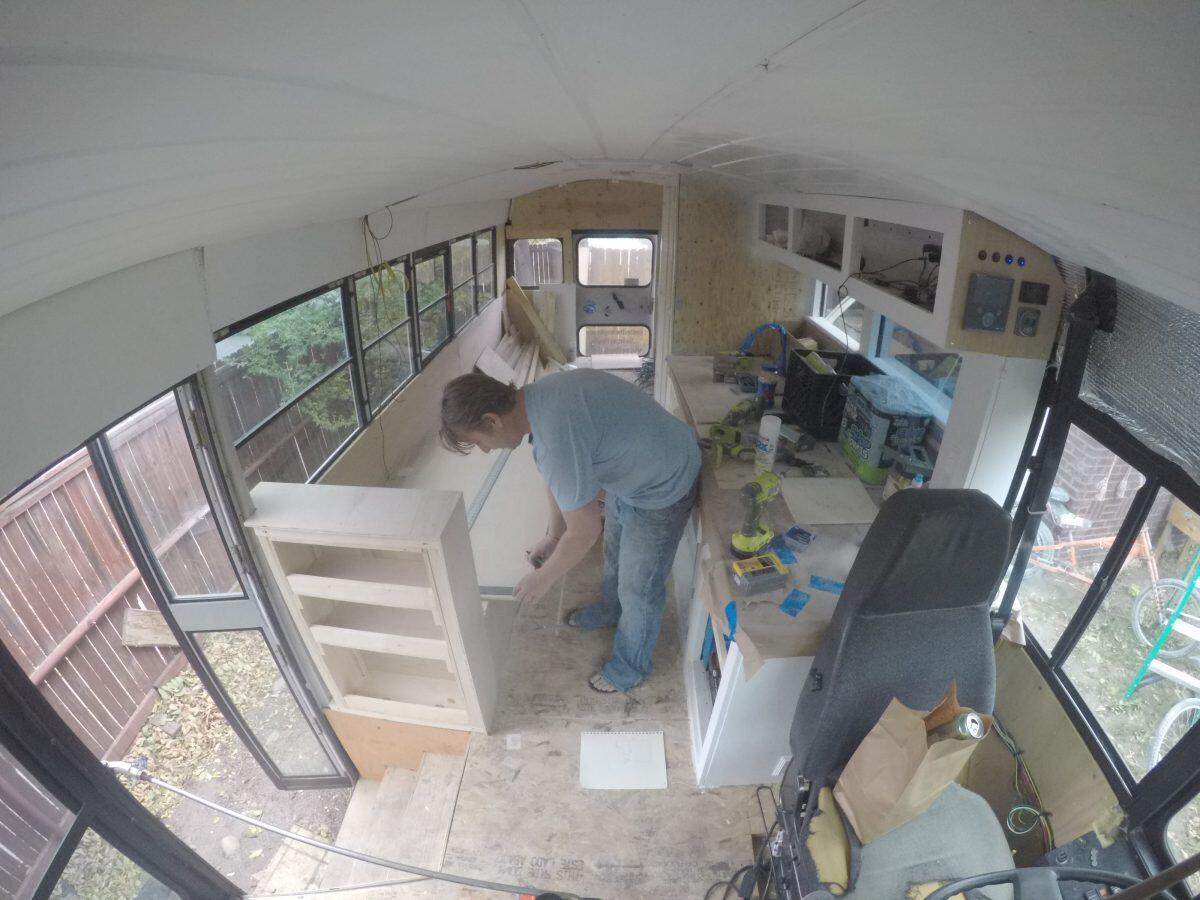
Bus With Beginnings of the Kitchen
We tried to knock out all the most complicated things first, so next up was the power system. From here we moved on to the kitchen and then the bathroom. Somewhere around this time is also when we decided to use tongue and groove boards painted white for our ceiling. We left one gap in the ceiling where we would later install an “arch” which is where all our wiring runs through, our LED lights are housed, and is conveniently where the lines between the two lengths of boards meet so that the ceiling seems seamless.
Kitchen, Bathroom and Ceiling Boards
Once we finished the kitchen and bathroom, it was pretty smooth sailing as there was no more plumbing to worry about or propane lines to run. Next, came the living area and the dashboard area which was mostly just carpentry work. Last, was the bedroom which was also fairly straight forward.
Starting to Look Like a Home
After that, it was all about the details – couch cushions, curtains, finding storage bins that in our tiny weird shaped spaces, decorating and getting rid of 85% of the items in our apartment.
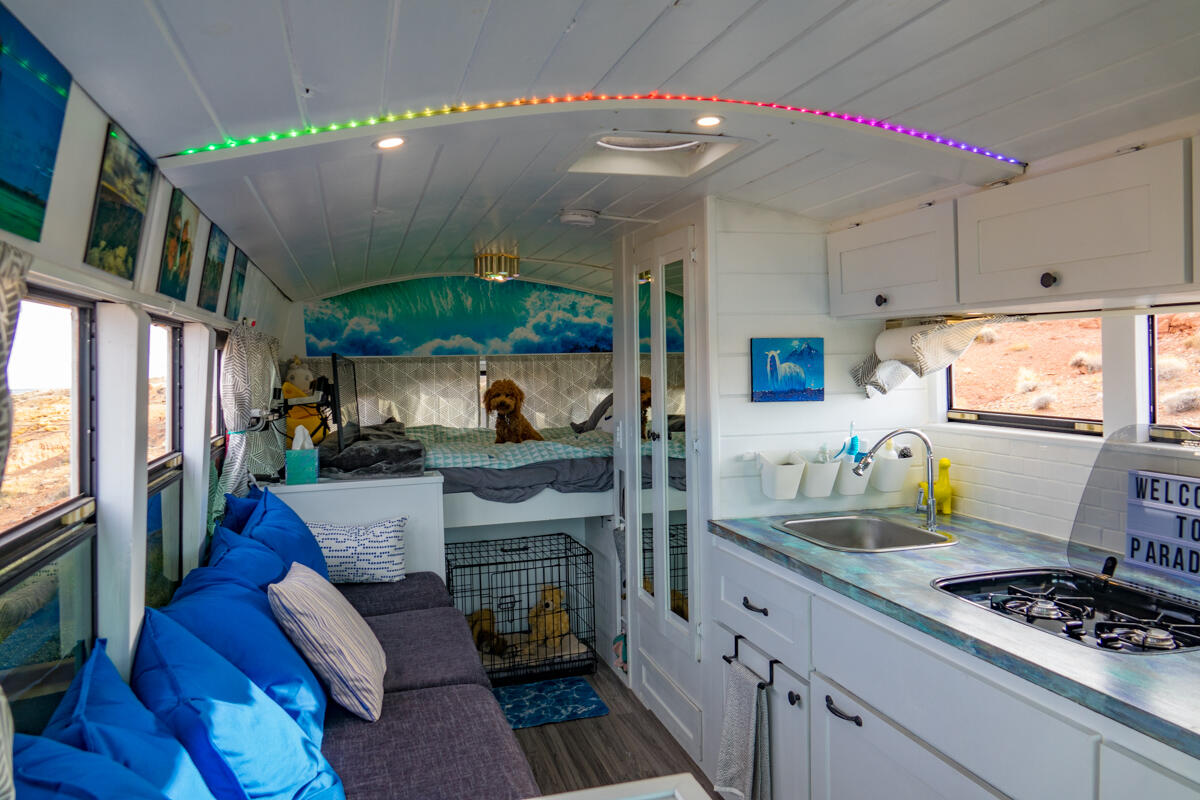
Finished Product!
To return to Our Complete Bus Conversion Guide click here.
Completed Conversion Tour
You can see a full set of photos from the completed conversion here, and you can see a video tour of Vicaribus below.
We hope you enjoyed reading this post and now feel more like you too know what it’s like to live in a bus. If you would like to keep feeling this way, subscribe to our email updates and we will let you know when we make new posts for your vicarious pleasures. Just full out the form below and click subscribe!