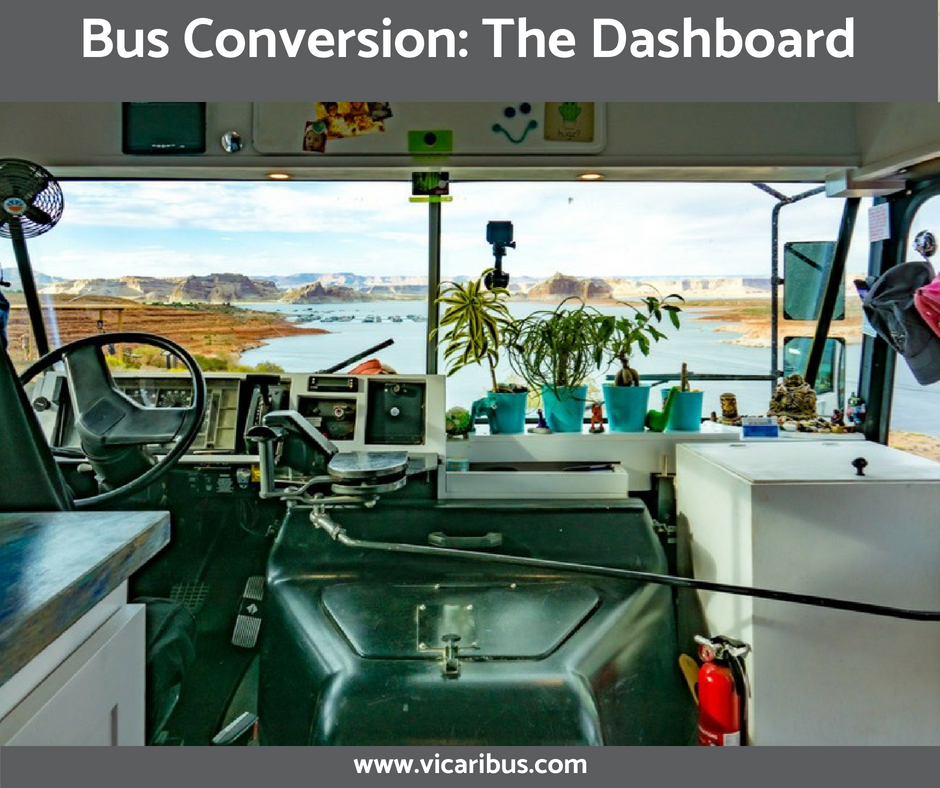
The dashboard and entry area are often overlooked in skoolies. In fact, we had a hard time sourcing inspiration for ours. We didn’t want to look back into the bus and have it be homey and complete and then look forward and have it be a rusty old bus mess.
When you first walk in you are confronted with our “foyer” if you will. Here we have two separate storage compartments. The large one towards the front window is filled with shoes (we definitely brought too many shoes) so they are right by the door for easy on and off without tracking a mess into the bus.
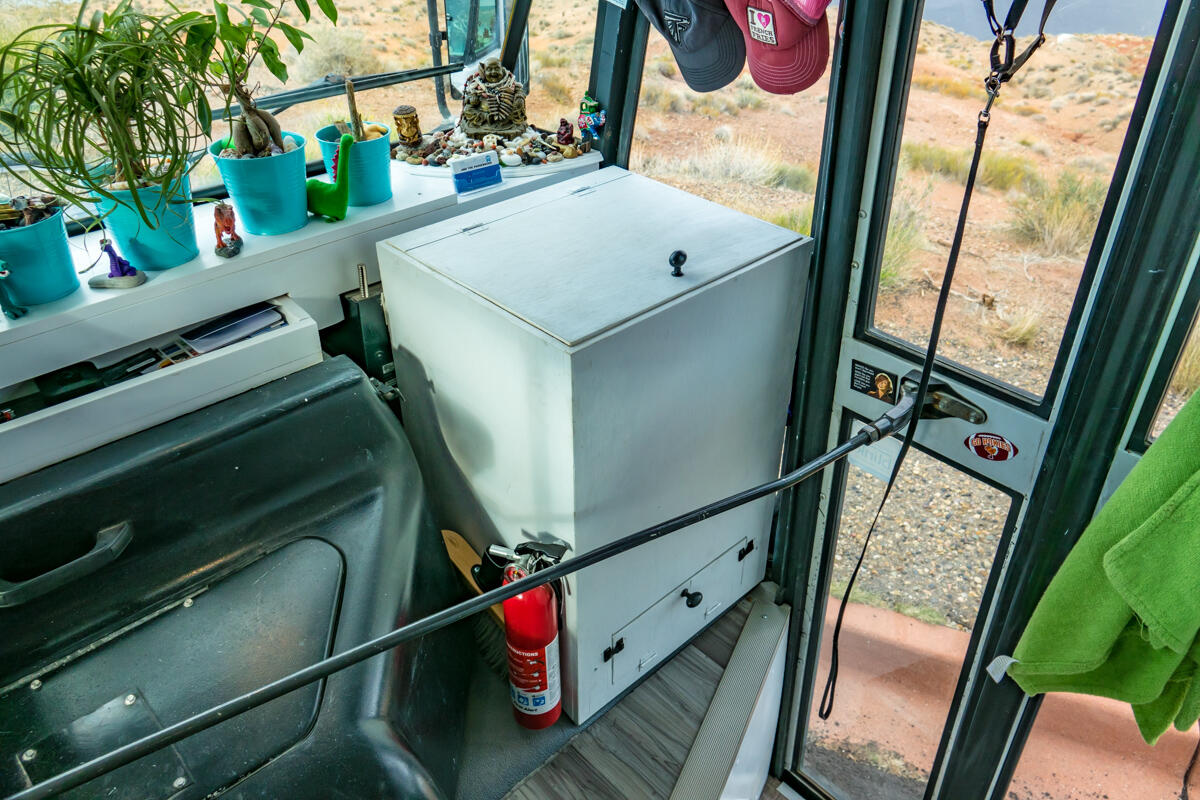
The Shoe Cubby That Looks Like a Trashcan
On the left, there is a cabinet that opens up and has 3 shelves inside that also serves as the arm rest for our couch. This is where we store things like sunscreen, bug spray, poop bags, coozies, flashlights, umbrellas – things that you would grab out of the bus real quick and use outside. We used small latch closures on this cabinet so that it would stay shut while driving, but our bus shakes enough that the clasps bounce off, so we’ve resorted to just putting a rubber band around the knobs which works like a charm.
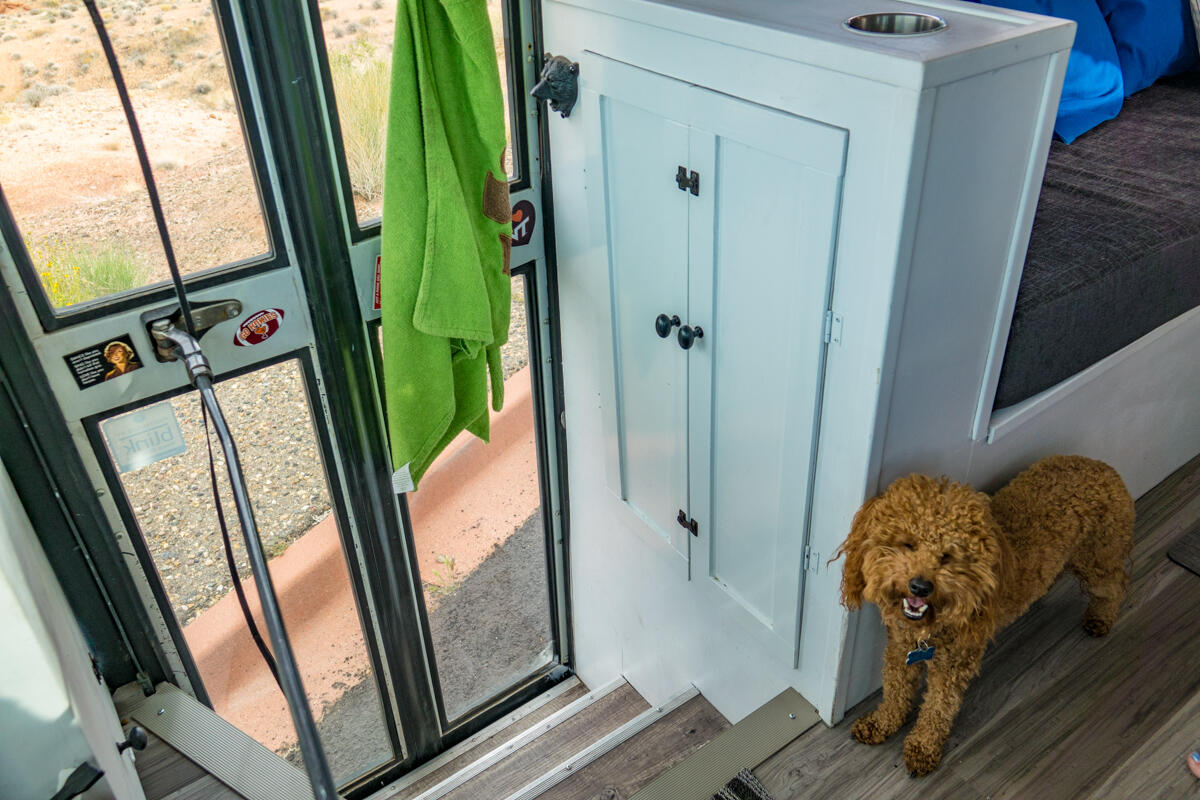
Miles Posing With the Cabinet
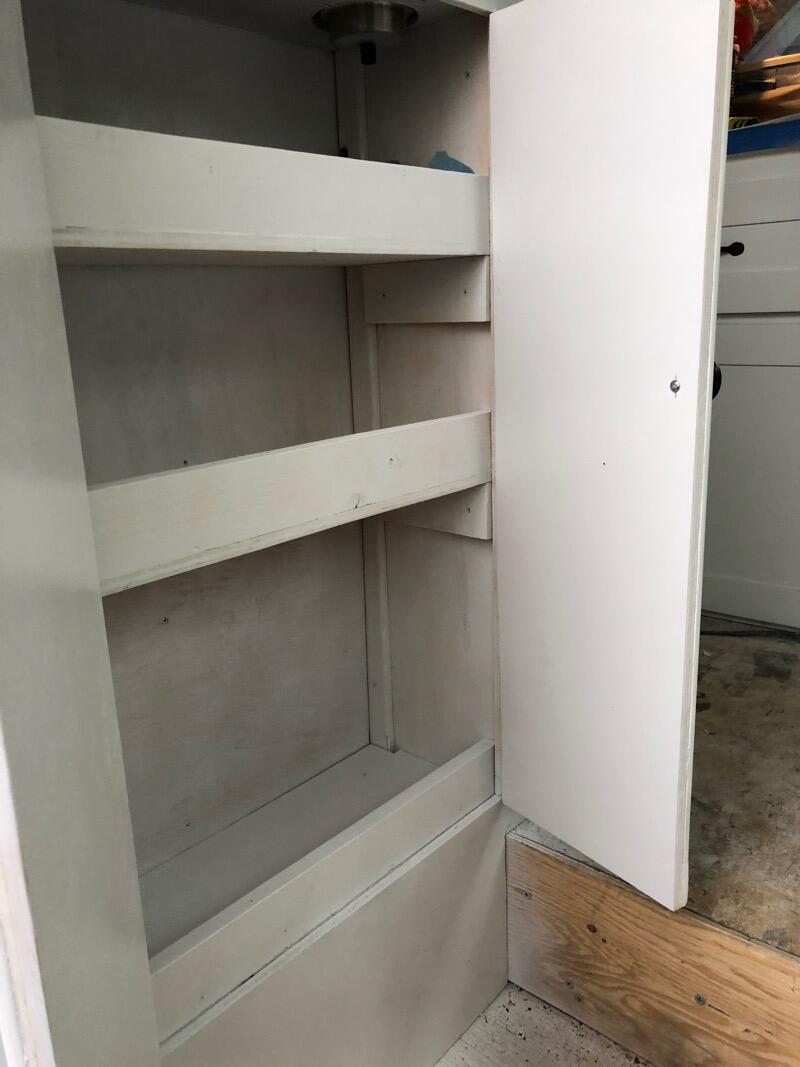
Inside the Cabinet When it Was Empty Before Paint
The stairwell was another fun project. We lined both the sides and the bases of the steps with plywood to seal in our insulation. We tried a few different things for the steps (some rubber sticky stuff, some door mats), but ultimately decided to put some flooring pieces down. We did not have any of the grey vinyl left over from the rest of our floor but we found some that were pretty close at a resale store. If you look close you can see the difference, but most people don’t notice at all. We then used some metal stair edge that we found at home depot to complete the look and hold everything in place.
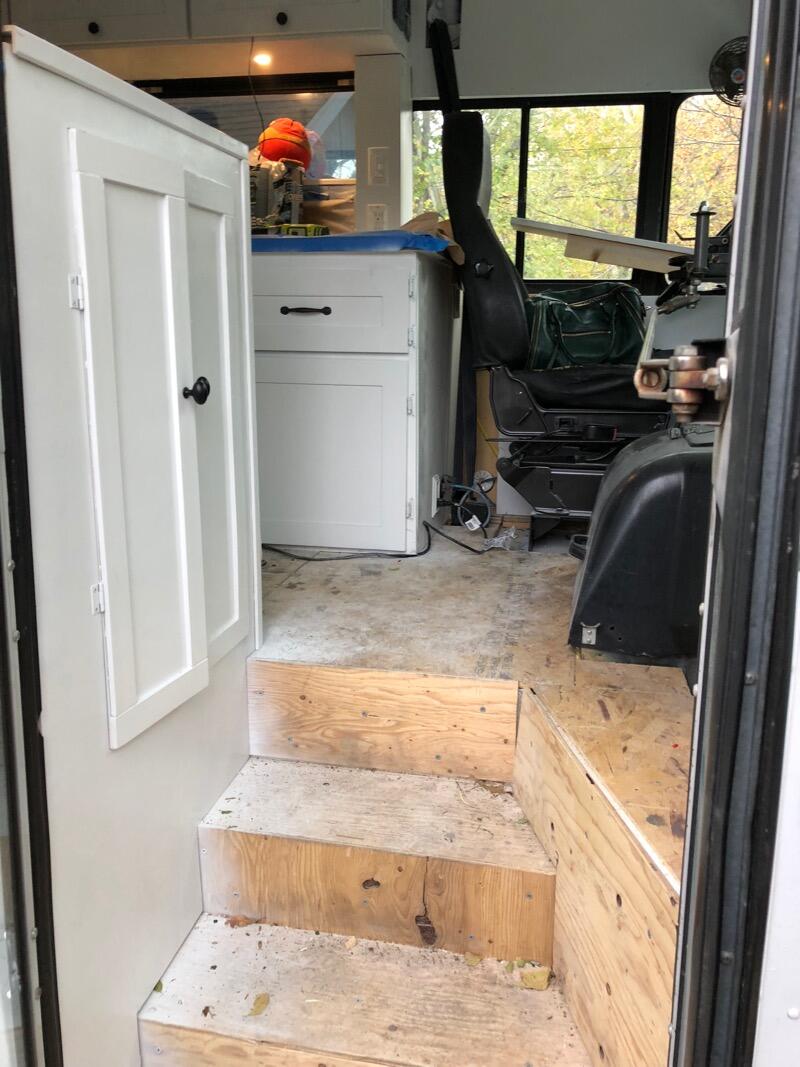
Entry Before the Stairs Were Finished
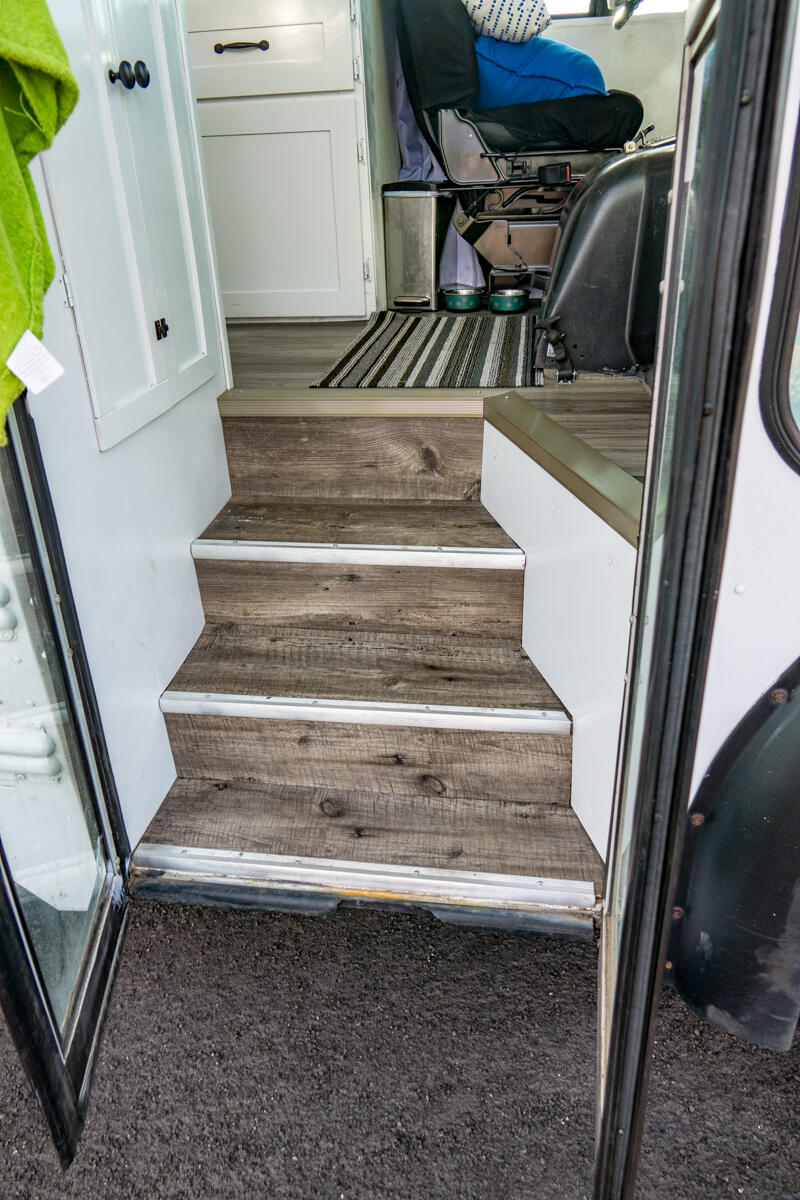
Finished Stairs
For the dashboard area itself, we built a custom frame out of a bunch of pieces of scrap wood with cut outs for all the important stuff. We then used one long piece to cover the side without a whole lot going on and added a little cubby shelf that has become our “junk drawer”. We then painted all of this white to match the rest of the bus.
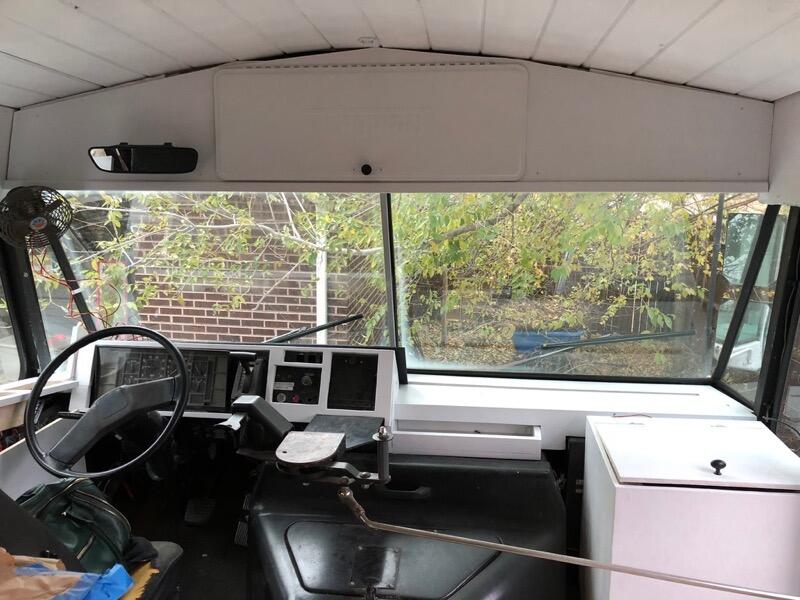
Dash Covered With Wood Pieces
We kept the original door handle swing arm thingy (does this have a better name?) for the nostalgia of it and because it makes it easy to know the bus is locked when we are inside. The pieces to this were pretty rusty so we covered them with Rustoleum spray paint to get them shining like new again.
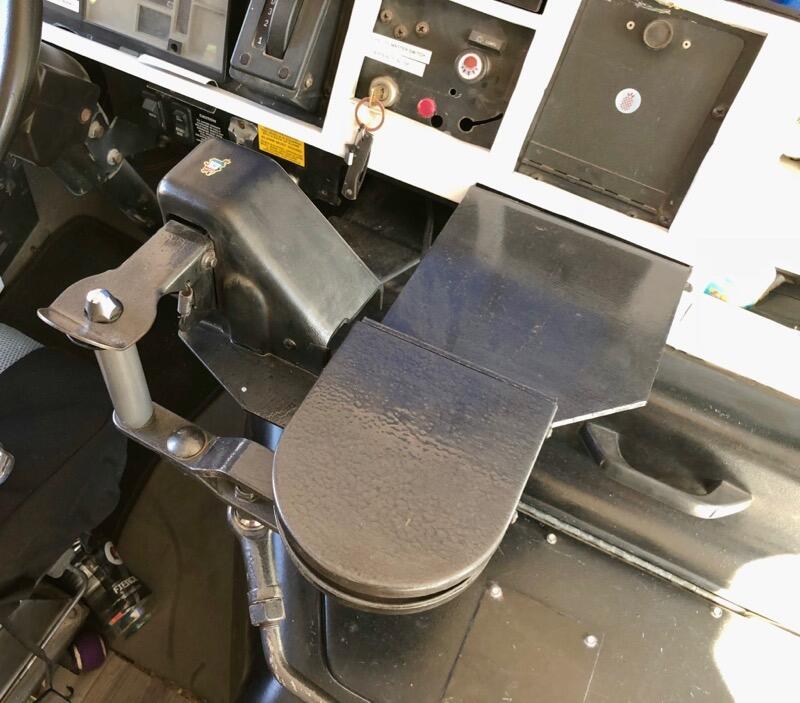
Door Handle Looking Shiny and New
On the driver’s side, Nick pulled out all the original switches and replaced them with a new switch panel that includes 6 switches (windshield wipers, wiper fluid, fan, heater, fancy lights, stop sign arm), a cigarette adapter, and 2 USB ports. Not only does it look better than the original, it also works correctly! This new switch panel went into the arm rest area which we also covered with wood and painted white to continue the uniform look. While were already building out all kinds of custom shapes we also cut out holes for cup holders (one for Nick on the window armrest, one for Heather on the couch armrest).
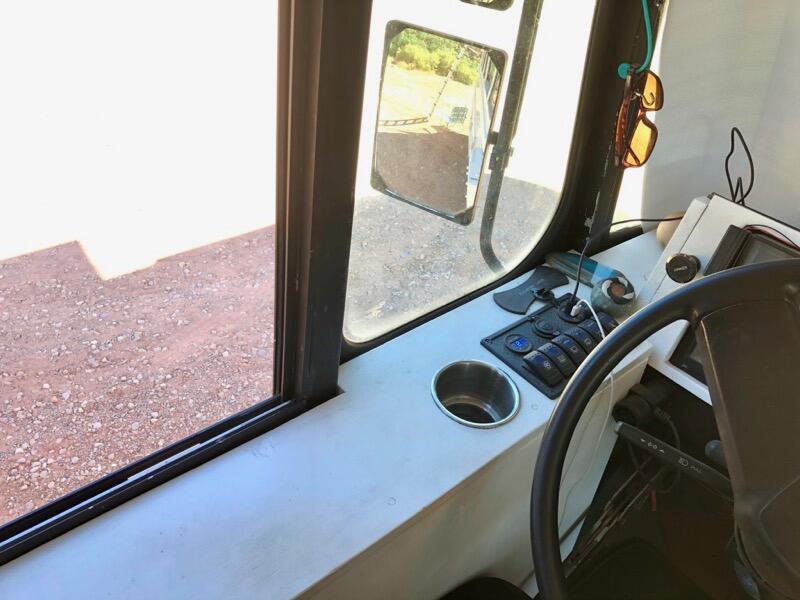
Driver’s Side Armrest with New Switches and Cup Holder
We also kept the original drivers seat in the bus. From the beginning with thought we would need to replace it with something nicer, but when nick drove it from Florida to Colorado and had no back pain we decided not to mess with it. It was a little distressed looking, but a simple seat cover made it look good as new again.
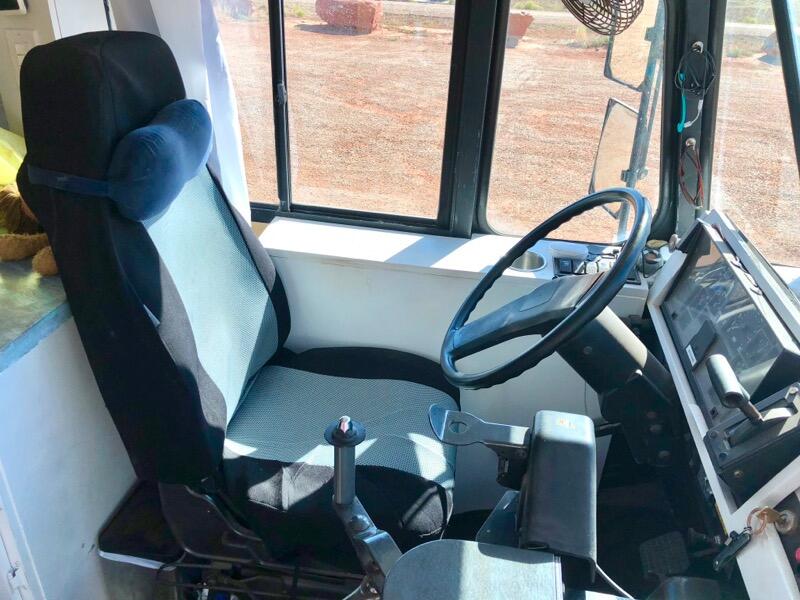
Drivers Seat with New Cover
The area above the windows is covered with plywood that, wait for it, was also painted white. We used some trim to make it look a little more finished and fancy. We also installed the same LED lights we used in the kitchen on the underside in order to light up the front of the bus when needed. We kept the original metal Thomas sign to cover the original storage caddy behind it where we keep our first aid kit, maps, safety triangles and other miscellaneous items.
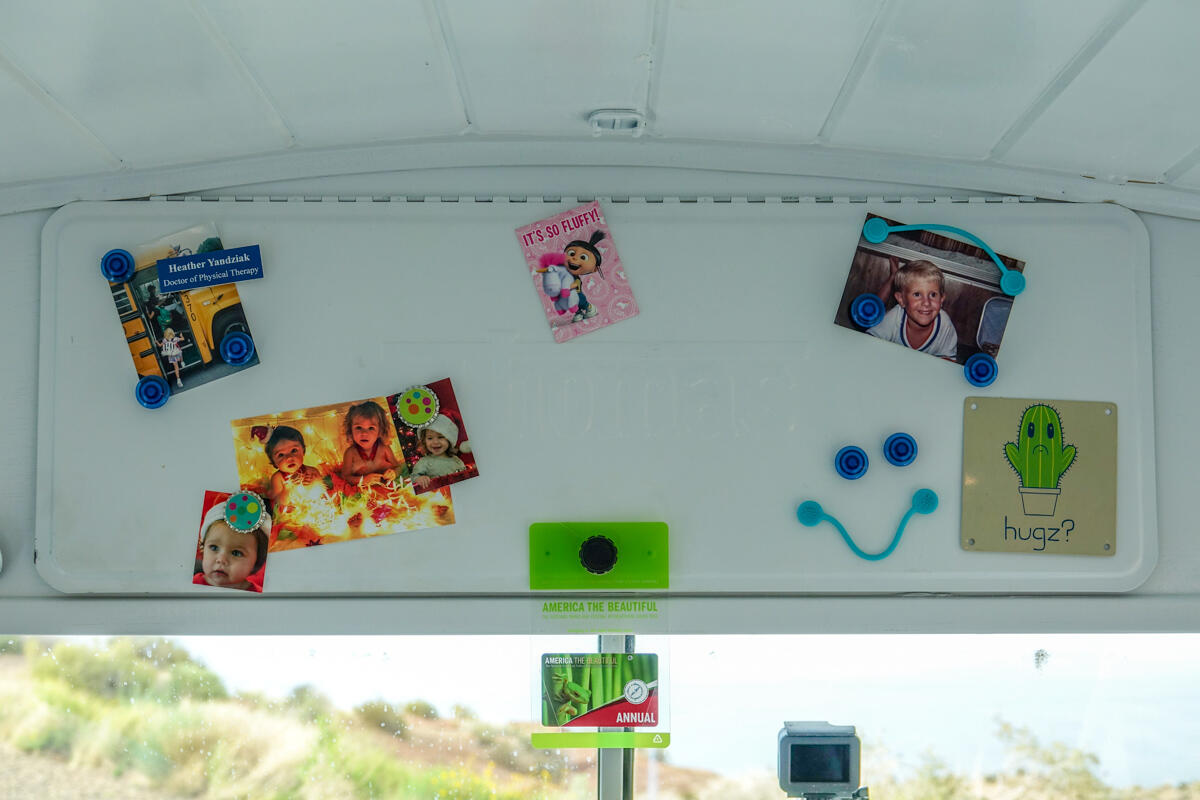
Thomas Sign/Latch Decorated
Before hitting the road, we had to complete the total “make your bus a home” look. We added plants, a buddha rock garden, some personal mementos and of course there are dinosaurs. We also put suction hooks on the windows and door to hold Miles’ leash and towel and our hats.
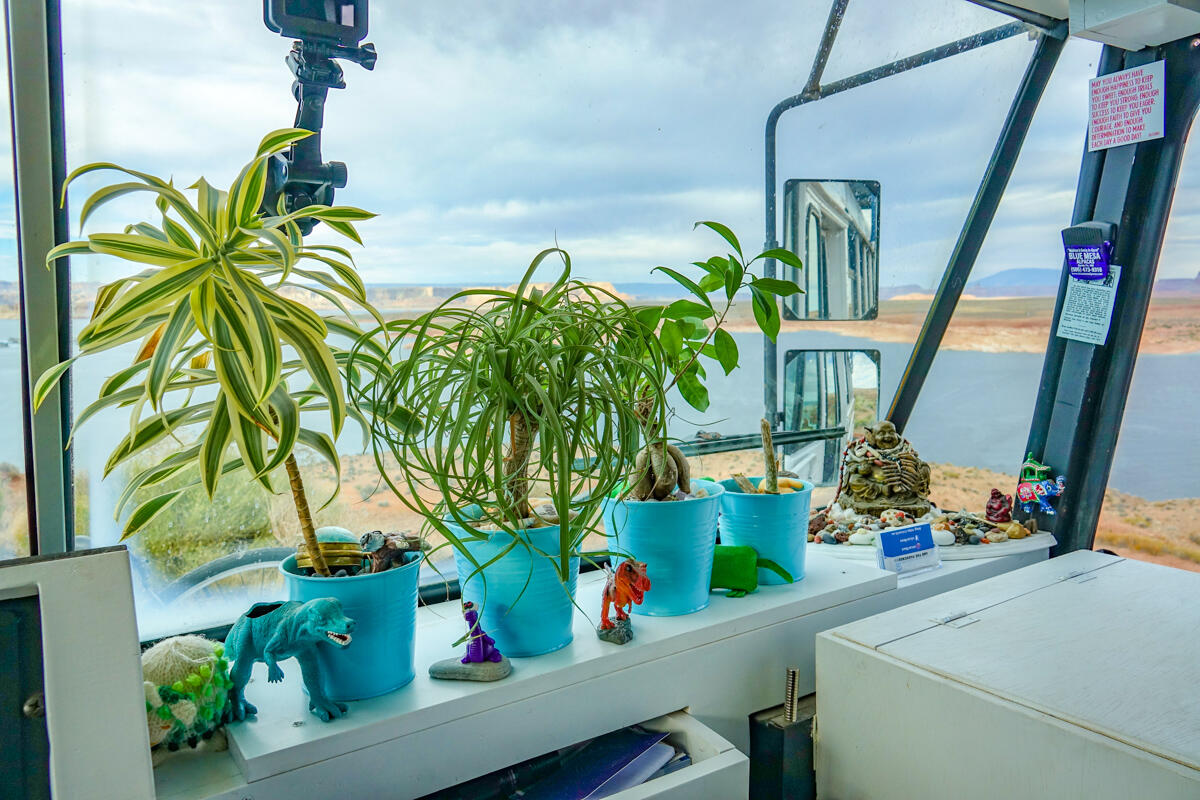
The Plants (and Dinosaurs)
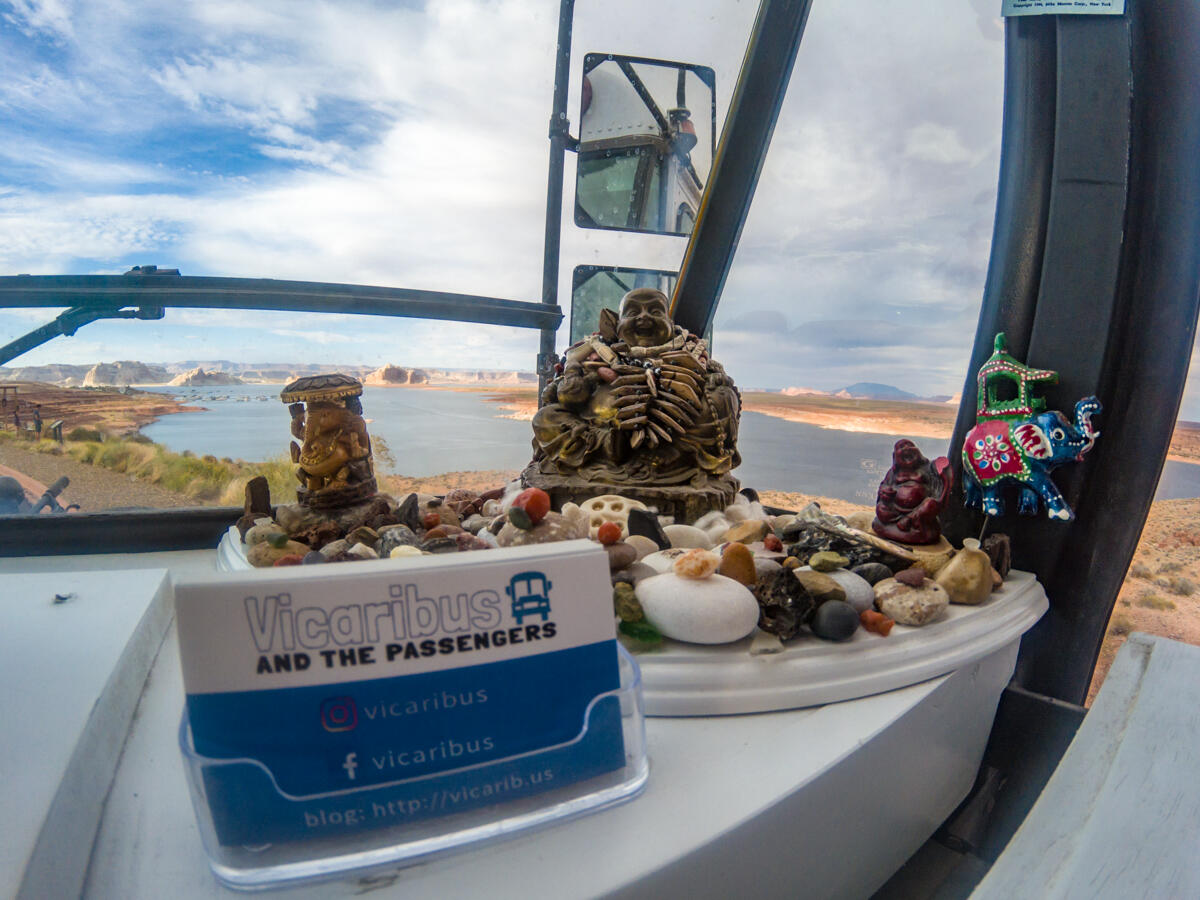
Buddha and Our Business Cards
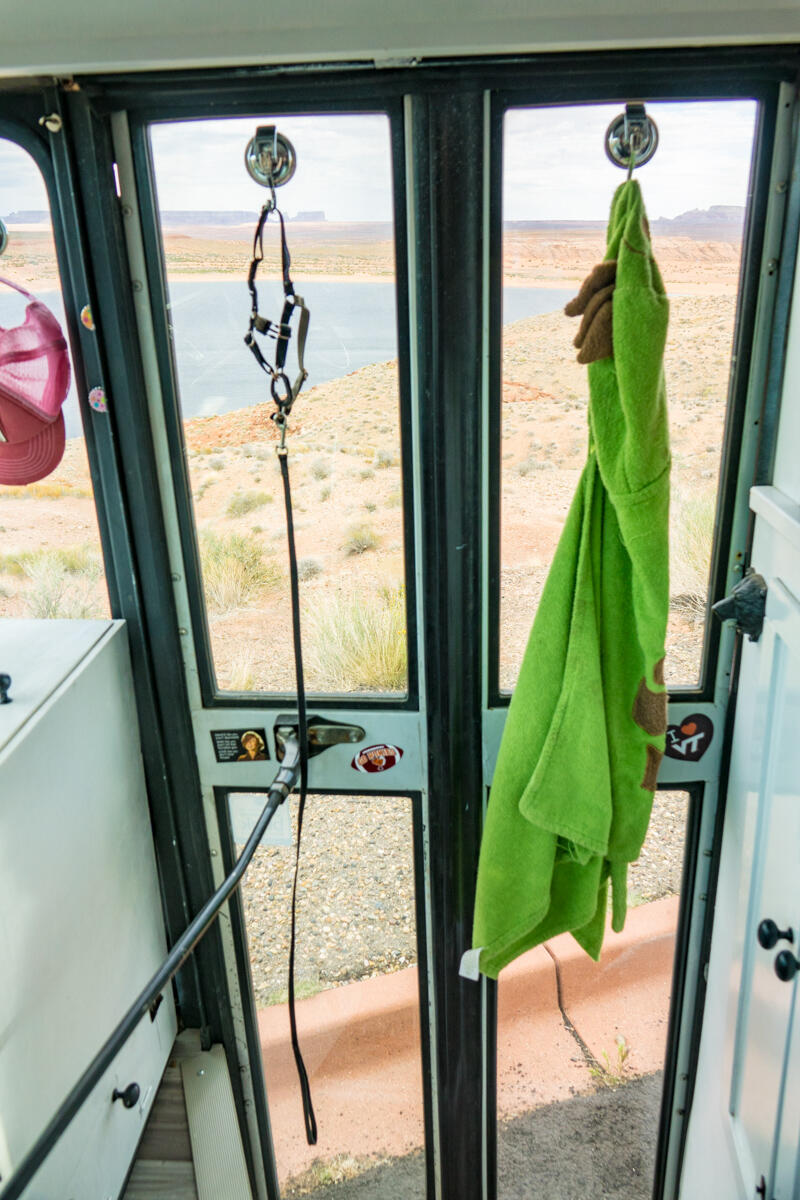
Suction Hooks
Overall, we feel we accomplished our goal of helping the front of the bus look more like a home and less like a rusty old bus!
To go back to Our Complete Bus Conversion Guide click here.
Completed Conversion Tour
You can see a full set of photos from the completed conversion here, and you can see a video tour of Vicaribus below.
We hope you enjoyed reading this post and now feel more like you too know what it’s like to live in a bus. If you would like to keep feeling this way, subscribe to our email updates and we will let you know when we make new posts for your vicarious pleasures. Just full out the form below and click subscribe!