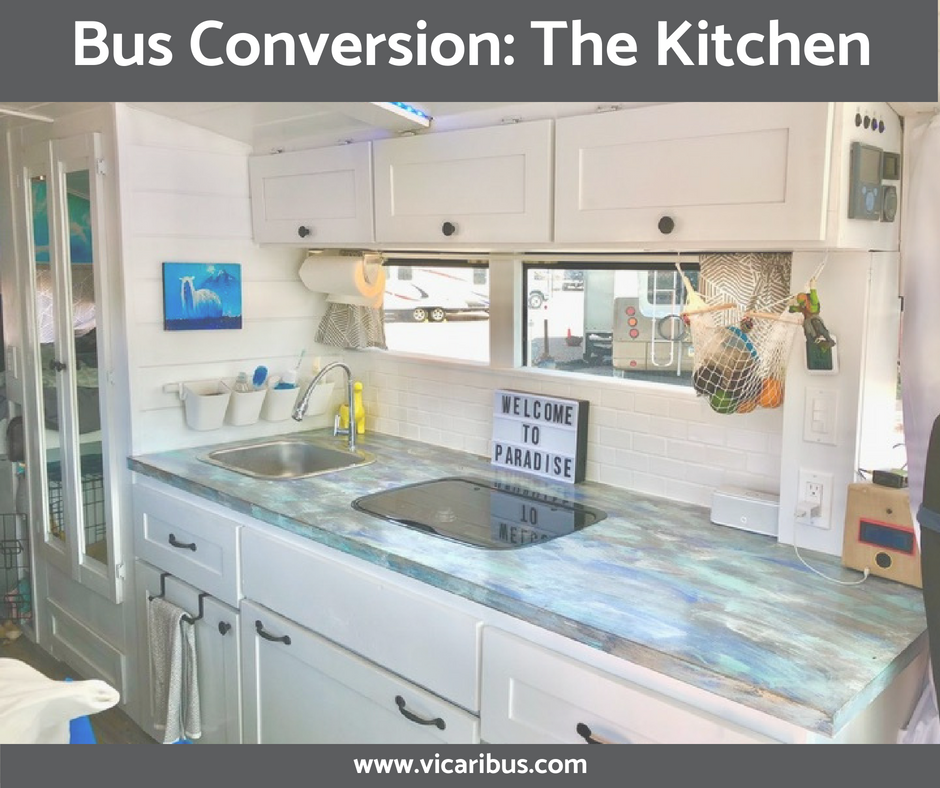
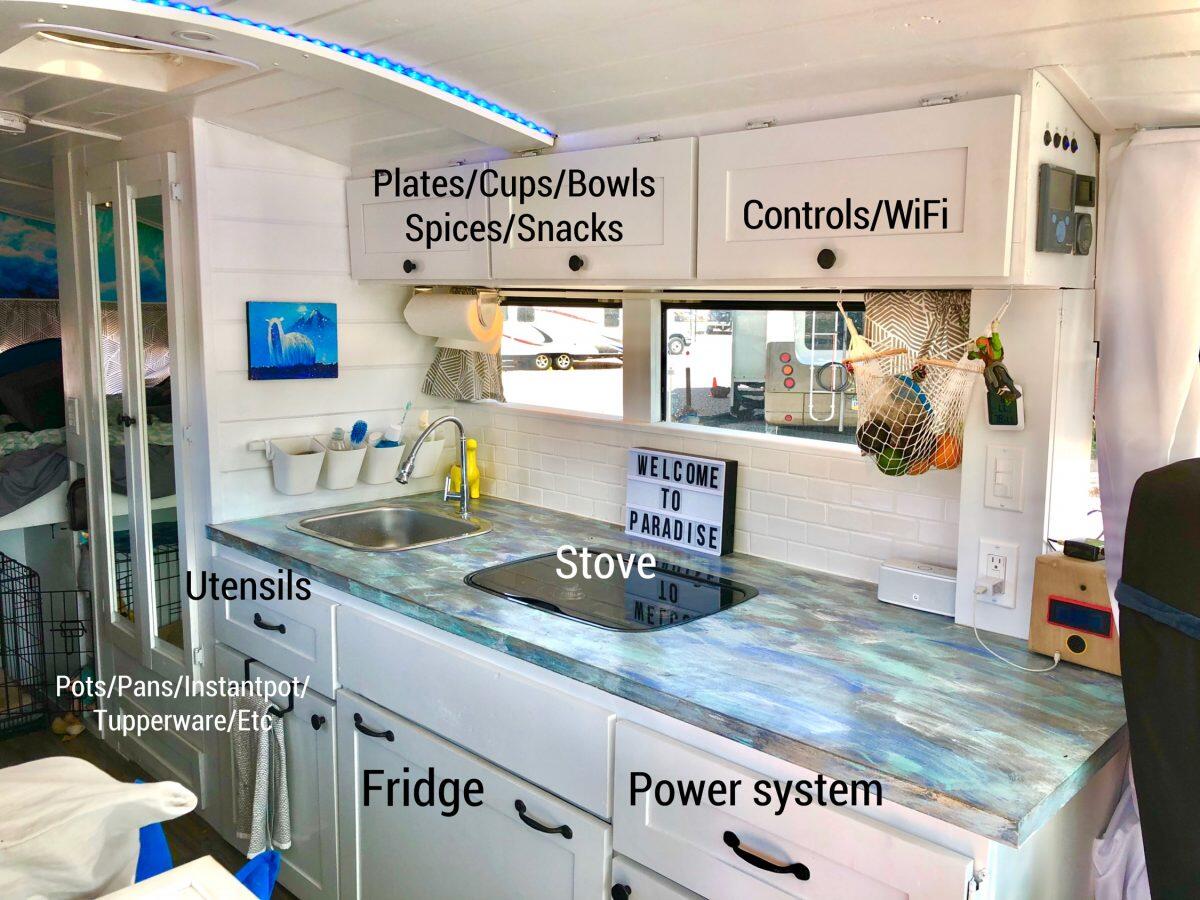
The kitchen is the heart of the home they say and I think we can all attest that being well fed makes for happier people. Building a kitchen in a short bus called for a lot of sacrifice (no oven, no microwave, no dishwasher, little counter space for meal prep) and naturally created a lot of “discussion” on how much space it should take up. While our kitchen may look spacious in pictures, the amount of cabinet space is very deceiving as two of the cabinets are taken up by the power system and one by the fridge. I (Heather) fought Nick over every last inch of cabinet and counter space, telling him he couldn’t put giant sensor boxes on the counter, that there needed to be functional counter space on each side of the sink, and that the plumbing couldn’t take up all of my one bottom cabinet, which is the only one I got for pots and pans. All of this made the build-out process that much more challenging, but we are very happy with how it turned out in the end.
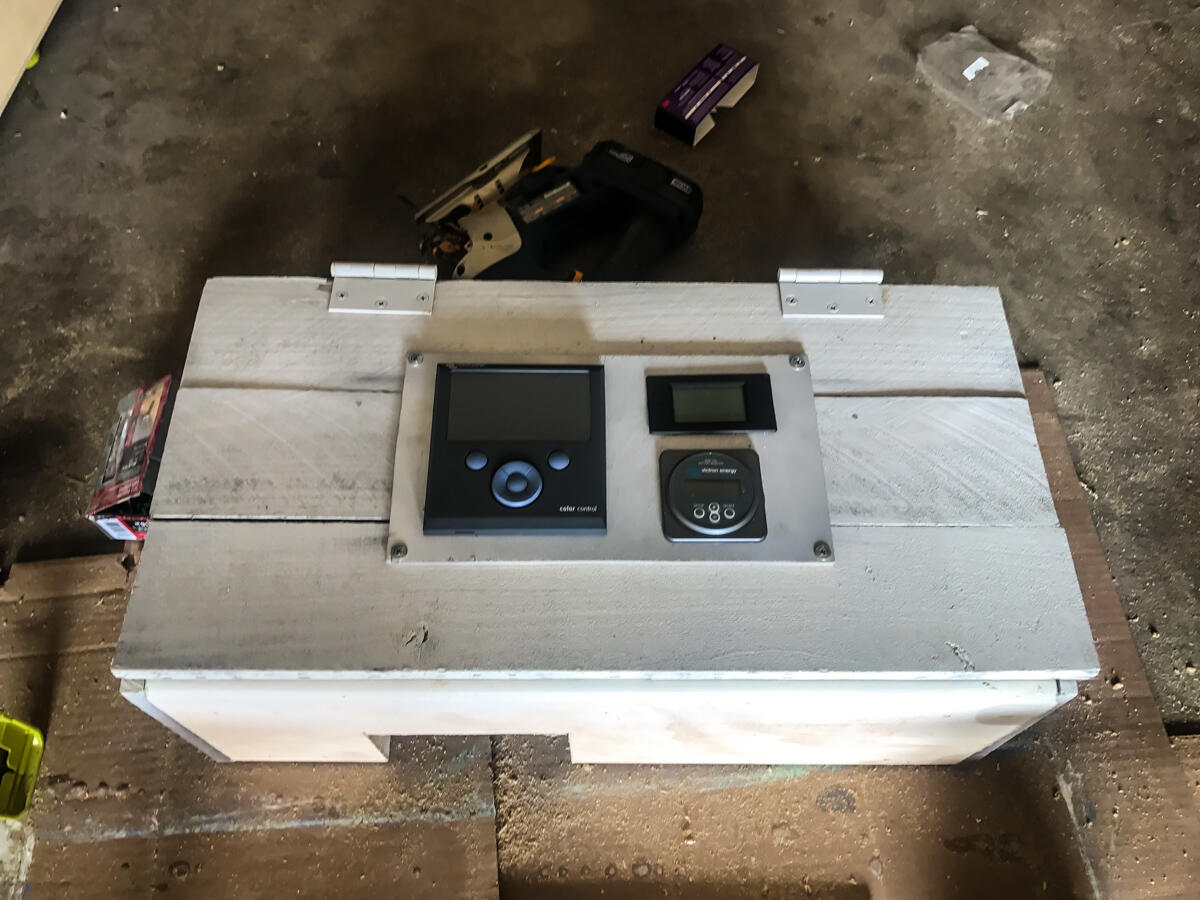
RIP giant box that did not get to live on the counter
The first thing we did was frame out the bottom cabinets (technically the cabinet holding the power system went in first and then the other two were added on) with 2x3s and plywood. We then created a drawer slide for our chest style refrigerator which was fairly challenging to get perfectly level. We opted for a chest style fridge as they use significantly less power than their upright counter parts. The one we picked uses less than 10 amps which is nothing for our power system. We also framed out a custom shaped drawer that is shaped like a “U” on the inside to make room for the sink drain while allowing more storage space.

Fridge in Slide-out Drawer

Custom U-Shaped Drawer
After framing out the bottom cabinets, we got to work on the counter top. We searched all over for the perfect countertop material and could not find the look we were going for in a price range we wanted to pay, so we ended up making our own. By happenstance, our countertop dimensions happen to be the exact same size as a door. We then hand painted the door and sealed it with a bunch of coats of polycrylic. The end result is exactly the look we were going for. For more information on how we made the countertop see this blog post.
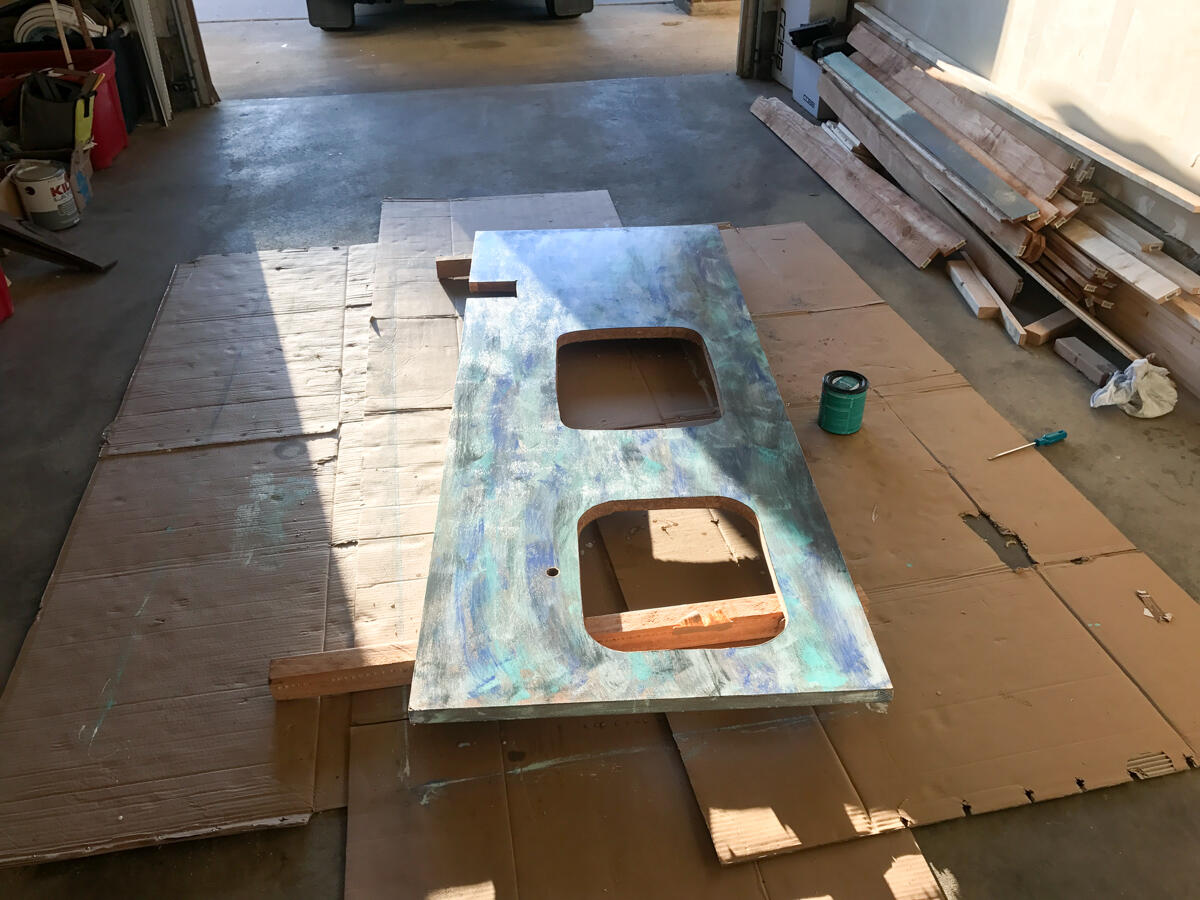
Countertop Before Mounting
Once we mounted the countertop, we then added the backsplash. Why does one need a backsplash in a bus? Mostly because I wanted one, and why not? The backsplash also gave us the opportunity to cover the bottom half of two windows and provide more insulation as well as privacy. It makes this section of the bus look more like a home and less like a bus. Plus, white subway tile is totally in right now. I had never tiled anything in my life, but after reading a few blogs, watching a few youtube videos and picking up all the supplies I was feeling confident. The project was mostly completed in one afternoon other than needing to come back and seal it the next day. We then placed a small board that we rounded the edge of with table router on top to give it a finished look.
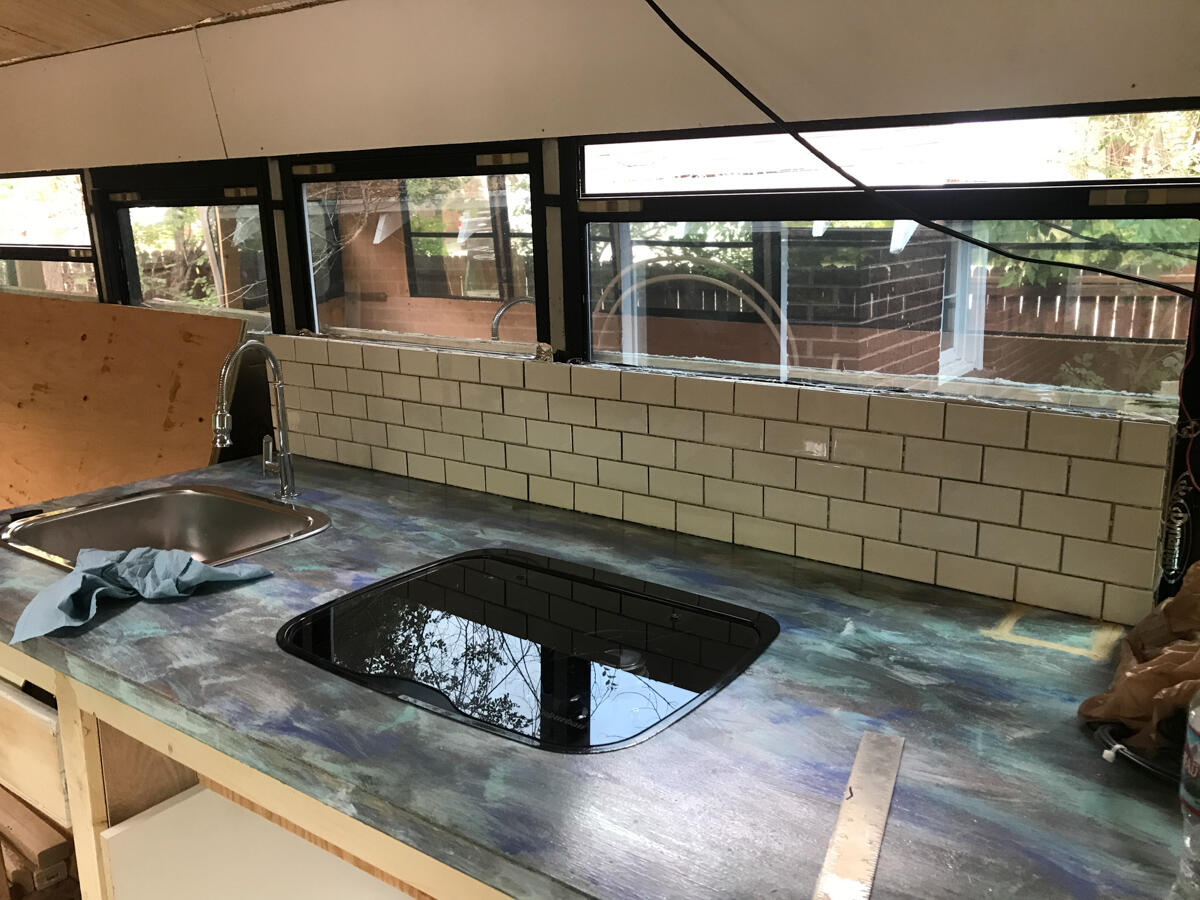
Backsplash Before Grout Was Added
The next step was building the overhead cabinets. Once again we built out the frame ourselves using angle brackets to attach them to the back wall and the ceiling. We cut out small holes in the base to house our LED lights. The cabinet farthest to the right also has a hole in the base and a pillar down the wall that holds all the wires between the control panels and power system. For more information on the power system click here.
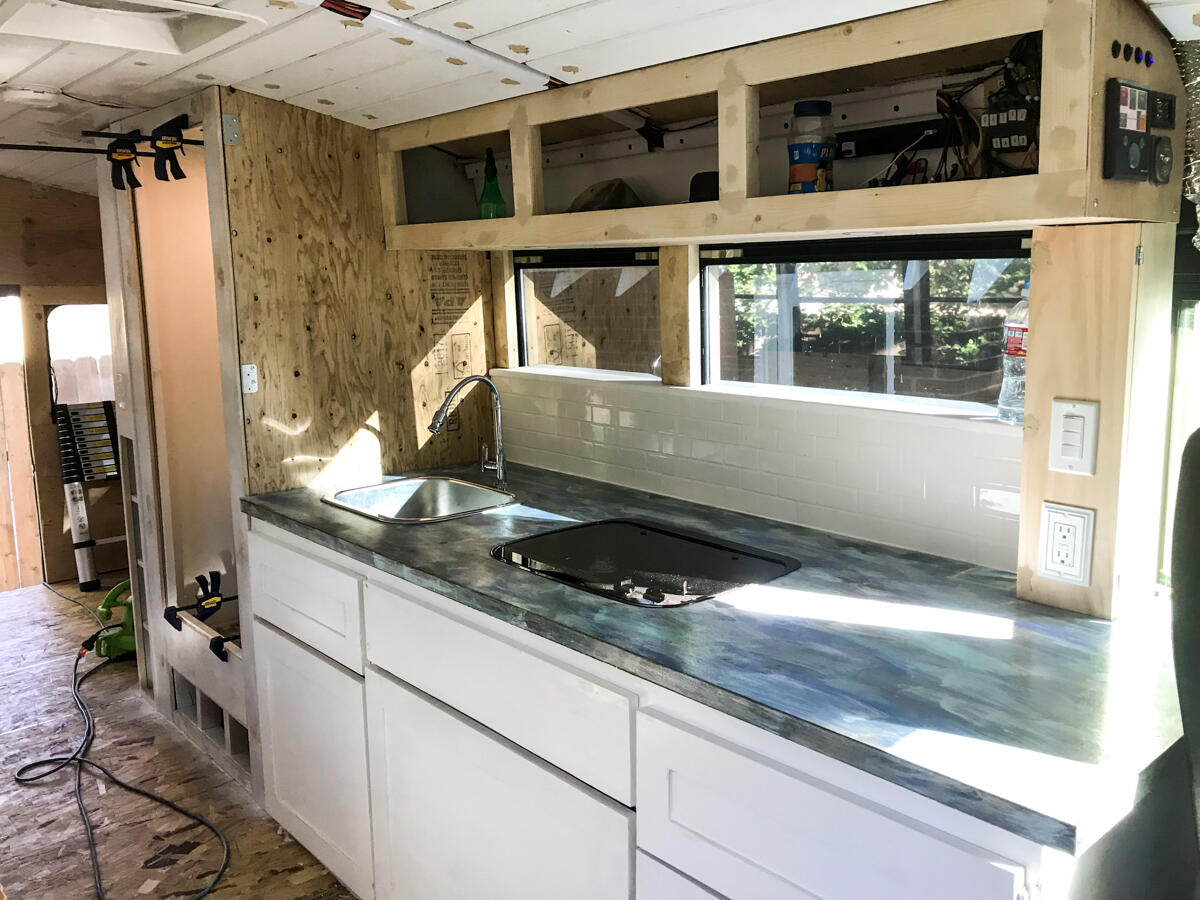
Completed Lower Half and in Progress Upper Cabinets
By this point, we had also run all of the wiring for the kitchen and living areas as well as completed the plumbing for the sink and shower. The plumbing was maybe the worst part, since trying to find parts and connections that took up as few inches as possible proved to be a bit challenging. Our set up goes something like this. We have a water pump that pulls the water from our fresh water tank which is housed under the bus. The water pump is hiding behind the cabinet with the fridge in it. From the water pump there are connections that go to both our kitchen sink and our on-demand hot water heater. When the water pump is on you can turn on the faucet and out comes water like magic. Additionally, from the drain of the kitchen sink (and the shower) there are pipes that lead to our grey water tank that we dump when it gets full. We have no pictures of this process unfortunately.
When picking out a sink we had two things in mind, one, it not taking up too much counter space while still fitting dishes, and two, the drain being as shallow as possible so our plumbing would fit. We ended up finding the perfect sink basin at Ikea for around $30. For the faucet, we knew we would only have one temperature of water so we had to find one with only one control knob. We picked a faucet with a flexible neck which really helps with doing dishes in such a small sink. It can also technically be pointed out the window for a makeshift outdoor shower. Next to the sink we hung a rack with small plastic containers (also super cheap from Ikea) to hold our toothbrushes, soap, and dish scrubbers in order to keep them organized and off of the counter. We also attached a hanging paper towel holder under the cabinet to free up even more precious counter space.
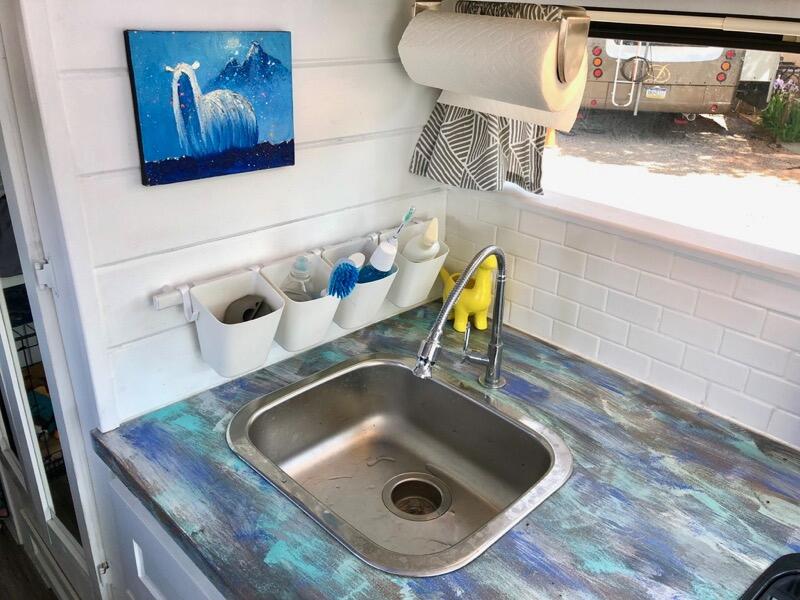
The Sink
The stovetop we picked out is a two burner propane powered stove. It is housed in a case that has a glass lid that makes it flush with the counter so that when we are not using it we have even more counter space and it is protected from having things placed on it and accidentally turning the gas on. It does rattle a little when we drive so we just place something between the glass and the frame to muffle the sound. Getting used to cooking with only two SMALL burners has been an adjustment, particularly since if you really want to use both burners you need to use pretty small pans or they will not both fit at the same time. That said, I am very happy to have it propane powered and to be cooking with a flame!
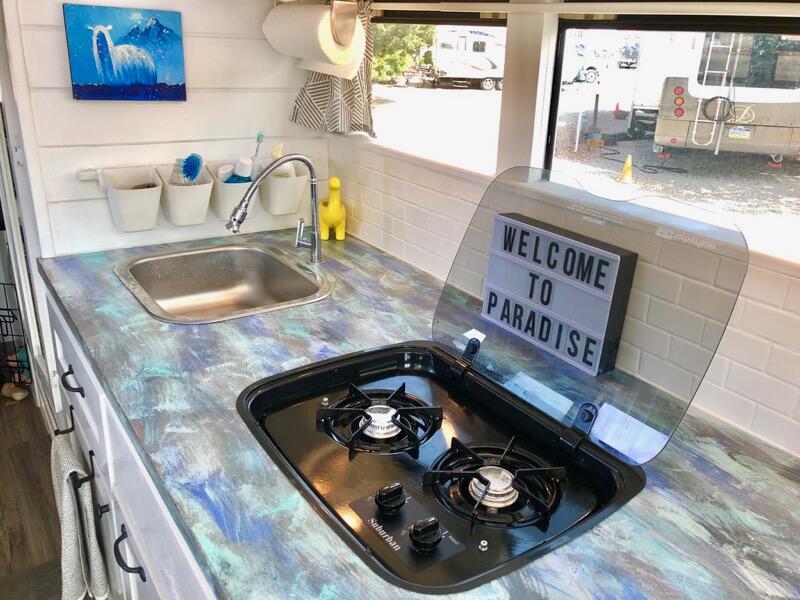
The Stove
In order to make our kitchen look more professional, we ordered all of the fronts of our cabinets online from barkerdoor.com. We then used handles and knobs that we purchased on Amazon to finish the look. The drawer front on the right side of the power cabinet actually opens like a cabinet but we wanted the kitchen to look symmetrical. We also used some of the leftover tongue-and-groove boards from our ceiling on the wall by the sink to give it the shiplap look.
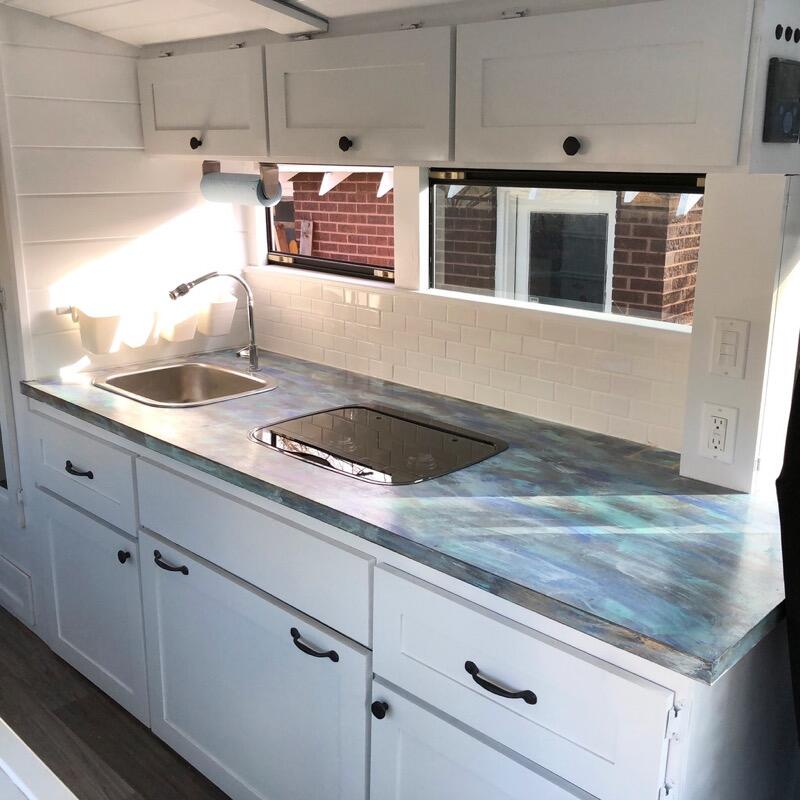
Finished but Undecorated Kitchen
The last step was to decorate and fill the cabinets! We added a produce hammock that is guarded by Michelangelo and a towel rack that hangs from the cabinet. We hung curtains (purchased from Ikea and then cut and sewn into sizes needed) with a tension rod. Nick added his new (much smaller) sensor box (for the live data coming from the sensor box, checkout the Live Data page). Then we finished it all off with an alpaca painting we bought on our trip to Peru.
Finished Product
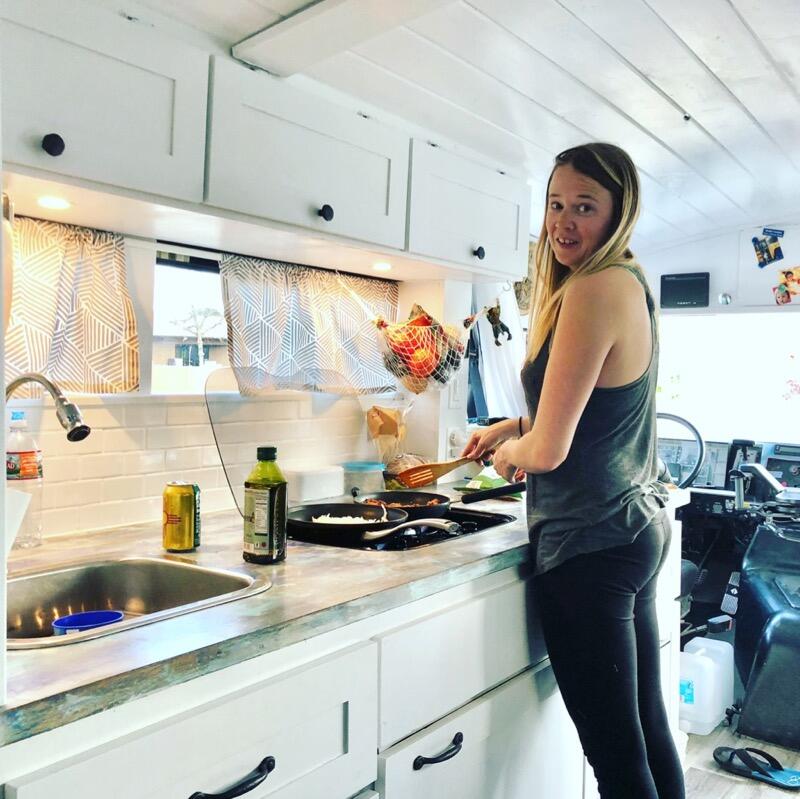
Putting the Kitchen to Use
To return to Our Complete Bus Conversion Guide click here.
Completed Conversion Tour
You can see a full set of photos from the completed conversion here, and you can see a video tour of Vicaribus below.
We hope you enjoyed reading this post and now feel more like you too know what it’s like to live in a bus. If you would like to keep feeling this way, subscribe to our email updates and we will let you know when we make new posts for your vicarious pleasures. Just full out the form below and click subscribe!