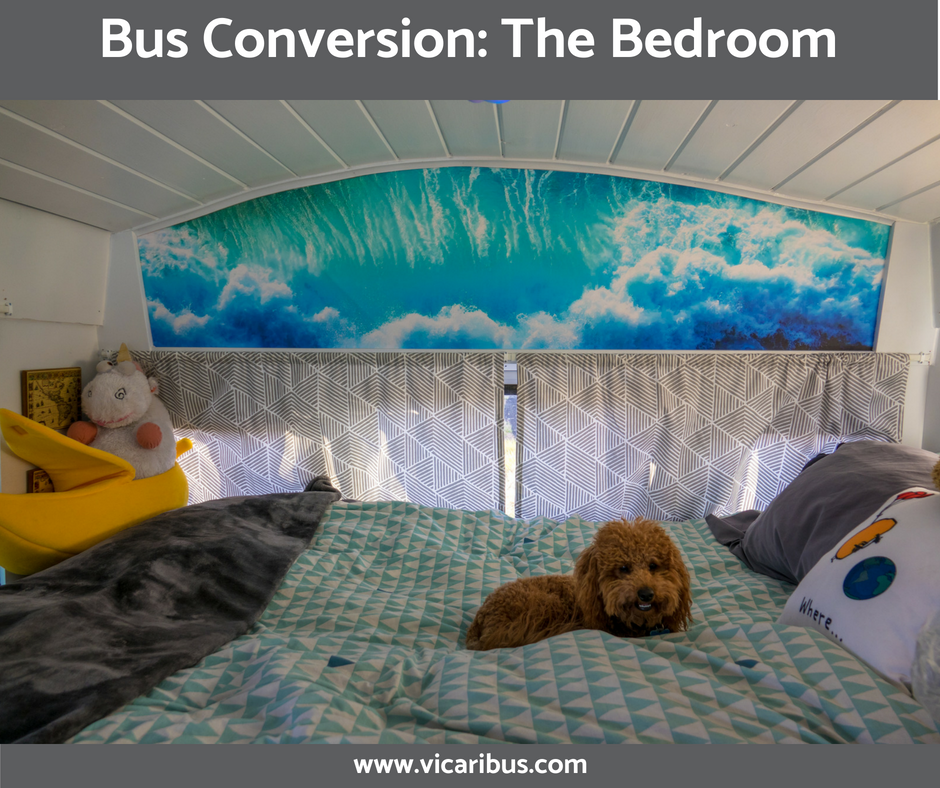
Like most of our tiny bus, the bedroom serves multiple purposes. Not only it is where we sleep, but it is also home to a lot of different storage, Mile’s living quarters (that he rarely uses) and where our TV lives most of the time.
From the beginning, we had plans to make our bed about waist high so that we could use the underneath for all kinds of storage. We wanted to be able to access a good chunk of the area from the back door of the bus and then access other parts from inside of the bus. We ended up with a design that had 5 sections – shelves that are accessed from the back, open storage that is accessed from the back, “dresser”/clothing storage accessed from inside, deep storage that is hard to get to, and Miles’ cave.

Rough Sketch of the Under Bed Storage Area
The bedroom is actually what we did last in our bus. For the majority of our build the bedroom area was our work space and storage area that allowed us to complete a lot of projects in the front, and more easily fit whatever the week’s haul from Home Depot was. Some people may disagree with this strategy for two reasons, one, a lot of people like to frame out the whole bus first, and, two, some people want to sleep in their bus while working on it, but this worked for us.
Once we finally got to the bedroom, we started by framing out the bed and storage area with 2x3s and some plywood pieces for the solid walls. We decided to make the top of the bed base level with the bottom of the windows (which means the mattress covers part of the bottom half of the window)
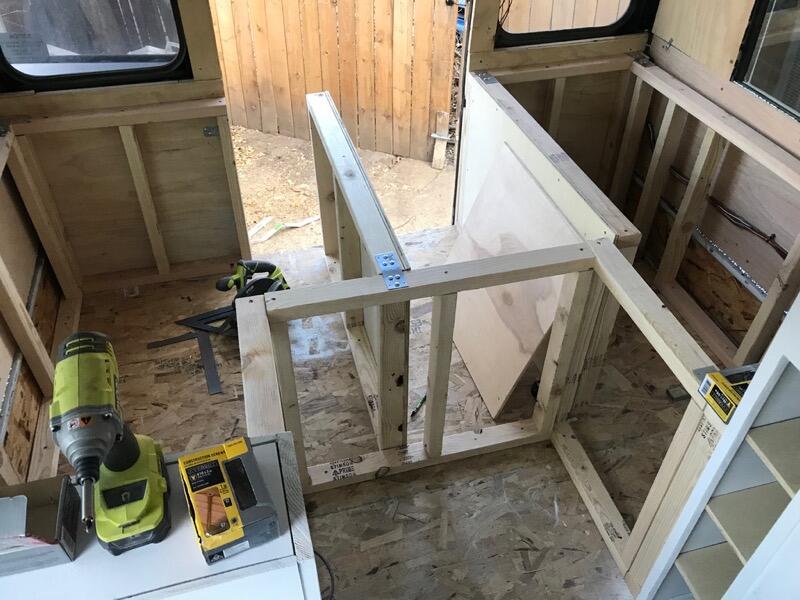
Underbed Storage Framed Out
We then added the shelf to the back area with L-shaped brackets. The bottom shelf was measured to perfectly fit our collapsable grill and the top shelf was the height difference from the grill shelf and the bed frame. I was able to find these bins from target that were the perfect height and width as if we built the shelf just for them. For more information on this area see The “Trunk” page.
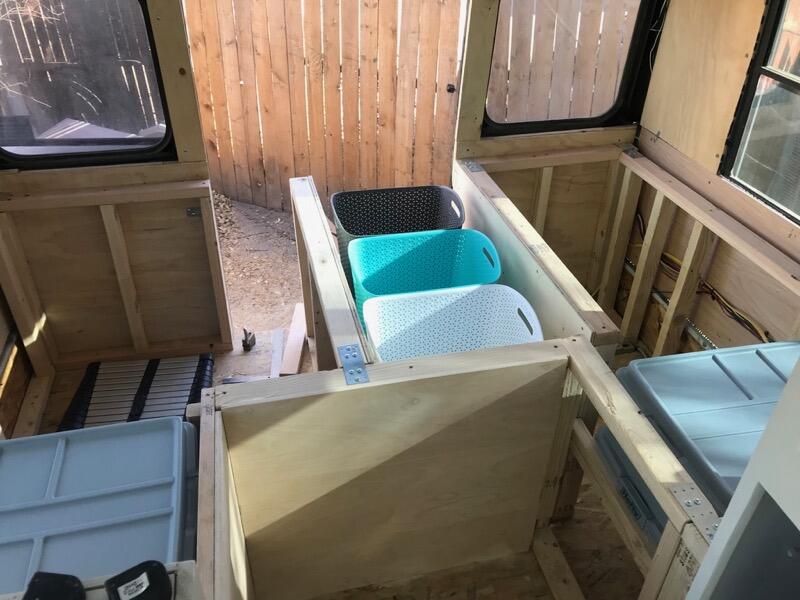
Shelf in Place With Storage Bins
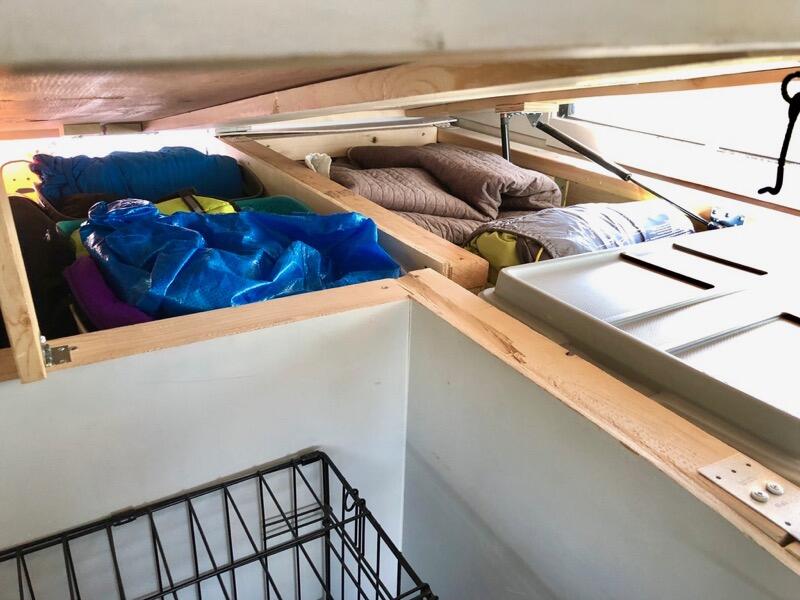
Next, we worked on our “dressers” which are actually plastic storage bins that we found at Target. We added another 2×3 to the edges of the frame that the handles of the bins rest on so that they stay at the top of the storage area for easy reaching from inside the bus. Heather has 3 bins on her side and Nick has 2 bins and a carryon size suitcase on his side. The suitcase is where we keep a fancier special occasion outfit and some other less worn items just in case.
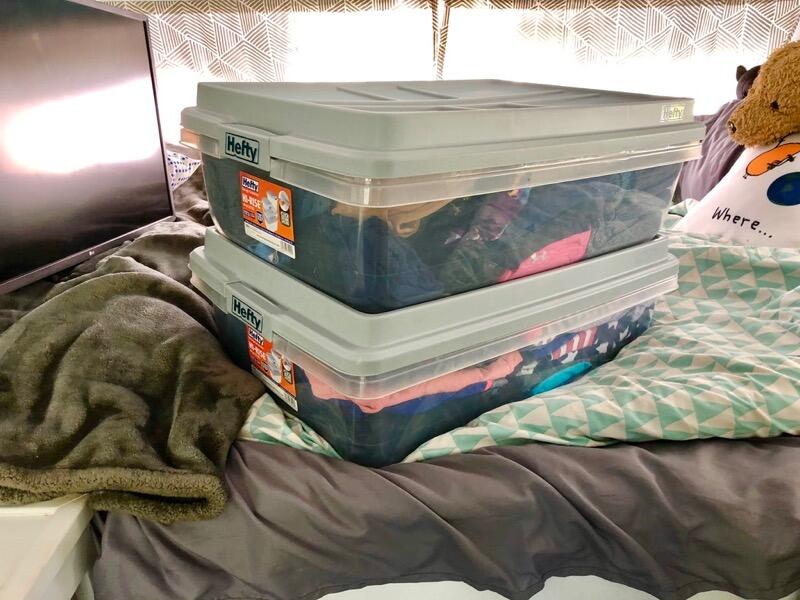
A Whole Wardrobe in 2 Bins!
Extra Wood Piece That the Clothes Bins Rest On
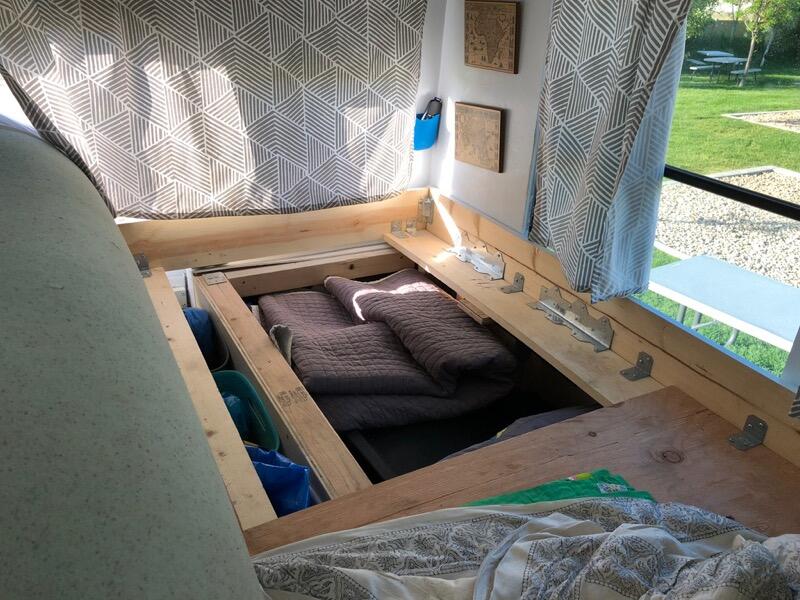
Once we had all the storage areas complete we then built the platform for the bed out of 1x6s and a bunch of L-shaped brackets. We framed out the area for our queen size mattress and had a few inches left over at the foot of the bed which was off course turned into another storage box. This extra box has a hinged top and is where we store all our socks and underwear.
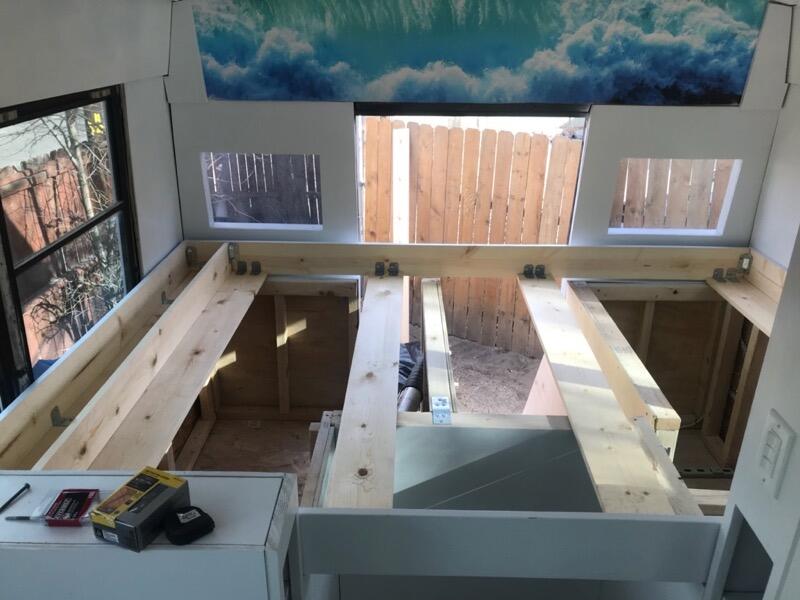
Bed Frame
Then we filled in the frame with plywood pieces with smaller removable pieces over the deep storage area to allow access to that area by lifting up the mattress.
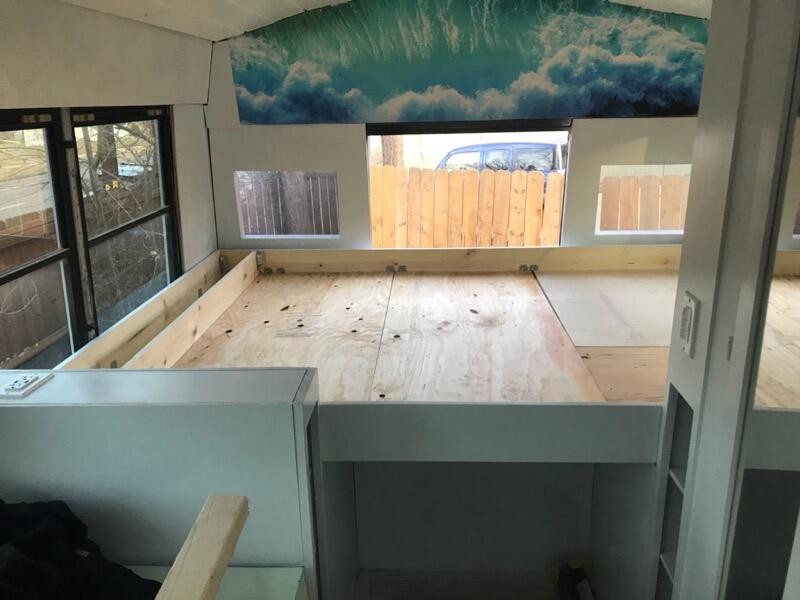
Bed Frame With Plywood
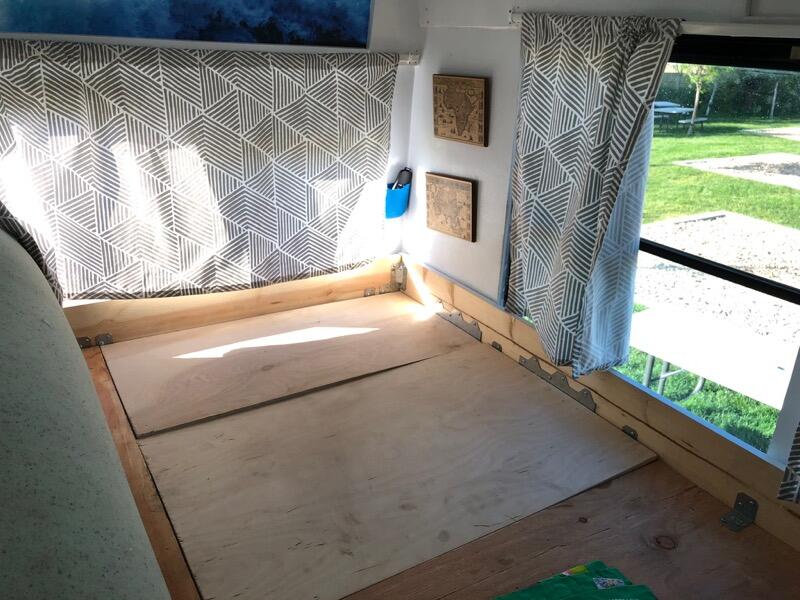
Deep Storage Nook Panels
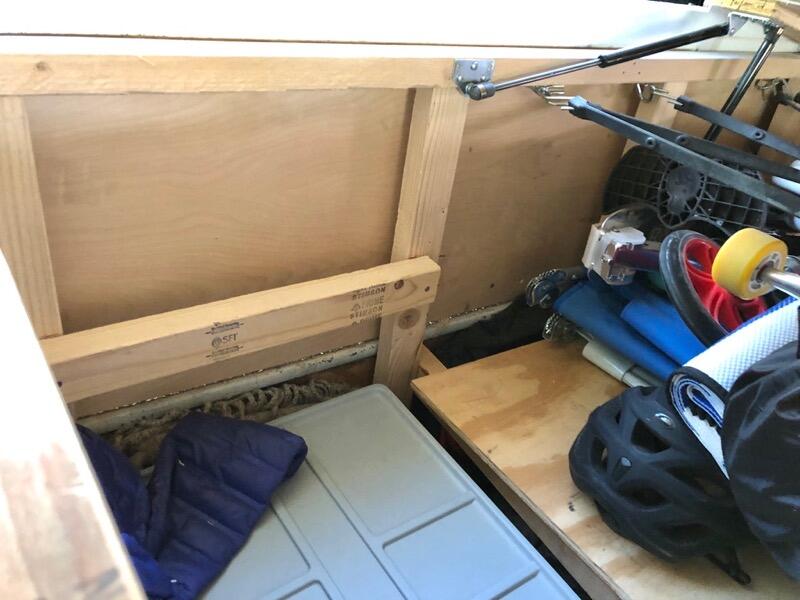
Deep Storage (Tools, Backpacking Gear, Cold Weather Gear, Etc)
The next step ended up being harder than we expected – adding the arms for the hydraulic lift for access from the inside. Unfortunately, because of where our plastic storage bins for our clothes sit we could not put the arm in the perfect mechanical advantage position. Where we first placed the arms worked but it was driving the bed frame into the walls of our living and bathroom areas when it wasn’t raised and pulling the hinges up when it was. To fix this we ended up with a second set of lifts that are places at different angles and extra heavy duty hinges. It’s a bit wonky, but the bed lifts and rests at the appropriate angles now. We also added a small block on a hinge that we can flip up to help hold the bed up while we are digging under it.
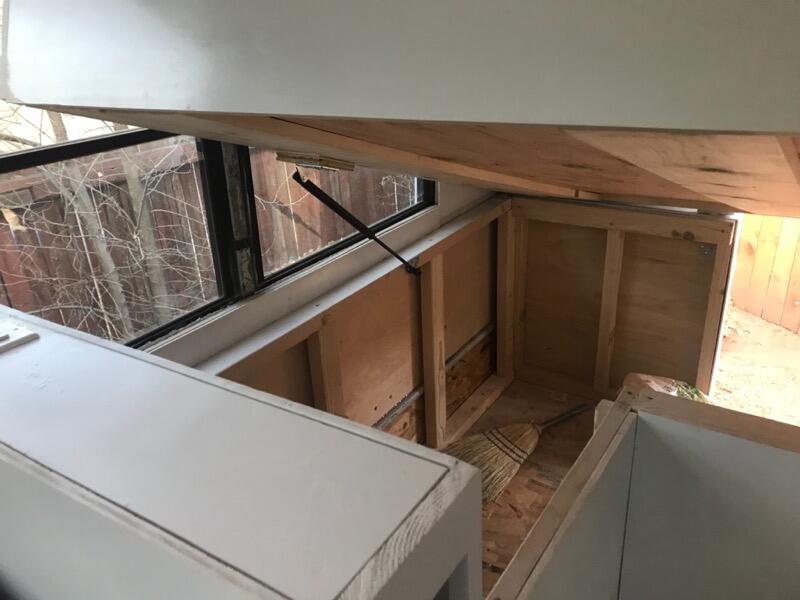
Original Arm Position
Final Arm Position
Bed When Lifted With Small Block Holding it Up
With the bed complete, we could finally put our mattress in, which is actually not a mattress but a collection of mattress toppers. In our apartment we originally purchased a 4 inch feather topper for our bed so that we could sleep on a cloud. Nick then decided he didn’t like the feather topper for some reason and when we saw 3 inch memory gel foam toppers at Costco we went ahead and picked up one of those to put on the bed instead. The feather topper was relocated to our couch and the infamous couch bed was created. (Fun fact, Nick slept on the couch on the feather topper that he didn’t like instead of in the bed 95% of nights.) Somehow we got the grand idea that we could just place one of the toppers on top of the other and have all the comfort without any extra height to block more of our windows. We tested it out on the floor of the bus on our summer camping trips and it was pretty spectacular so we went with it.
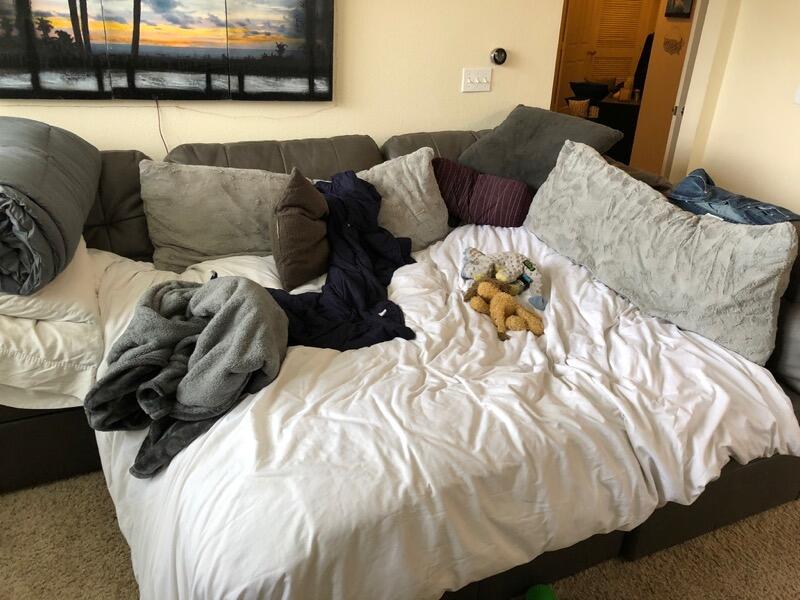
Couch Bed From Our Apartment Days
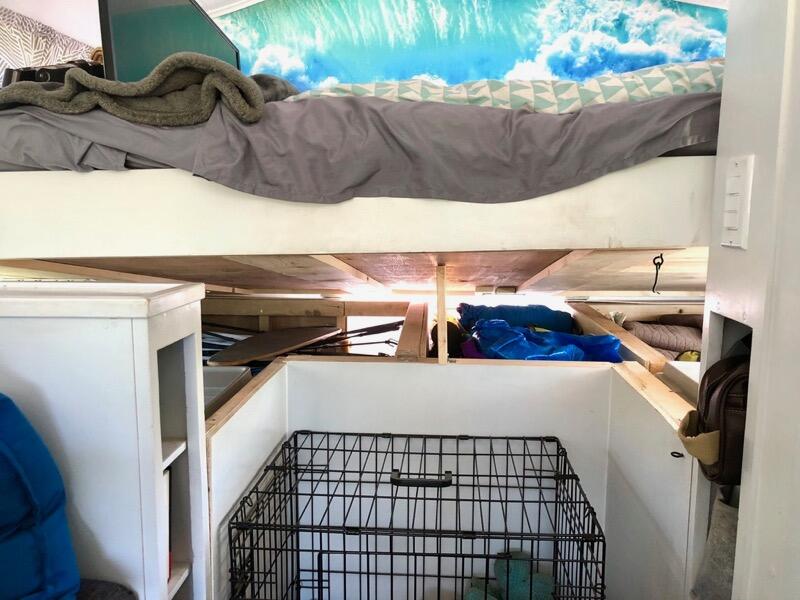
Miles’ cave area dimensions were created by lining up the wall with the previously established ones of the couch and the bathroom and the height by the bed frame, but his crate fits in there perfectly! We did trade his traditional crate with the door on the skinnier side in for a crate that has two doors so that he could go in and out the wide side for an even better fit. To be honest, Miles rarely spends time here and instead sleeps in the bed with us at night and sits in my lap while we drive.
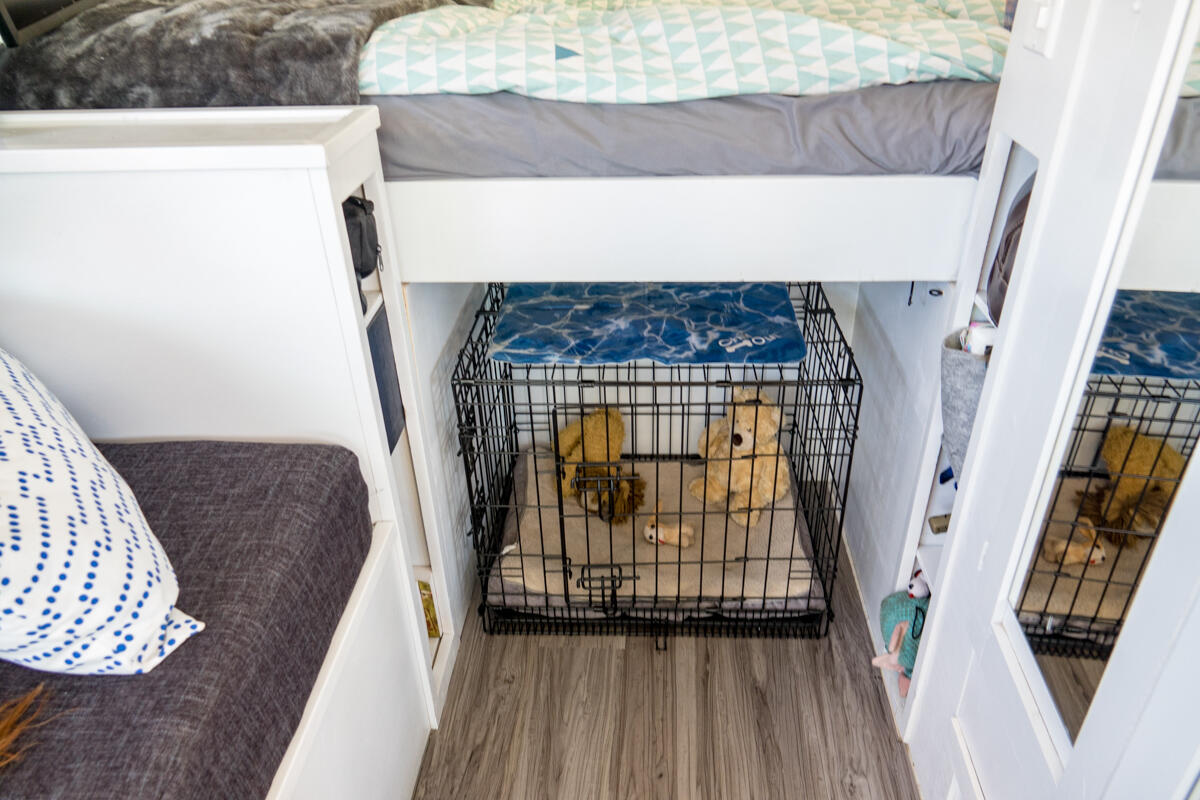
Miles’ Cave
On the side of the bedroom with a full wall from the bathroom we have a nightstand area with a few shelves and an outlet that also has USB ports. Here we keep eye masks, headphones, some decorative knick knacks, my kindle and phone and whatever else finds its way there. Nick also has a little pocket he hung on his wall to store his phone during the night.
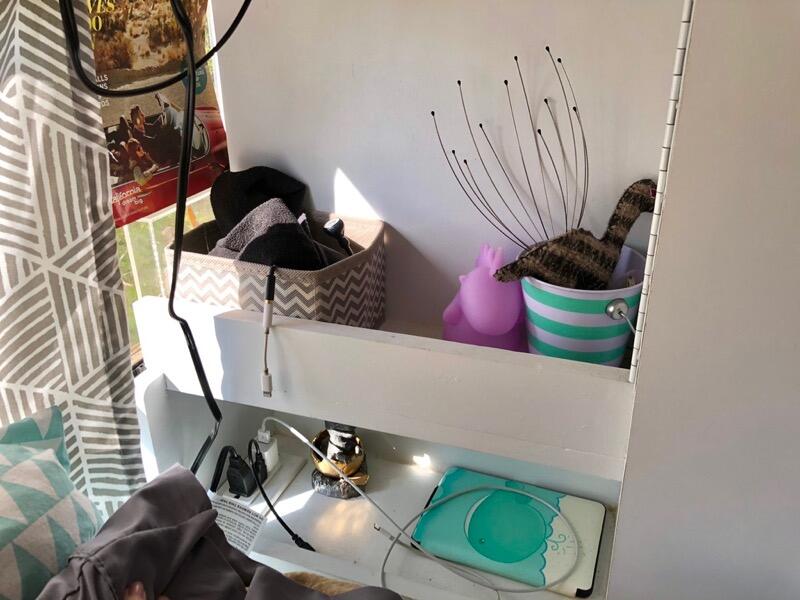
Bottom Shelves of the Night Stand
Night Stand Area
Our TV is actually a computer monitor that is built on a swivel arm so that it can serve as the TV in the bedroom or as a larger workstation in the living room. We use a Roku to stream shows from the internet. The one downside to using a computer monitor as a TV is the sound quality, so we often have to also plug in a speaker. The swivel arm mount was created by our welder friend Chad at C-Squared Studios and then a traditional monitor arm is connected to that in order to allow for all kinds of positions.
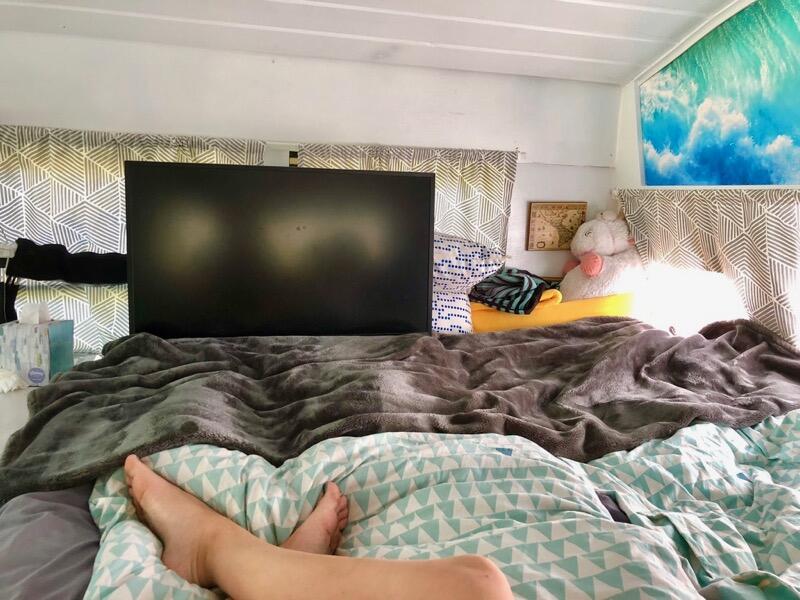
TV in Bed
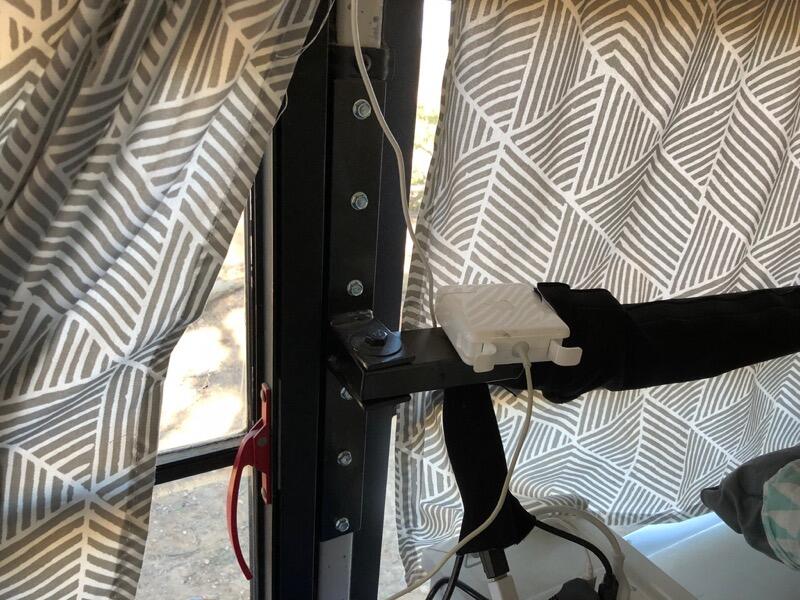
Swivel Mount Attached to Wall
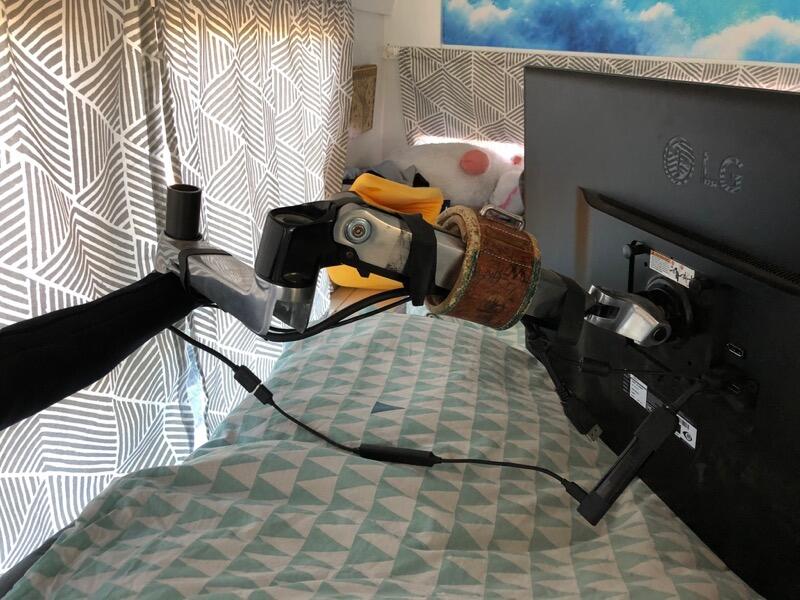
Swivel Mount Attached to Monitor
Above the bed on the back wall we hung a large canvas print of a wave crashing that we cut to the curve and then framed out with wood and flexible trim. We chose the wave as it went with our color scheme and helped add to our beachy cottage theme.
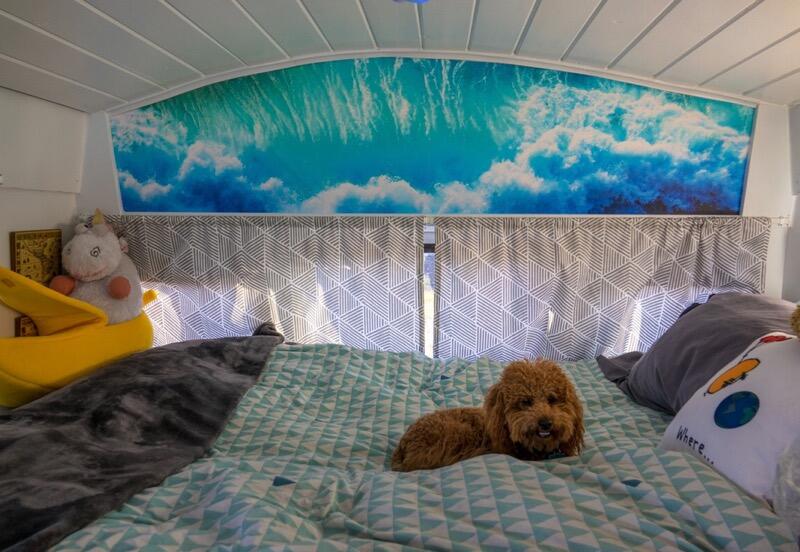
Back Wall with Canvas Wave Print
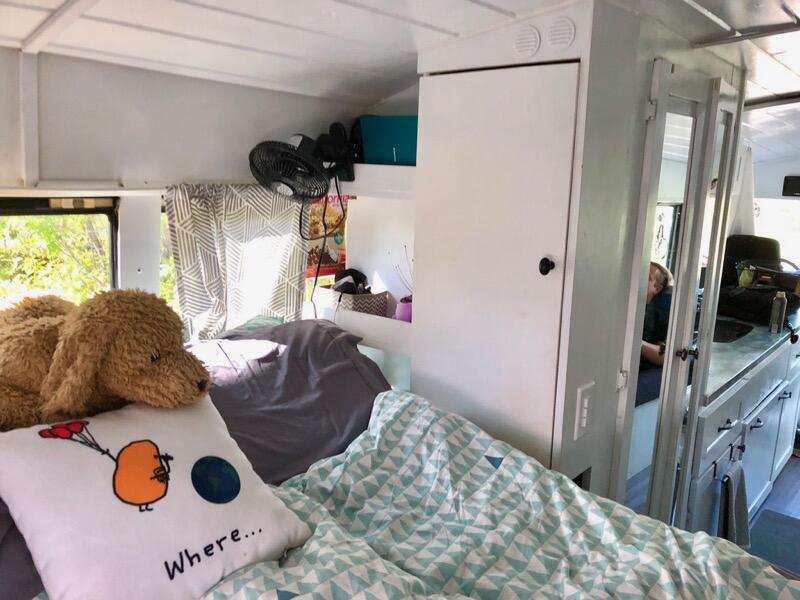
Our bedding is one of the best life hacks we have ever learned. Instead of having one queen size comforter or duvet we have two twin sizes ones so we each have our own and aren’t pulling it away from each other all night long. We figured this out after we visited Iceland and every place we stayed had this set up. It is genius and I don’t know why everyone doesn’t do it. We opted for duvets to make it so we could easily wash the cover at any time. Twin duvet covers are hard to find in the US, but Ikea had a good selection and a great price.
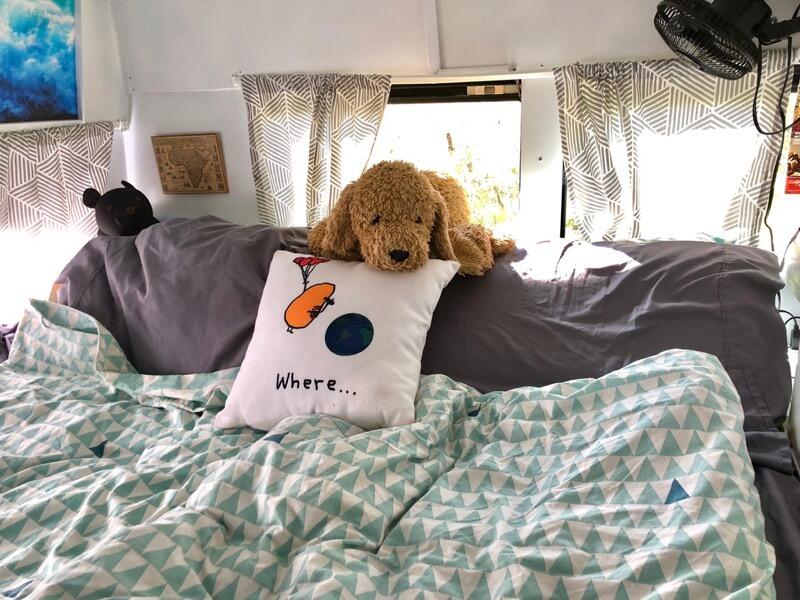
Bedding- I Put the Two Duvets So Close That it Looks Like One
The bedroom turned out to be a great retreat to rest our heads at the end of the day, even if we have to fight Miles for space!
To go back to Our Complete Bus Conversion Guide click here.
Completed Conversion Tour
You can see a full set of photos from the completed conversion here, and you can see a video tour of Vicaribus below.
We hope you enjoyed reading this post and now feel more like you too know what it’s like to live in a bus. If you would like to keep feeling this way, subscribe to our email updates and we will let you know when we make new posts for your vicarious pleasures. Just full out the form below and click subscribe!