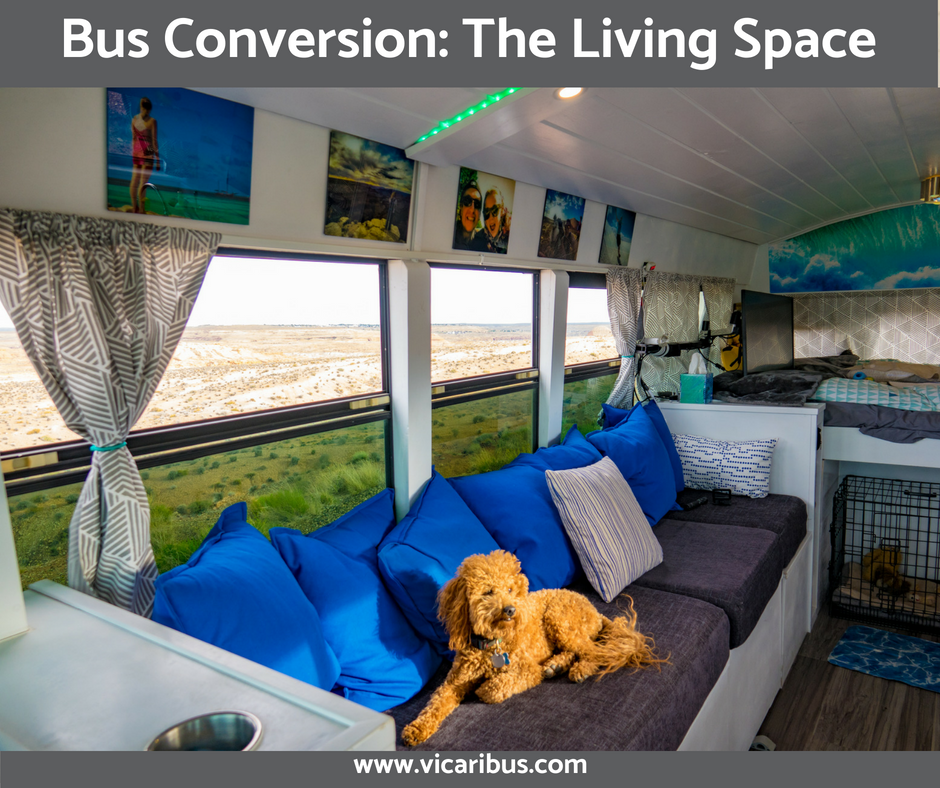
Our living space is our most versatile and modular part of the bus. It can be a couch, a work station, a dining room or a guest bed all while providing a ton of storage. It is where we spend the most time in our bus while we are awake. We are able to make all of these different setups by having one section of the couch on wheels and a fold down hidden table top.
The Plan
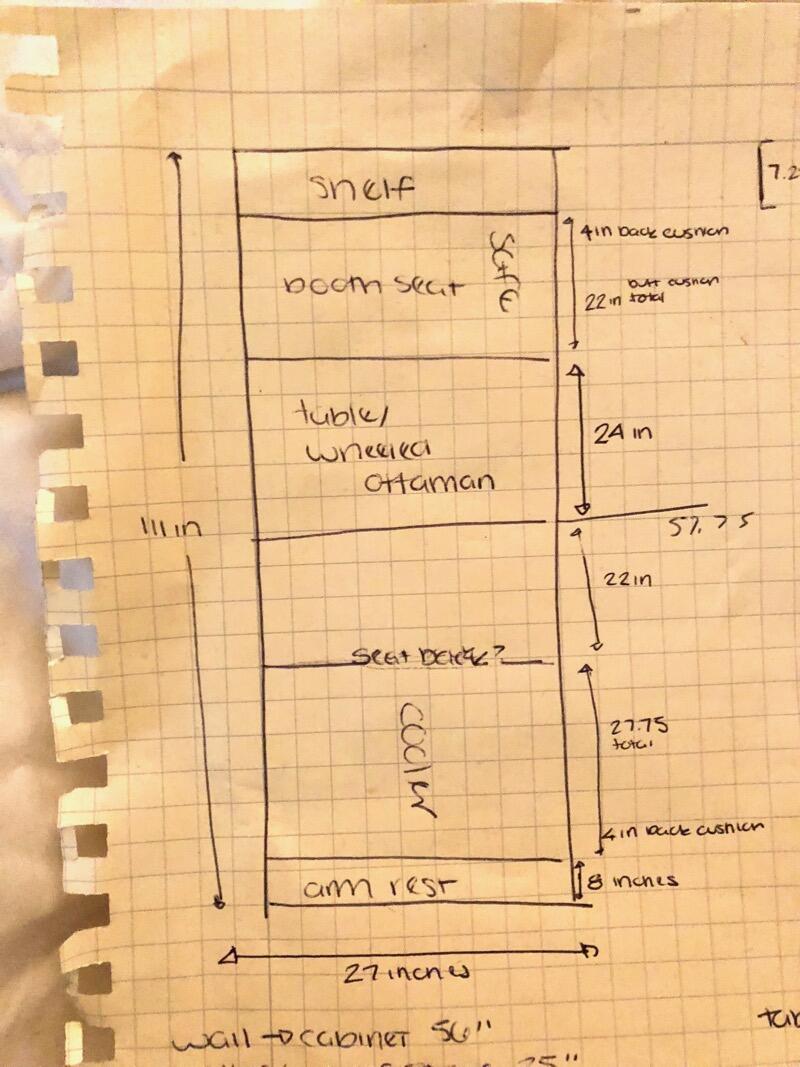
Here is Our Draft of the Space
A lot of thinking and planning went into the dimensions of this design. We both like to lounge on the couch more than sit on it, so we knew we wanted as deep of a couch base as possible so that we could easily tuck our feet up on the couch or snuggle side by side. The main limiting factor to the depth of our couch was our fridge slide drawer. We made it so we could slide the drawer out all the way and have a few inches for a sideways foot in between. This left us with a couch depth of 27 inches for the base cushions. We then wanted to make the couch long enough for one of us to be sitting in it like a lounge chair and another to be working at the desk. We decided it was best to just make it the whole length of the other side and have the storage shelves mirror those on the bathroom side. In hindsight it may have been smart to make those shelves wider if we wanted to add more of real dresser or a platform for a wood burning stove later- but for now we like the symmetry and love the huge couch.
We determined the size of the table based our laptops and plates. I wanted it to be wide enough for us each to have a place setting without having to stagger them and for us both to work on our laptops at the same time. This resulted in a 24″x27″ table top which also gave us the dimension of the ottoman. For the shorter side of the couch the cushion is only 22″ wide, which resembles the size of a normal chair. The longer end of the couch was then the remainder of the space which was almost 58 inches. The height of our couch base was actually determined by our RTIC cooler which we planned to store under the couch. The base is 16.5″ and then we have 6 inch cushions on top of that. When determining the sizes of your couch be sure to take the space cushions take up into account as these can change your depth and height significantly. The arm rests are really more of back rests and therefore higher than average at 20″ above the couch base (14″ above the cushions).
The Buildout
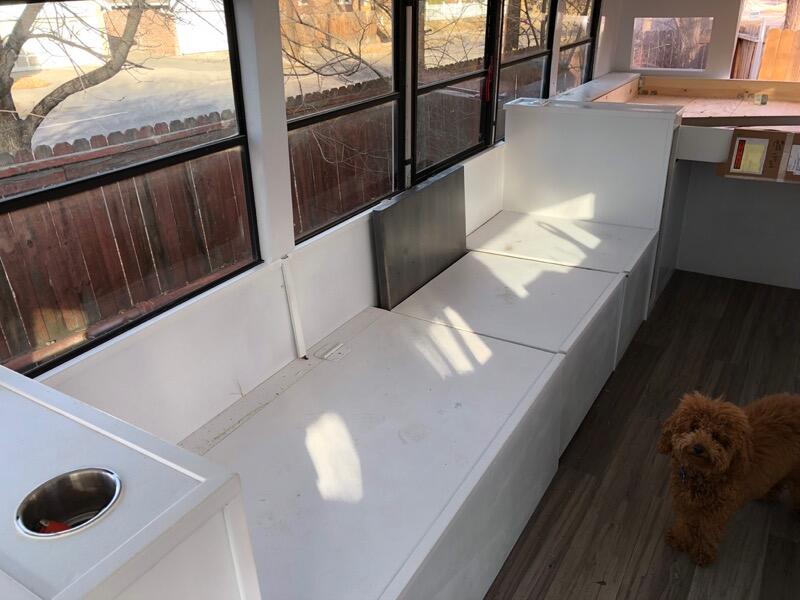
First we framed out the arm rest and long section of the couch using 2x3s and then covered the sides in plywood. We then used a piece of plywood on top and cut with a few inches at the back and added a hinge so that it is easy to lift to get into the storage.
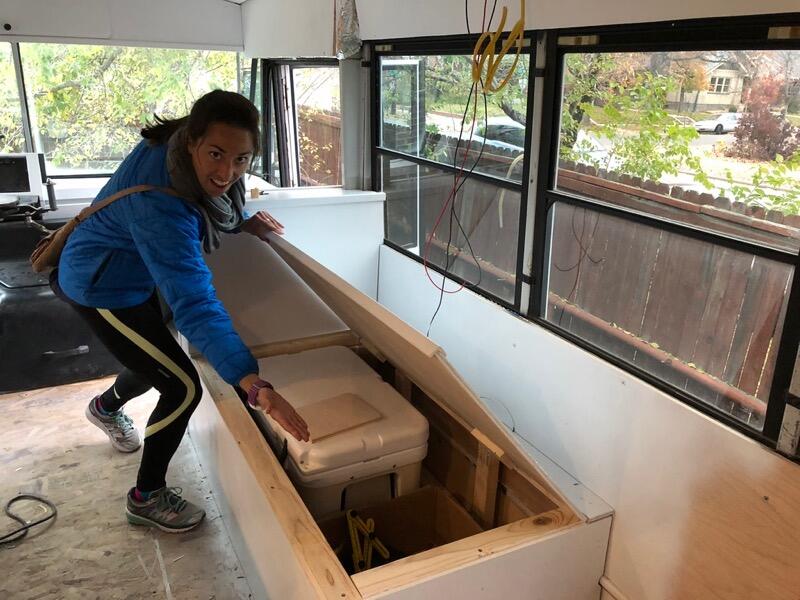
Here is the Long Section with Our Friend Caroline
From here we then built the storage shelf backrest and short section in the same fashion as the long section. Then we attached our fold up table brackets to the wall and the table to the brackets.
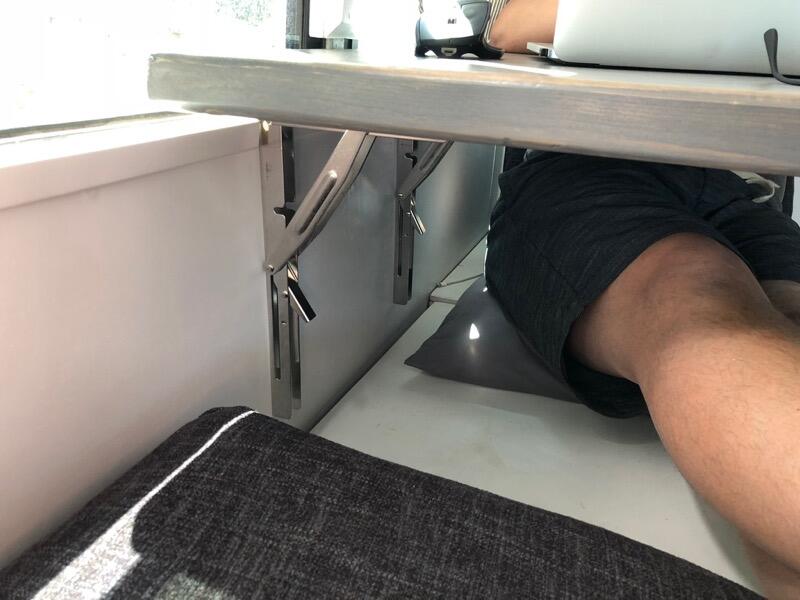
Table Brackets
The last part to build was the ottoman. The ottoman was a little different since it isn’t attached to the bus at all. It is essentially just a heavy duty box framed with 2x3s and covered with plywood on 4 castor wheels.
Entire Couch Base with Table Folded Down
The next step was cushions. Since we had three totally different and non-standard size sections of the couch we knew we would have to make our own cushions (and cushion covers). For the cushions themselves we opted to buy a 6 inch memory foam mattress and then cut it up into the sizes we needed (fun fact our 27 inch width is exactly half the width of a full size bed). We cut the mattress using an electric kitchen knife which worked like a charm. I do recommend tracing out your cutting lines on both sides of the mattress which help insure you are cutting a straight edge rather than at an angle.
We then went to the local fabric store and picked some upholstery fabric after reading everything on the internet about how to sew box cushions. I’m pretty crafty but it had been a decade or more since using a sewing machine. I ended up going to a local design space and paying hourly to use their sewing machines to complete the project. It took me about 7-8 hours total to cut all the pieces and sew them together including sewing zippers in. I was shocked when I brought the covers home and shoved the cushions in and they actually fit and didn’t immediately fall apart. After going super custom for our base cushions, we elected to just use a bunch of throw pillows for our back cushions. Both the throw pillows and the covers were nice and cheap at Ikea.
Finished Couch Cushions
Having lots of small throw pillows also makes it easier for us to move things around for different room setups. The work station set up includes the short cushion, the table and a large monitor that is on a swivel mount. The mount was custom created by our welder friend Chad at C-Squared Studios and makes it so the monitor goes back and forth between the bedroom and the workstation.
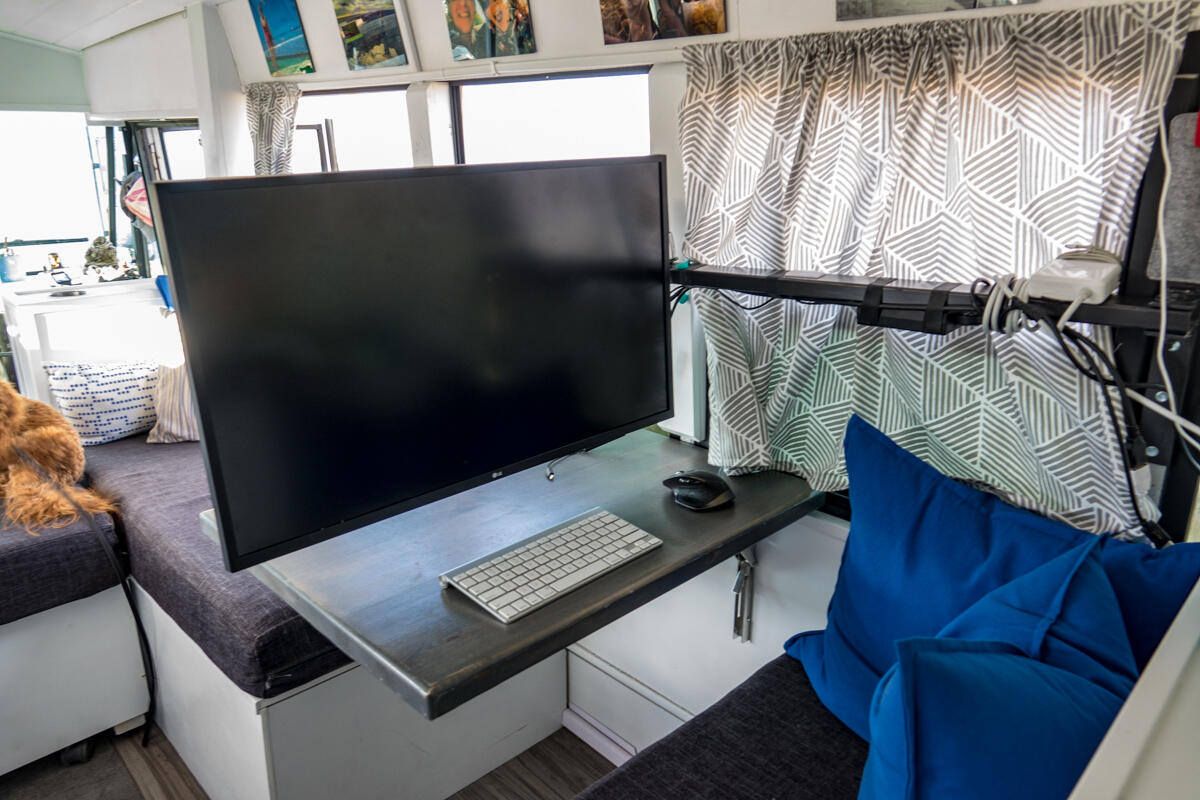
Living Room: Work Station Setup
A lounge setup can be created by moving the ottoman along the couch to create a leg rest.
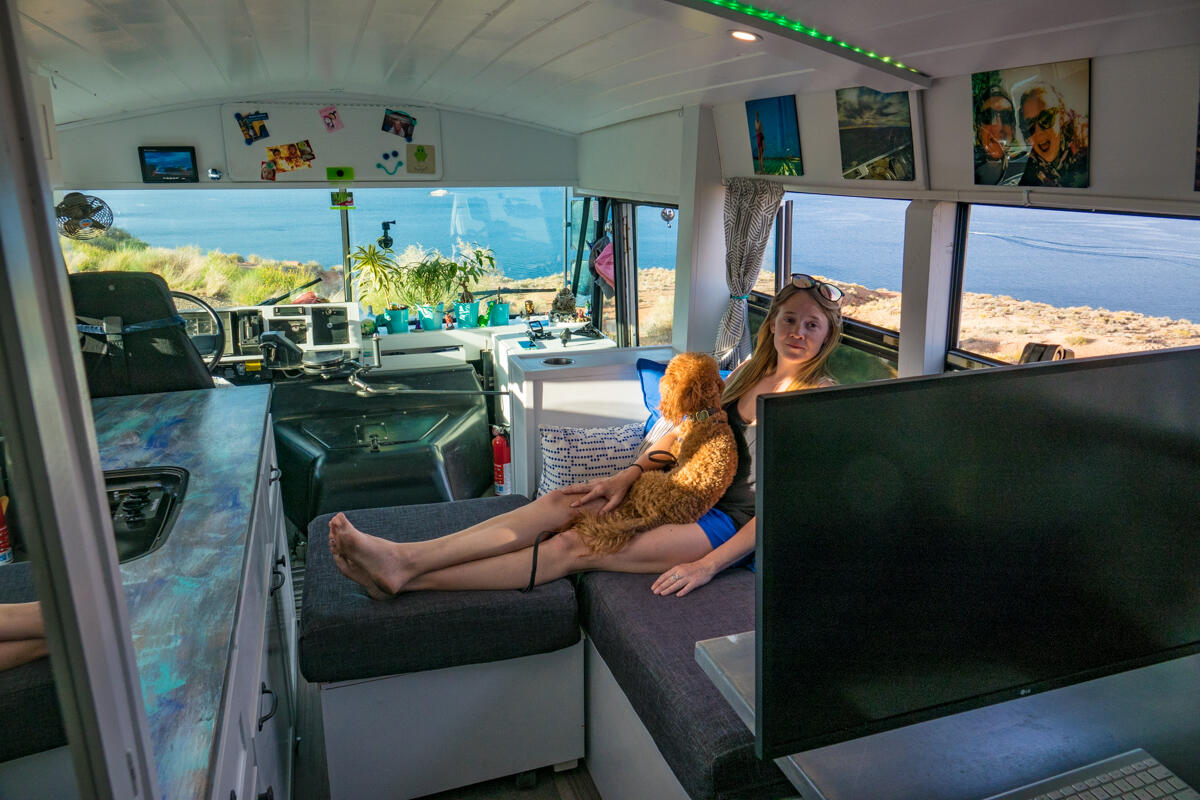
Living Room: Lounge Setup
We can accommodate a third person (or Miles) for dinner by using the ottoman as an additional seat for the table.

Living Room: Group Dining Setup
Or we can use it for just the two of us and keep all the tacos for ourselves.
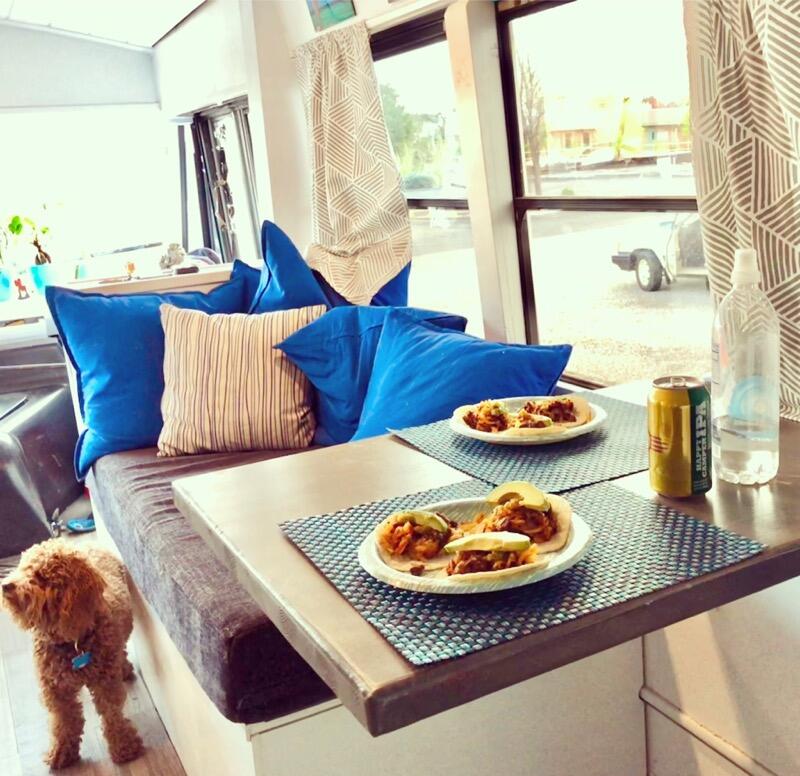
Living Room: Kitchen Table Setup
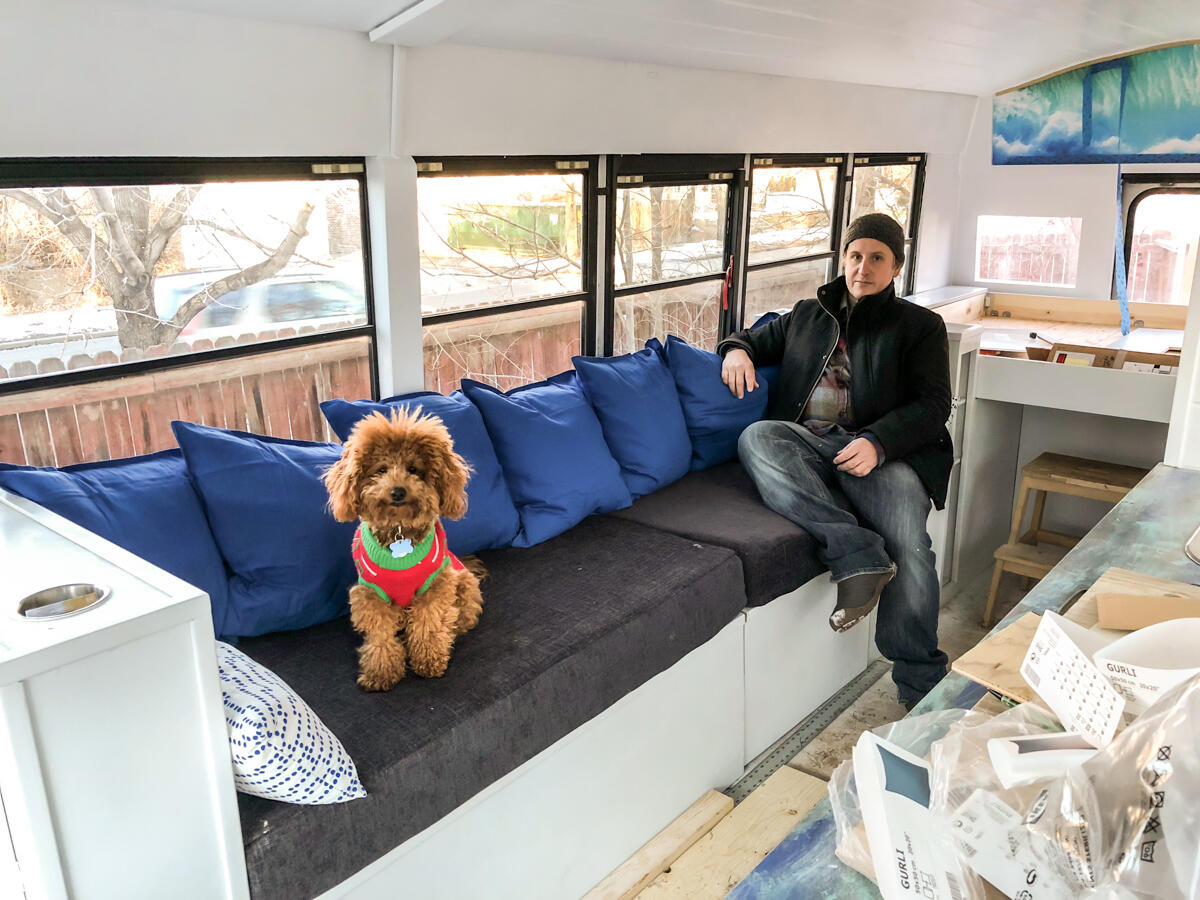
But most of the time we like it as one big long couch to spread out on.
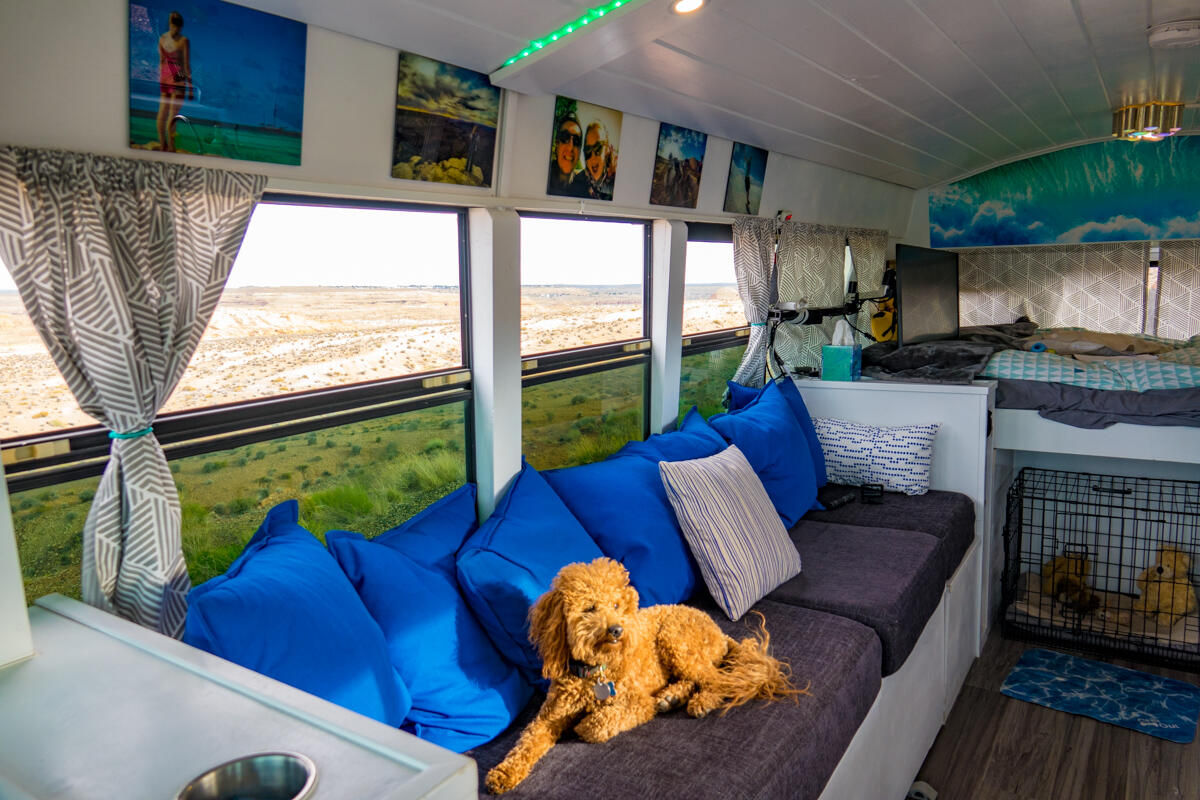
Living Room: Long Couch Setup
Or to sleep on.
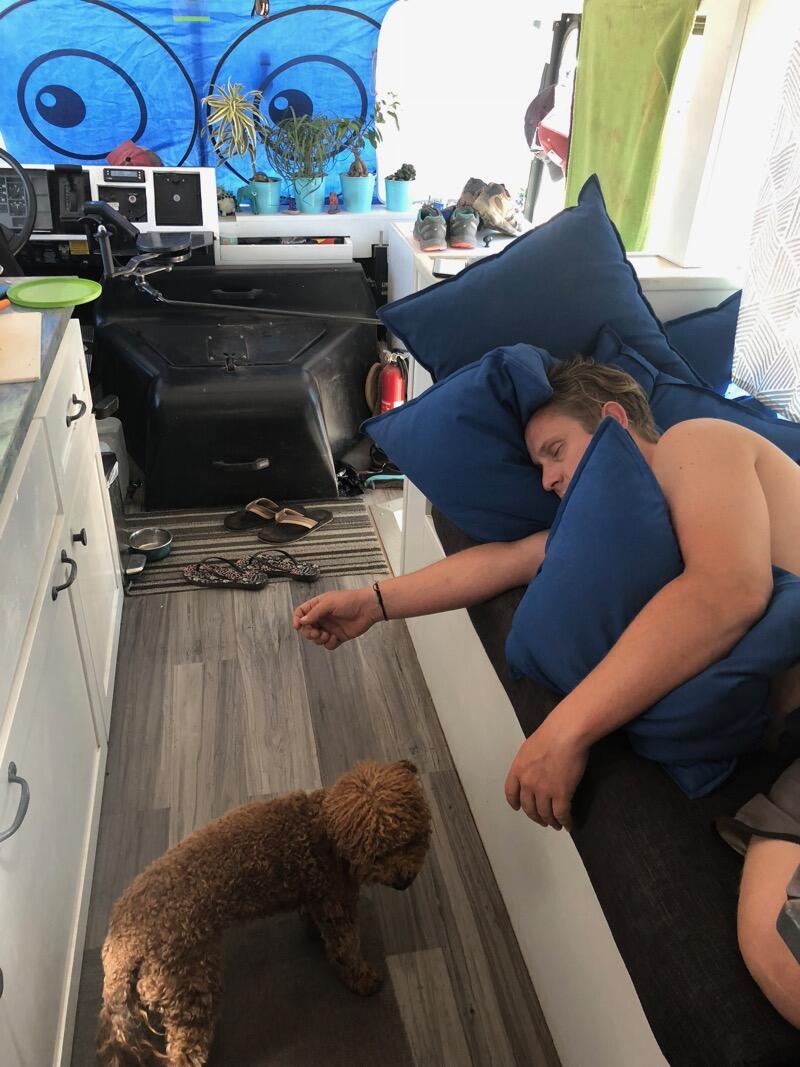
Living Room: Nap Time Setup
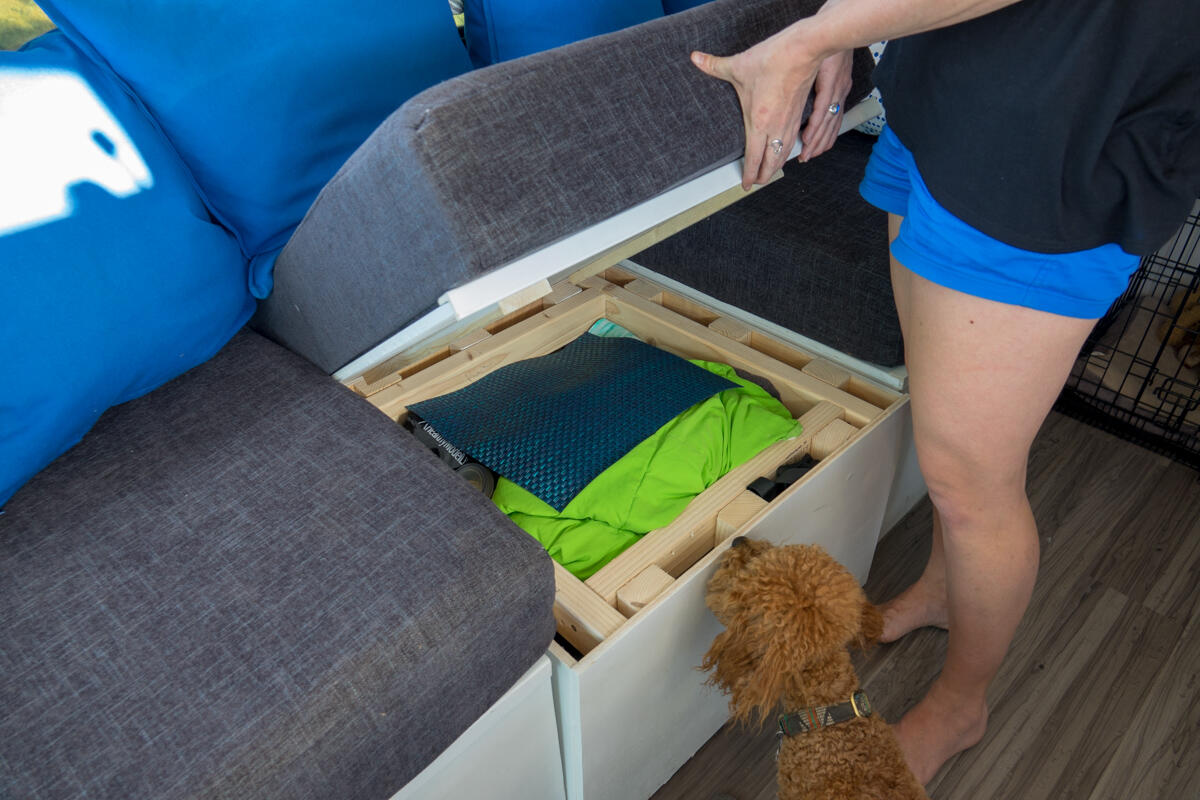
The living area houses a ton of our storage in the bus. Under the long couch cushion is our RTIC cooler where we store all of our dry goods, alcohol, cookbooks, cleaning supplies, the air fryer, dog food, treats and more.
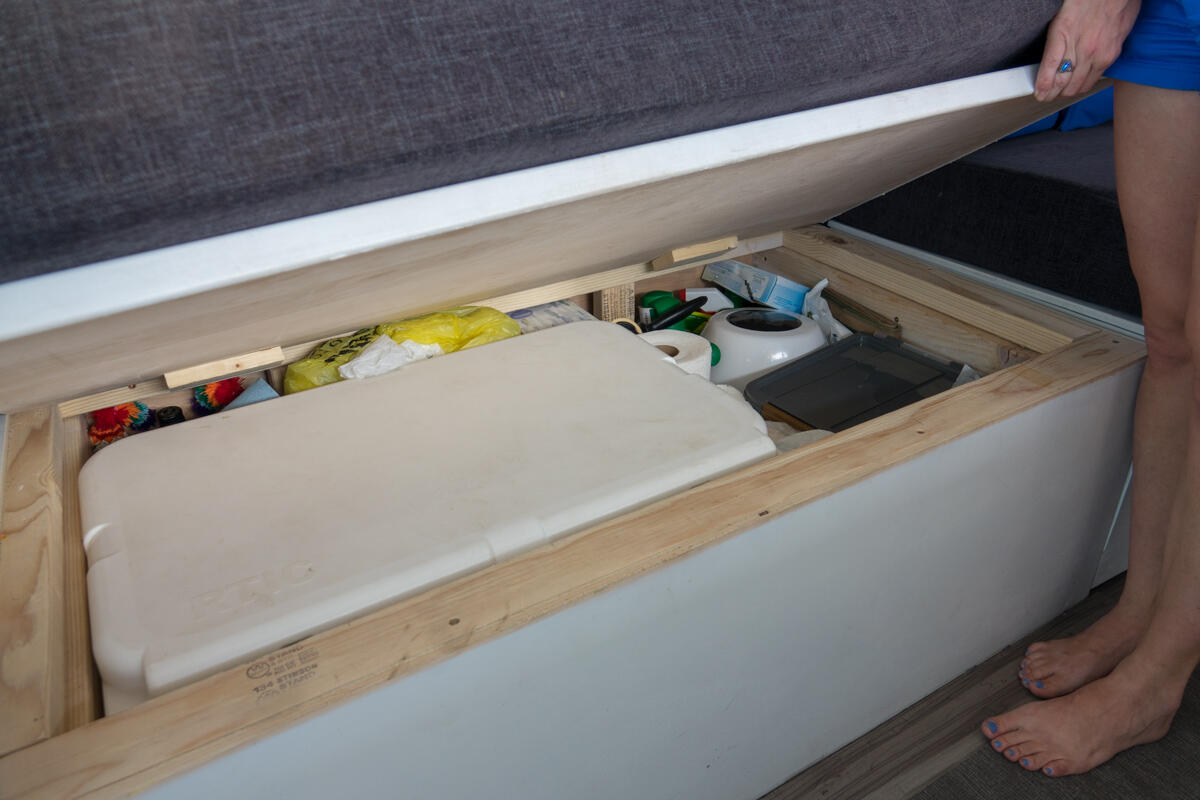
Under the Long Cushion
In the rolling ottoman we keep games and puzzles, stationary items, towels, blankets and placemats. In the short cushion we keep most of our electronic stuff and a safe for storing valuables.
In the Ottoman
We also have storage shelves like the ones on the bathroom side. These hold more random electronic items, books and clothing items we use everyday like our pajamas. The living room is finished off with curtains that were made out of curtains from Ikea as well as some personal photos we had hanging in our apartment that happen to fit perfectly above the windows. Also, we added a multicolor LED strip on the edge of our arch that houses our normal LED lights. We can control the color and motion of the strip with an app on our phones thanks to Nick’s tech savviness.
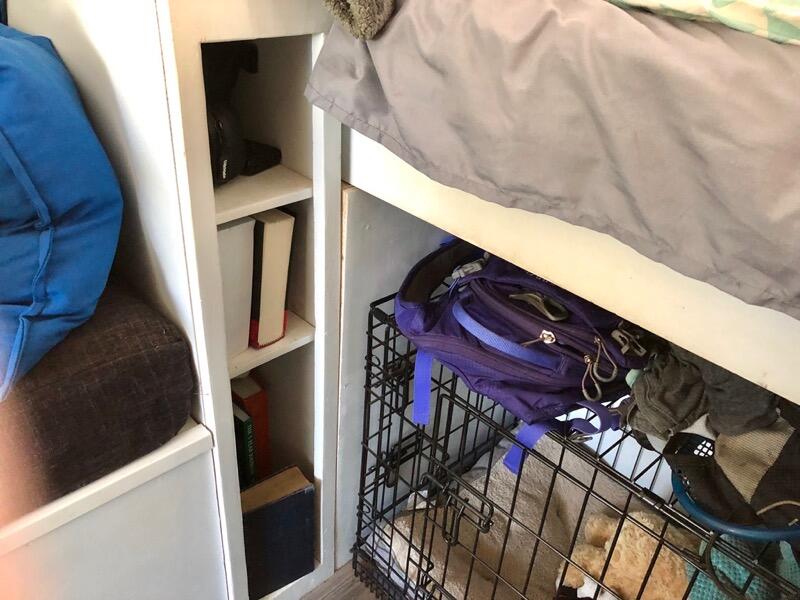
Storage Shelves
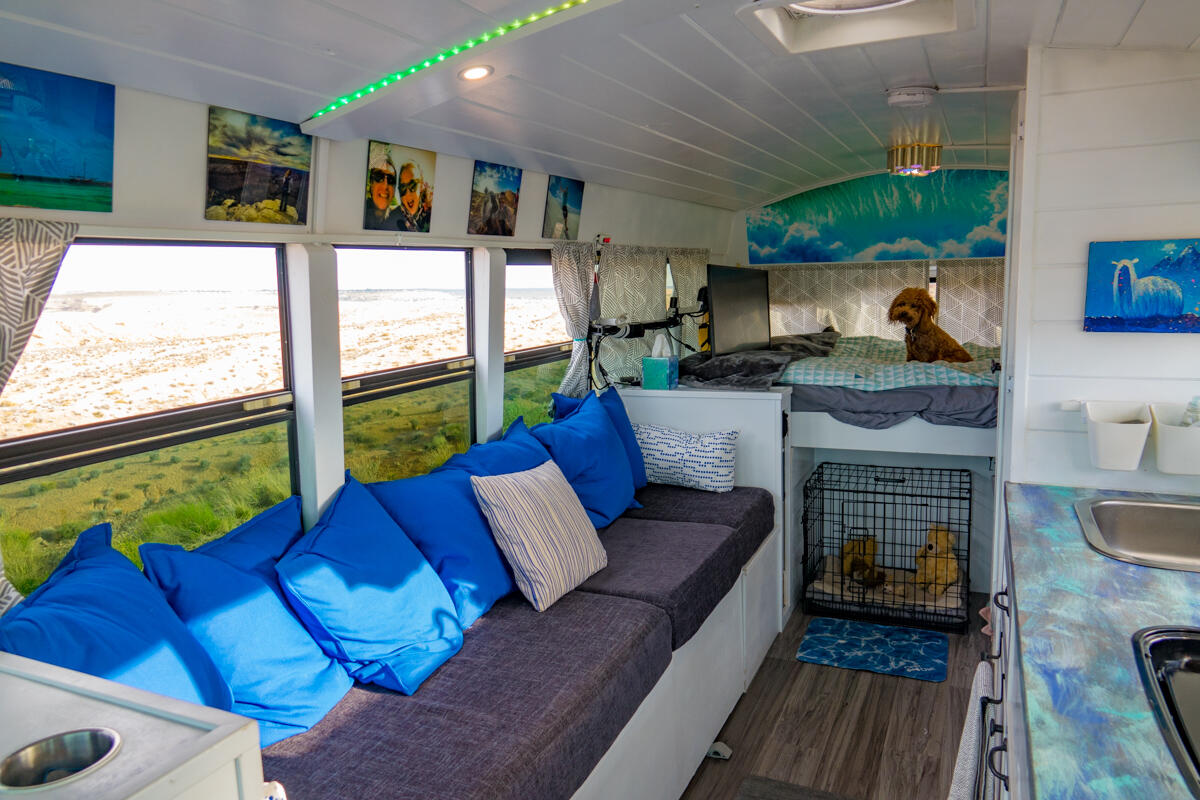
Living Space with Wall Pictures
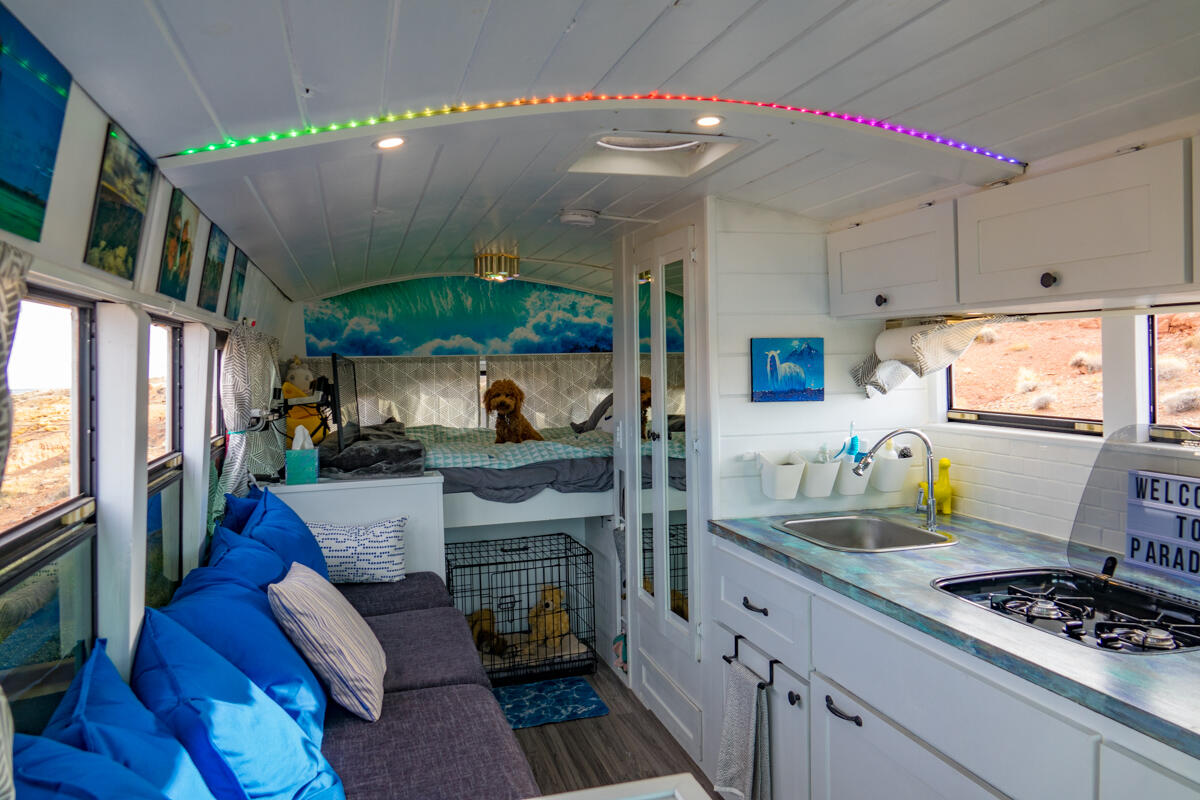
View of Bus and Led Strip
The only downside to our living area is that, without fail, the thing you need is always under where the other person is sitting.
To return to Our Complete Bus Conversion Guide click here.
Completed Conversion Tour
You can see a full set of photos from the completed conversion here, and you can see a video tour of Vicaribus below.
We hope you enjoyed reading this post and now feel more like you too know what it’s like to live in a bus. If you would like to keep feeling this way, subscribe to our email updates and we will let you know when we make new posts for your vicarious pleasures. Just full out the form below and click subscribe!