Part 2 of the teardown did not prove to be as hard as part 1, though I’m not sure if I feel this way because it was entirely true, or if it is because I waited so long to write about it here. Time distorts the memory.
Lucky for us, our bus came with the seats pre-removed by the previous owners, so that was a task we did not have to endure. These owners also laid down a nice looking faux wood floor that, for it’s purposes, looked pretty good. Unfortunately, this flooring had to go so that we could get down to through the other layers for a fresh start. Had we been gentle, most or much of this flooring could have been saved for reuse, but as we intend to go a different direction for the look the floor, we were not gentle, and the majority of this flooring was destroyed.

The first floor panels ripped free
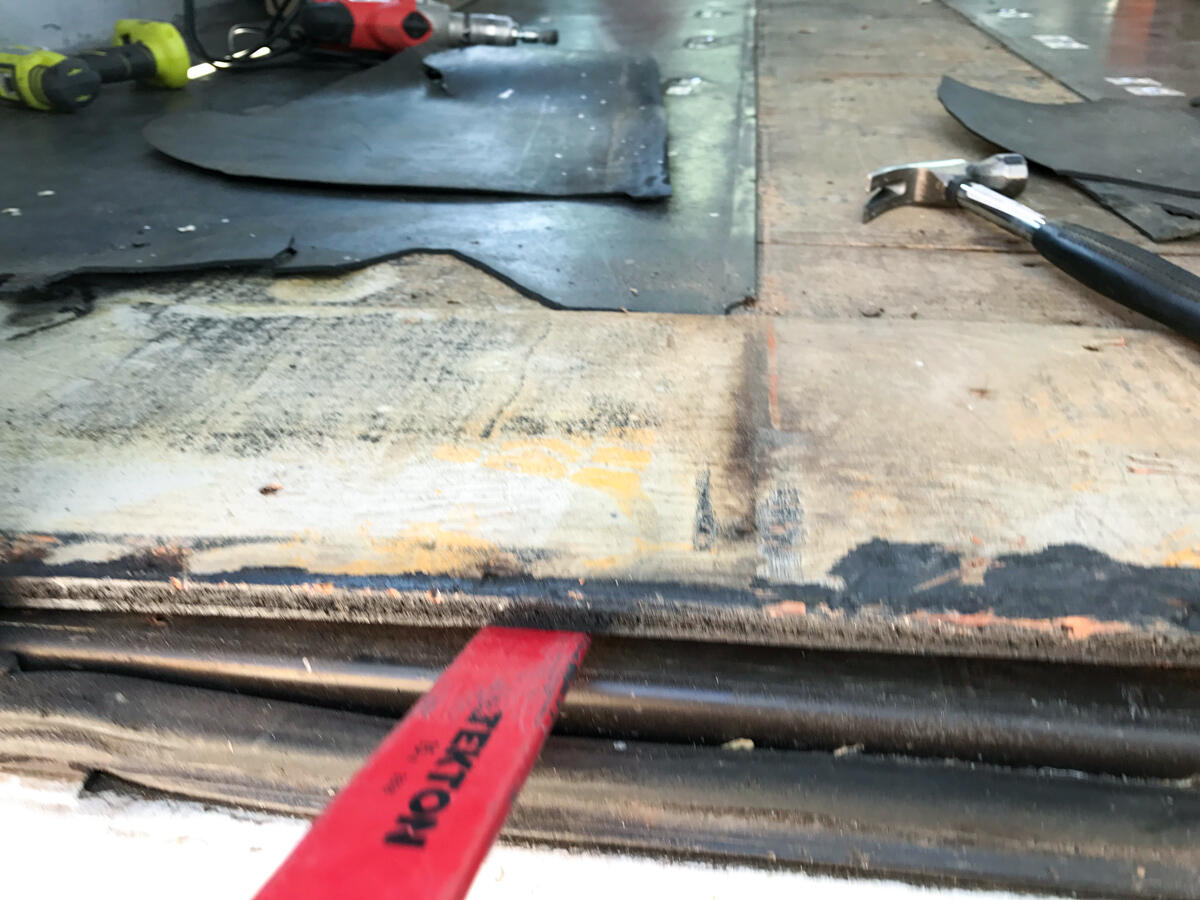
Under the nice flooring was a layer of rubber sheeting attached to the old, and somewhat rotted plywood. Under the plywood was, in some places, mildly rusted sheet metal, and in others, heavily rusted sheet metal. Fortunately, the rusting was only superficial and did not affect any structural integrities.
Getting the rubber off was not too tough using a small crowbar thingy, but ultimately proved to be unnecessary once we were able to start getting the plywood to start coming off, as the rubber would just come along for the ride.
Getting the plywood off only took strength, perseverance, and a pair of the crowbar thingies. The 4-by-8 sheets were nailed down, but were easily divorced from their rusty captors due to the aged state of the plywood.
The first panel of plywood broken free from it’s ancient bonds
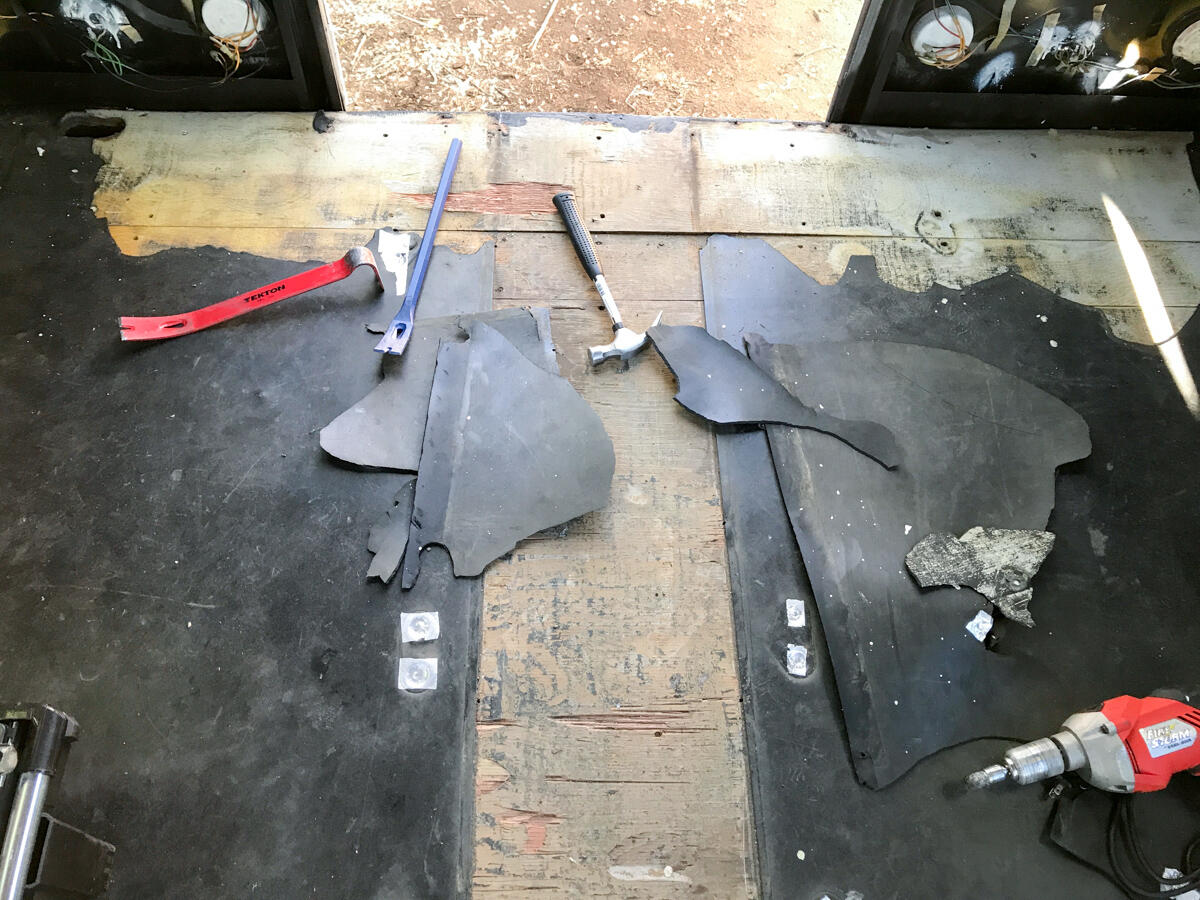
The tools of the trade
Once the plywood was evacuated, the next step was the nail removal. We started by just banging them back into the floor, leaving some nice spiky daggers sticking out below. Pride quickly returned and we moved on to extraction instead of flattening. Some nails gave up easily, others required further convincing. The best method to coax them out turned out to be prying with a hammer, using strong, quick, ligament tearing, jerking motions. (no ligaments were injured in the making of this story)
Pro tip: Don’t get the cheap hammer. Not only will it bend to the will of the nails, but ultimately break.
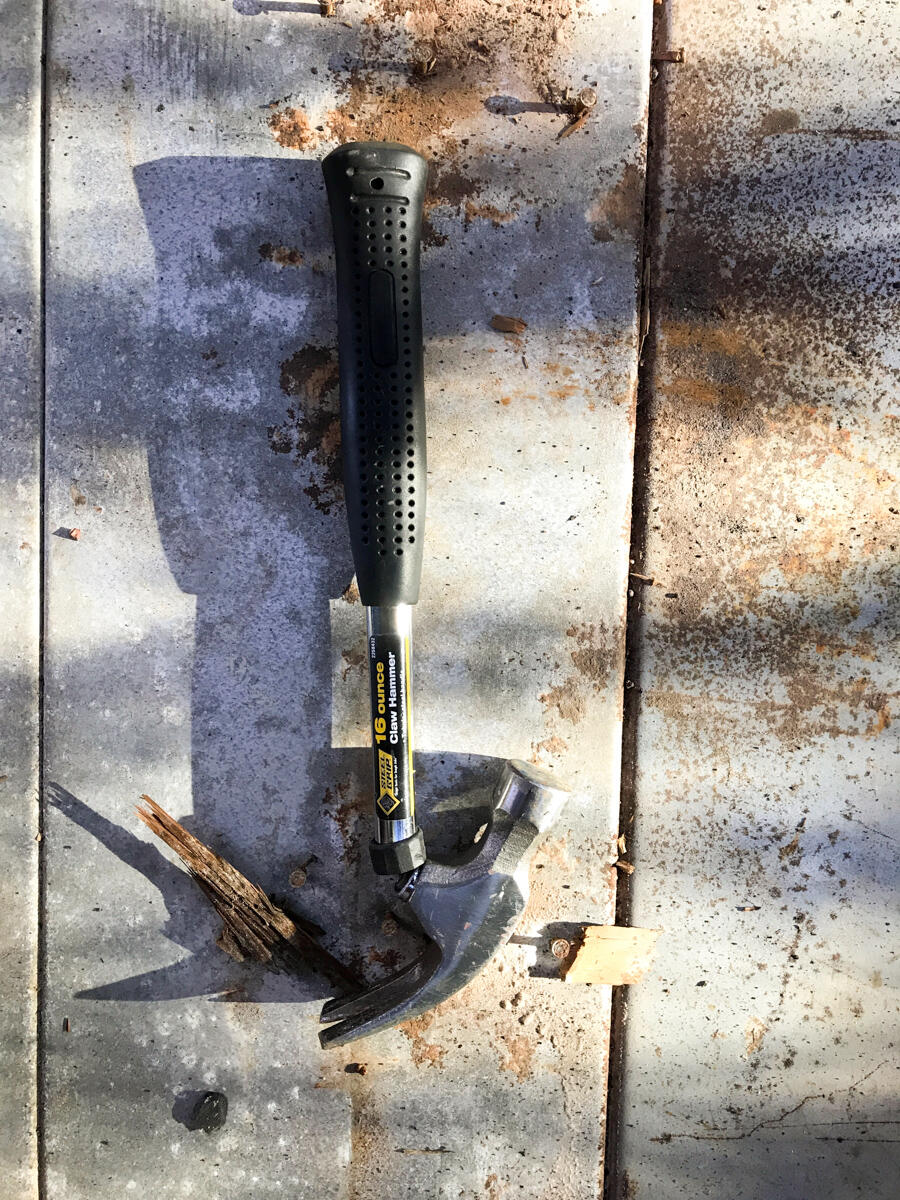
Hammer #1 bites the dust
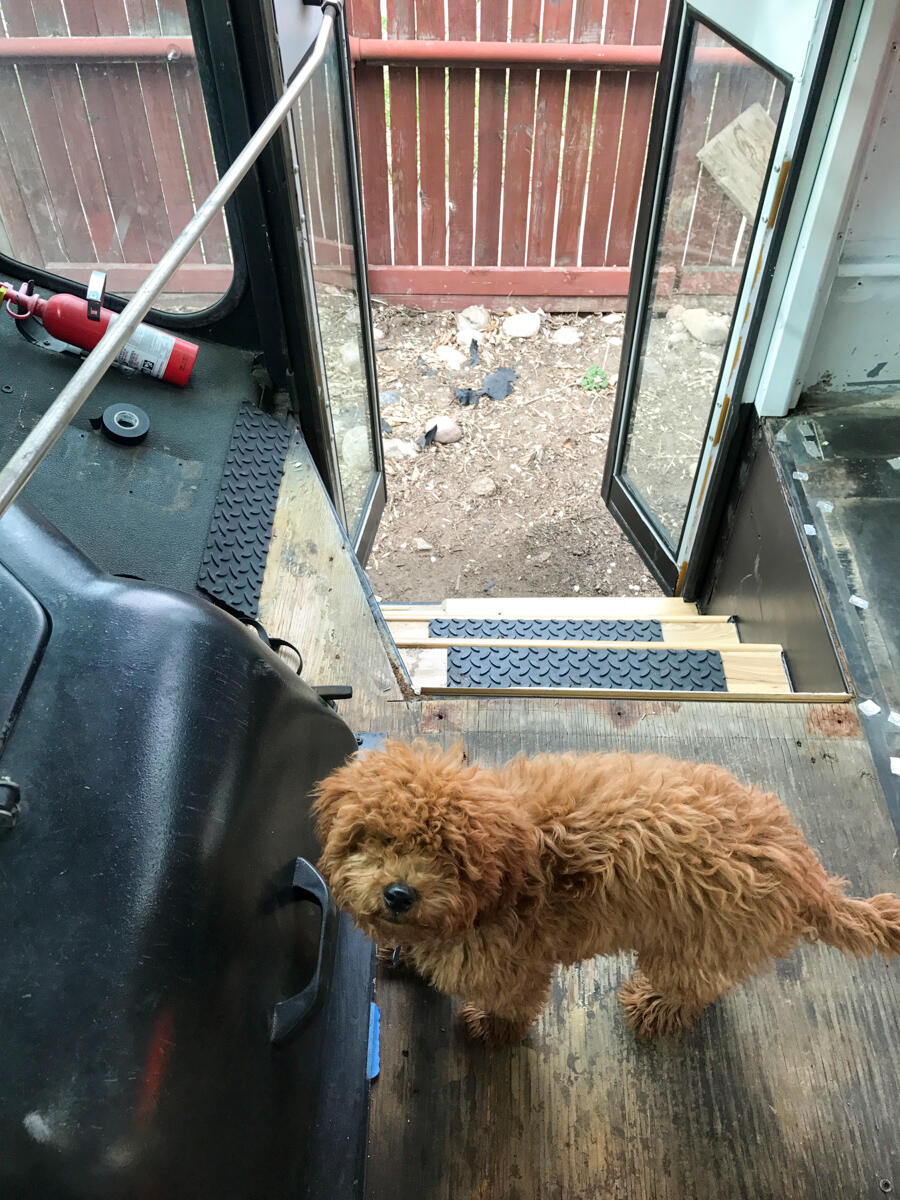
Miles helping with the last piece of plywood
Once down to the metal, the last hurdle was the rust. 98% of this rust was ground off with a power drill using a half dozen or so wire brush attachments. This was a slow, dirty and tedious process. If this is your approach, get a good book on tape, and an old jump suit, mask and goggles.
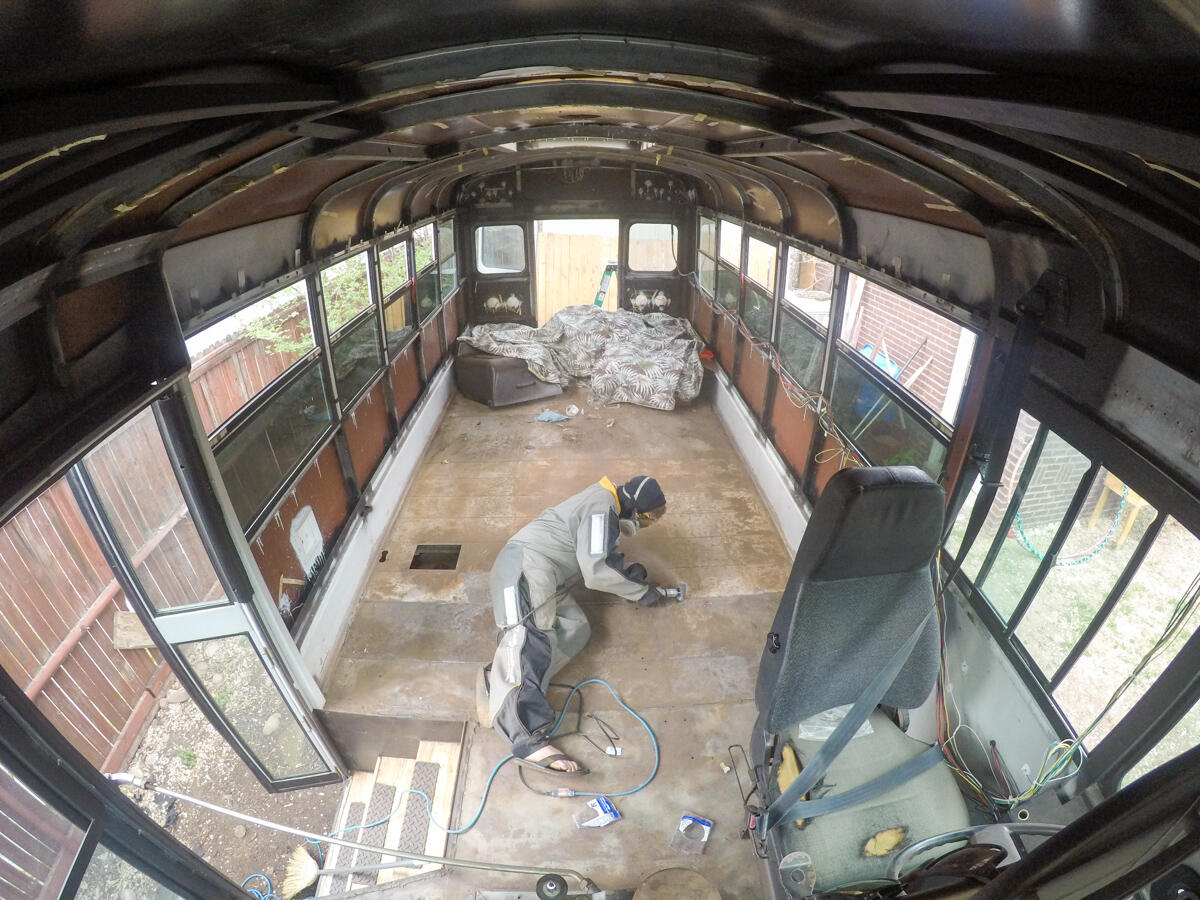
Lazy days rust removal
We did discover that an angle grinder with a flat sanding attachment worked at a much faster pace, but required more than a battery operated grinder, such as we have. One battery would give up after about 2 square feet.
With the superficial rust removed, the remaining metal was treated with a rust converting liquid. The brand of which escapes me now.
And there you have it, the teardown is complete. Next up, the rebuilding!