Bus Conversion: Tearing down the house (Part 1 – The walls of tribulation)
Before you can make something beautiful, you really need a blank canvas for which to work your magic on.
I mean sure you can put lipstick on a pig, but is it beautiful? Most people would say probably not.
For a serious bus conversion, and I do mean serious, this means ripping out the insides of the bus. This ripping would typically include seats, walls, insulation and flooring. In part 1 of tearing down the house, we are just going to cover the walls and insulation. No need to cover the seat removal on this conversion, as this was done by the previous owners. Also previously covered is the A/C removal.
I’ve read many a horror story about pounding away at the thousands of rivets that hold the inner body sheet metal panels to the frame on other bus conversions. Fortunately for me, so I thought, my panels were held in by screws, not rivets. Sure, there were over a thousand of these screws, but with some diligence and elbow grease it should not have been that big of a deal. Should, coulda, woulda… As it actually turned out, there were two things going against me on this endeavor. First, the previous owners had painted the interior white, while making it look nicer, for my efforts this provided some nicely filled in and painted in place screws. Second, and really the main culprit here, at least 75% of these screws seemed to be rusted in place.
I started in the back of the bus with my trusty new impact driver – one of many trusty new tools just for the job. On my first line of screws I would say it was about a 50-50 split between successful screw extractions and severe screw head stripping. The gung-ho mood was quickly dashed as I looked out at the thousand or so remaining screws. Thus began a journey of trial and error, that in the end, thankfully got things back on track. What follows is a breakdown of what worked and what did not work.
Things that did not work
Screw extract drill bits – you would think this would be the obvious solution, I mean, hell, the name says it all. Wrong. While I cannot rule out user error, these did both diddly and squat for me on this job.
Drilling off the screw heads with a large titanium drill bit – while this did technically work, it was tedious, strength sapping and just too slow to be a realistic solution.
Using an angle grinder with an angle grinding plate – too slow, too hot, too hard.
Things that did work
Beating the crap out of the screws with a hammer – I honestly don’t remember if I discovered this technique through the act of releasing rage or just dumb luck, but I’ll be damned if this was the first step on my way to actual progress. Bludgeoning the screws with a hammer seemed to a good job of breaking the screws free of the paint and the rust that locked them in. With this technique alone I was able to get my ratio to about 80% success on the screw removal.
Trying different Phillips bits – mixed with the hammer time, this probably bumped me up to around a 85% success rate. I found switching between a skinny one and a fat one was all I needed.
Beating the crap out of the screws with a hammer, but with a screwdriver as well – by placing a screw driver in the screw head and hitting the screwdriver on its backside, I was able get to around a 97% success rate. The working theory here is two fold. One, this improved the shape of the slot for the Phillips bit to enact its torquey forces. And two, further and more directed impacts probably helped break up that rust lock a bit more.
Using an angle grinder with a CUTTING wheel – switching to a cutting disc was the key here. With a quick cut straight onto the center of the head of the screw, the screw was left defenseless against a good wack from hammer into a pry wedge bar thing shoved under the screw head. This got me to 100%.
Pro Tip: use earplugs when performing any of these steps, and try to do it when the neighbors aren’t around.
Cutting and pulling and mild itching
Somehow I did not initially notice that all of the panels under the windows were not screwed in at the top, but rather the metal was folded under the windows themselves. Angle grinder to the rescue! A few cutting wheels and about 8 cordless angle grinder battery charges later, this was easily taken care of.
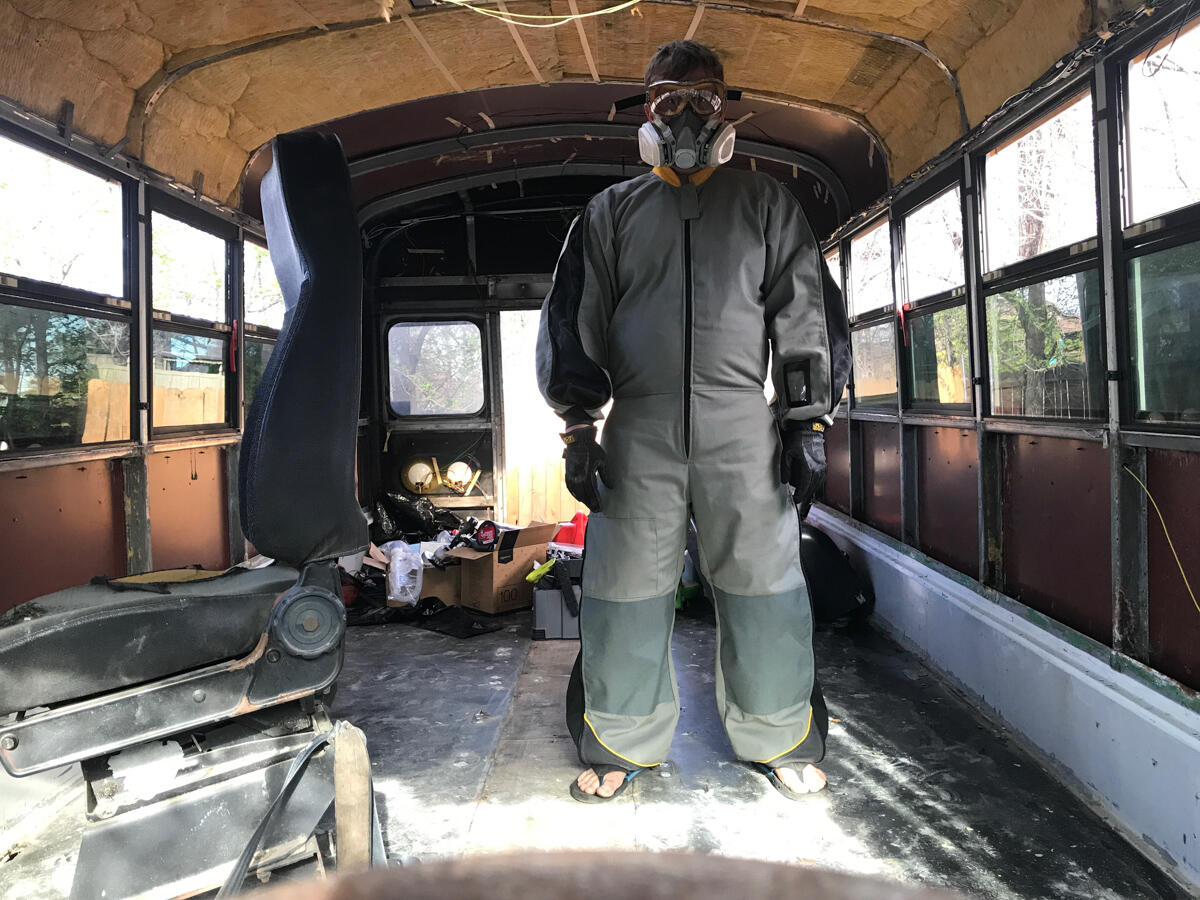
Now onto the crappy old fiberglass insulation. This is totally not fun and needs to be taken with some safety precautions in mind. You don’t want to touch or breath this junk because it is nasty. This gave me a chance to do my best Heisenberg impression. Heisenberg, you say? Yeh I didn’t know what that meant either, being one of the 8 people who still hasn’t watched Breaking Bad. But according to the comments on my selfie in my getup, that’s who I looked like. I just thought it was cool to finally get to finally have a use for my expensive custom skydiving jumpsuit that I had made a couple years back. I never used it in the sky because I did such a crap job with the measurements that it would have easily fit two of me in it. (Except for the belly section. I got the belly section right.)
Once you get down to the insulation, you can finally get an idea just how much rust you’re going to have to contend with. For me it wasn’t too bad. Aside from nearly every single screw being rusted, there were only a few spots here and there on the frame and side panels that I had to grind clean and treat with some Rustoleum. It could be a different story in part 2 of tearing down the house when I tackle the floor.
Lets take a look at how things progress in picture form:

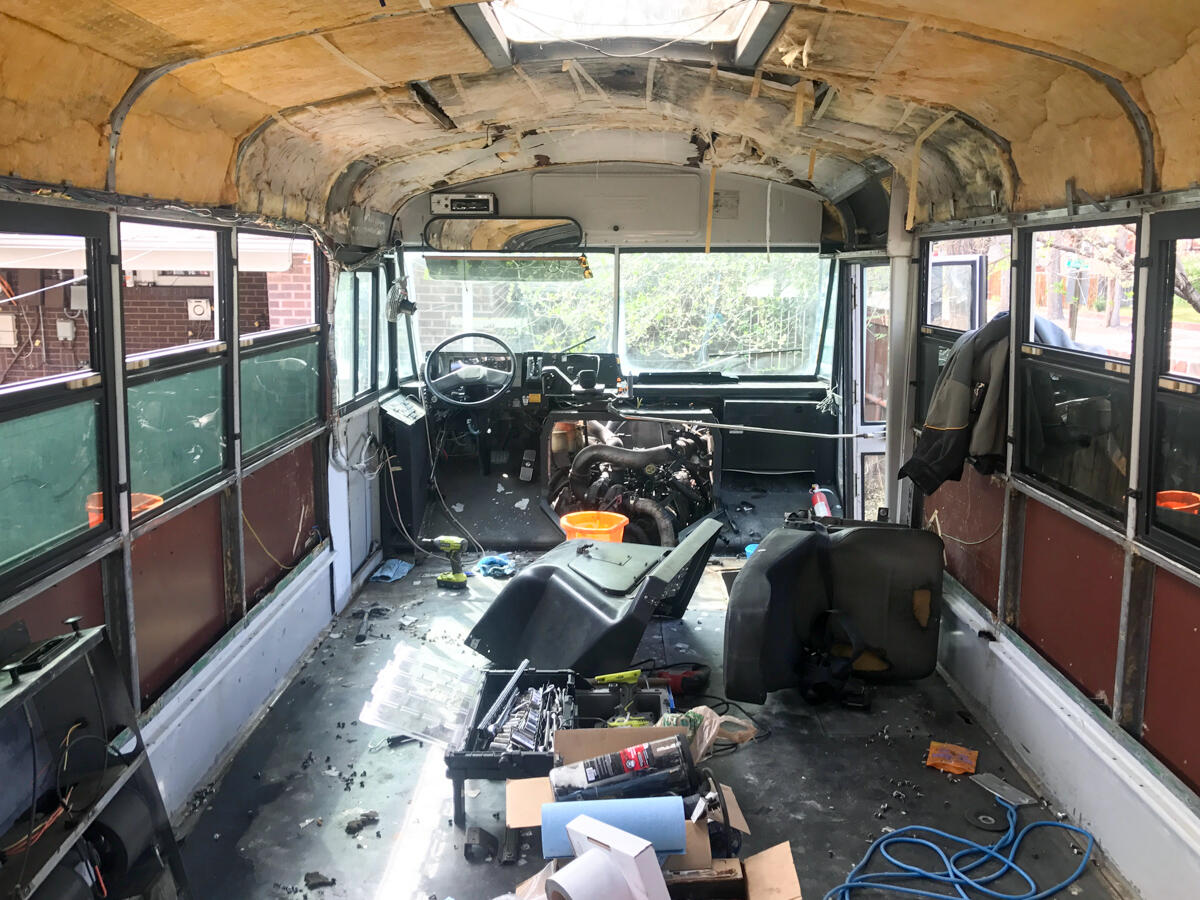
Before starting
Side panels unscrewed
Side panels cut, roof off
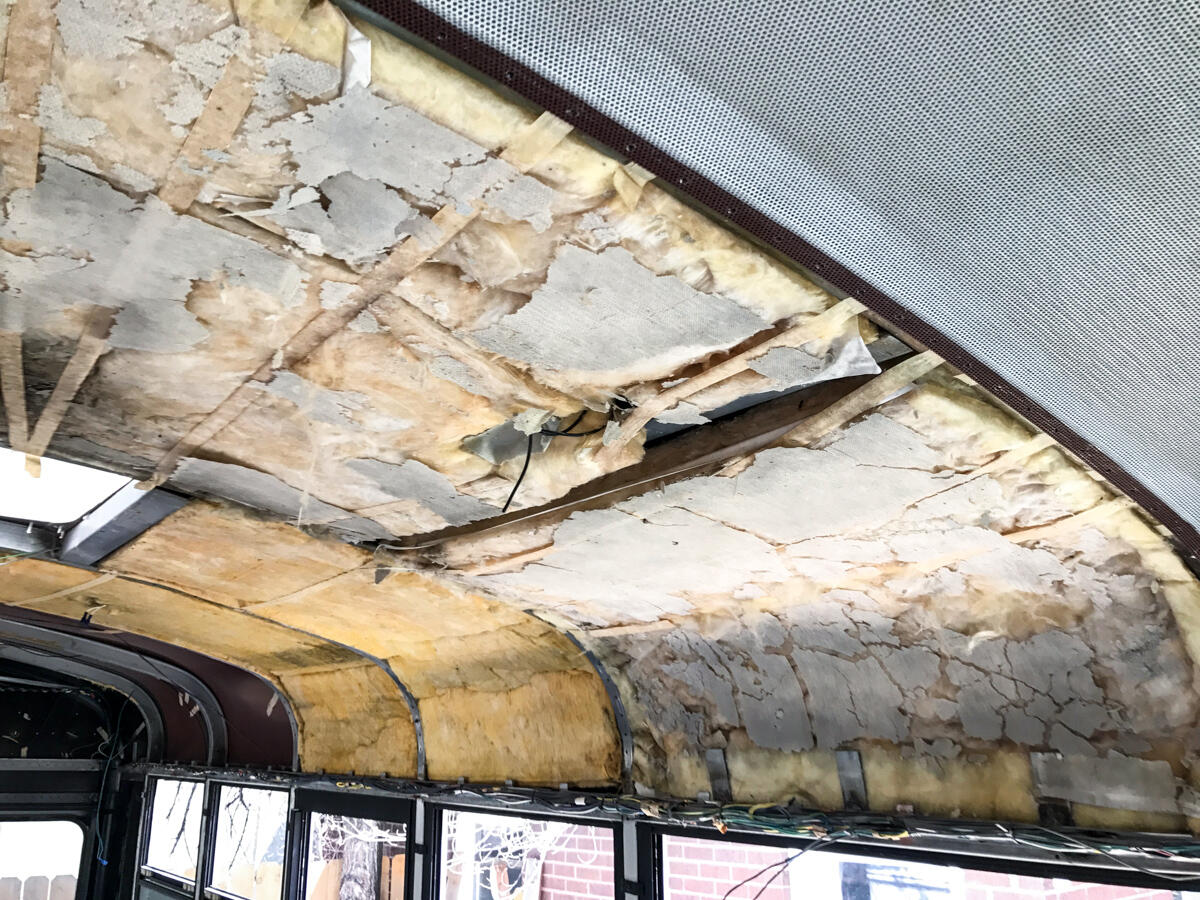
A better look at the insulation
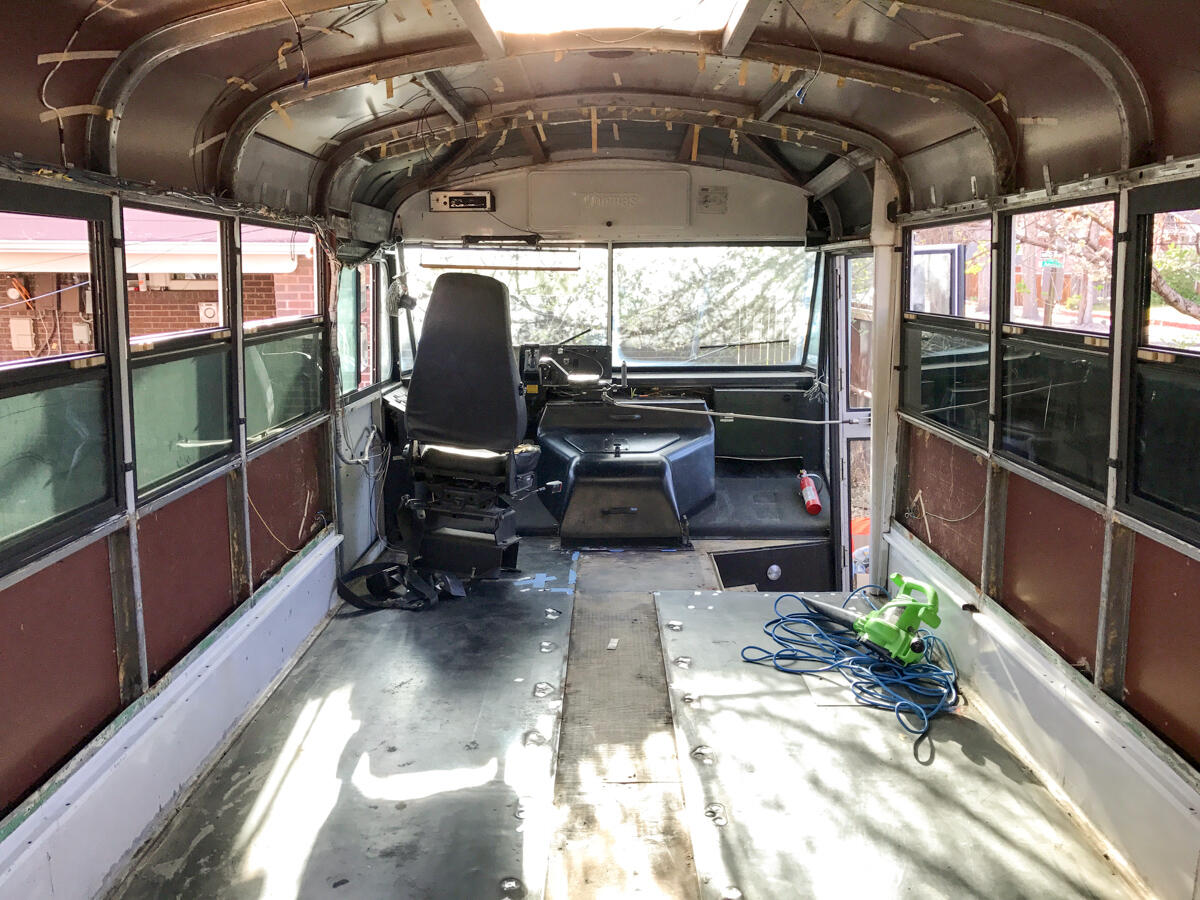
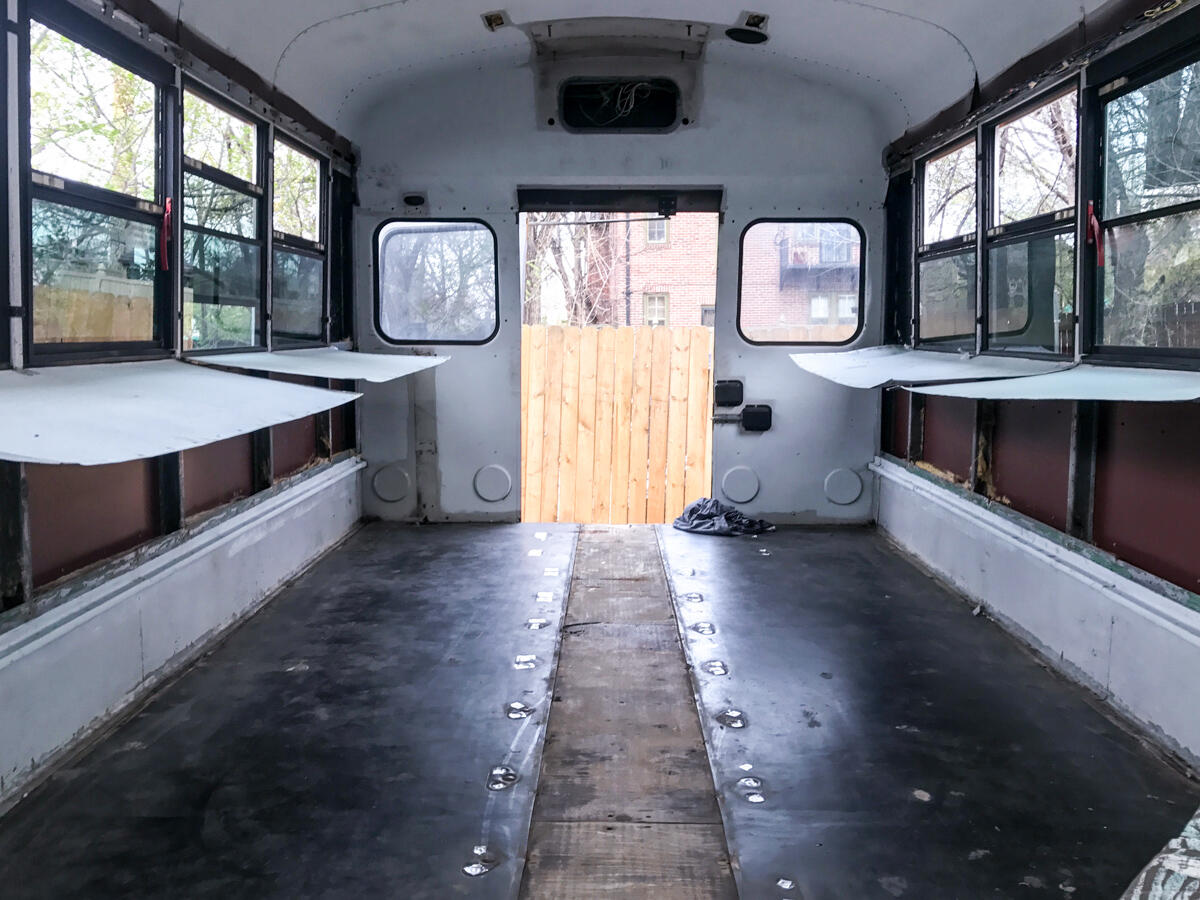
Finished!
A bonus treat for those of you who have made it this far
Please enjoy the first of one or many videos in a series I like to call “Awkward Tips by Nick”.