The bathroom was a subject to much debate from the beginning. How small is too small? Do we need a shower? How do we waterproof it? Can we keep the window for ventilation? We didn’t have a lot of wiggle room for the bathroom dimensions since one end is our bed which is a fixed size and then other end is the kitchen that needed to be as big as possible. Therefore, instead of thinking how big of a bathroom we could fit, we changed our thinking to how small of a bathroom could be functional.
Our bathroom ended up being a 32″ x 32″ square. This gave us about 7 inches of extra space before the bedroom that allowed us to add some extra storage shelves and a place to house our hot water heater for the shower.
Step one of the bathroom was done far in advance and that was the holes in the floor for the plumbing. Then, the next step was building our shower pan platform. One recommendation, look at shower pans before you finalize the dimensions of your bathroom – make sure pans exist in the size you want, otherwise you will end up like us and have to make a custom shower pan (you can read Nick’s blog on the process here).
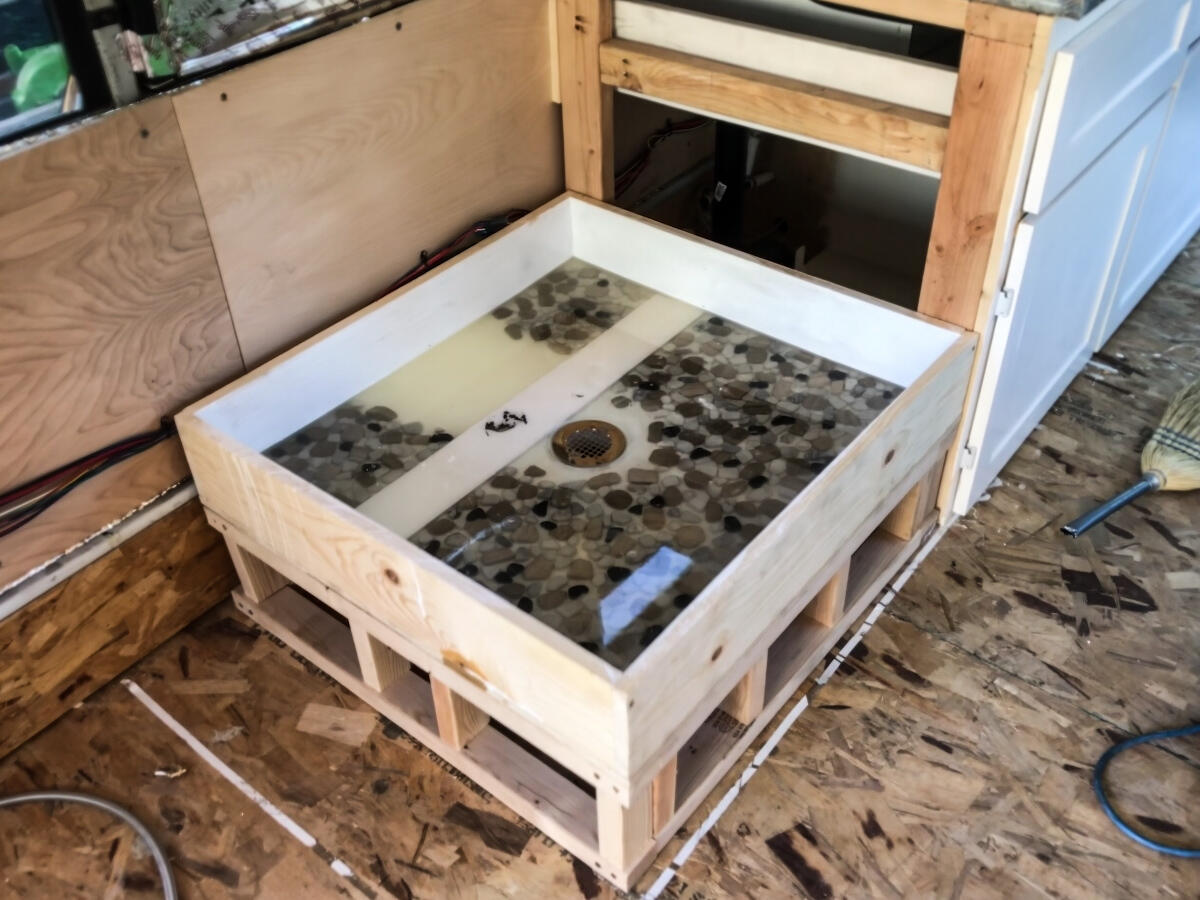
Shower Pan in the Bus
After we had the shower pan and frame in the bus we then framed up the walls and covered them in plywood. Cutting the rounded edge to the roof is tricky work. We recommend making a template with cardboard first and then using that to trace out your cut in the plywood. We then filled the small gaps with some flexible caulk we found at home depot.
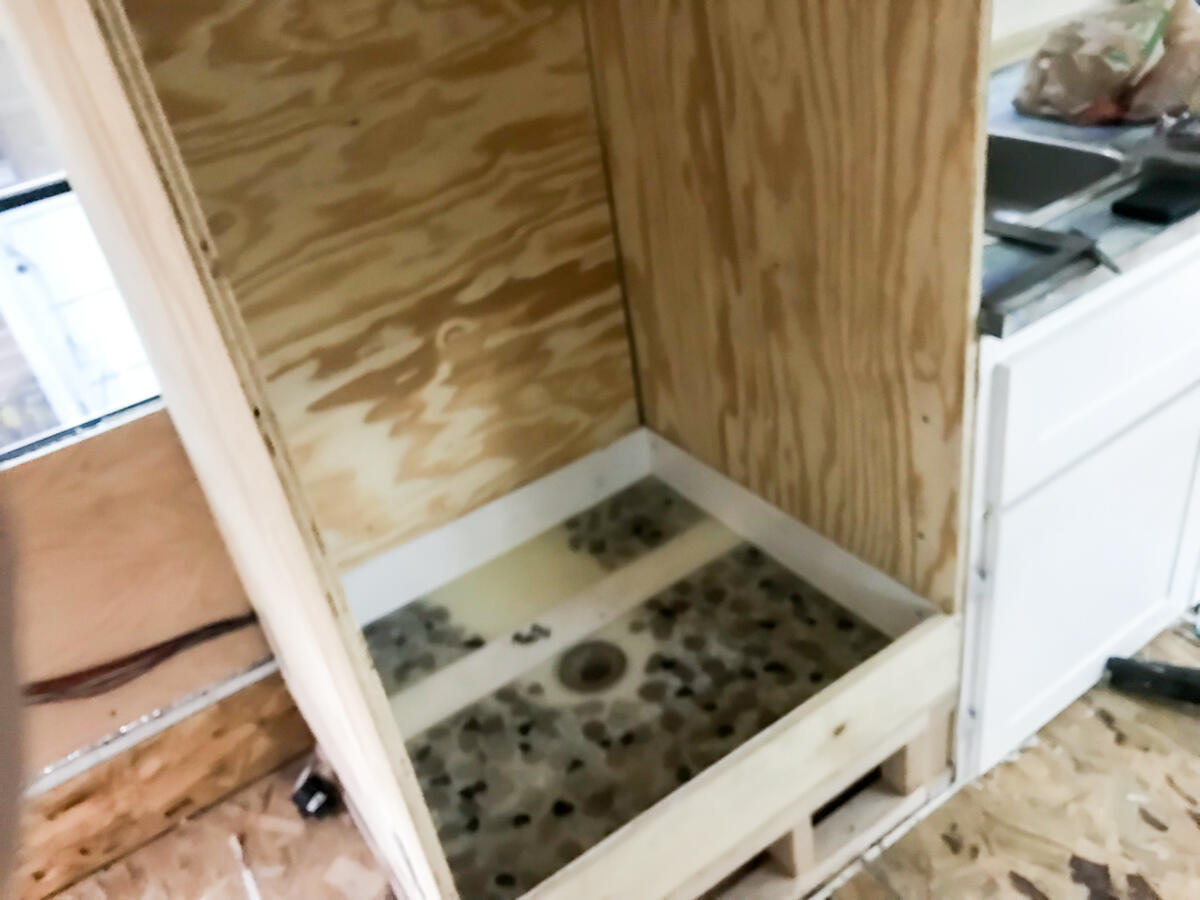
Shower Pan Plus Walls
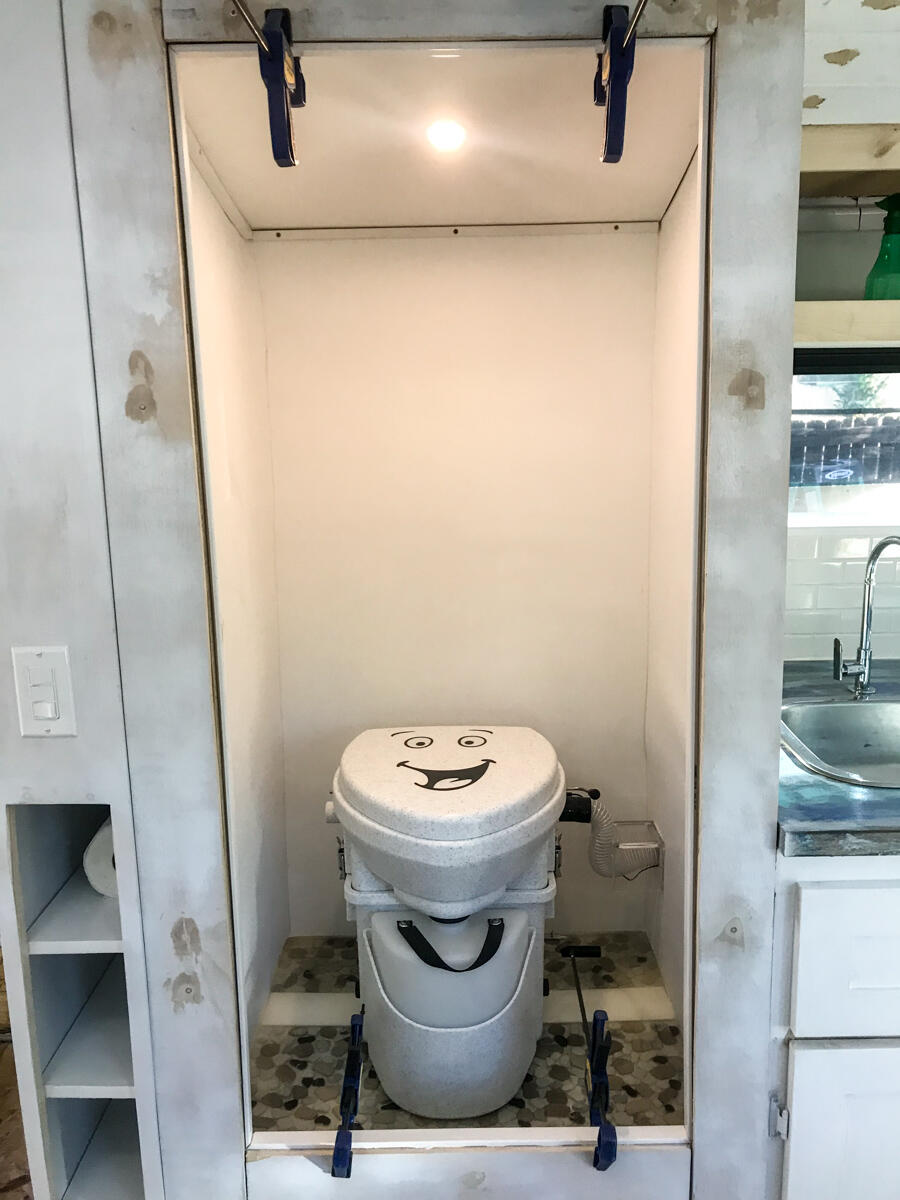
Around this time is when we installed our toilet. We went with a Nature’s Head composting toilet in order to eliminate the hassles of having a black tank and needing to fit anymore plumbing. The toilet was fairly easy to install. The base is screwed into the ground and then there is a vent fan that we have venting under the bus that is wired directly into our DC power supply. The toilet is very easy to use and really doesn’t smell. We use coconut coir for our composting and have found that adding 1 cup of distilled vinegar to the pee tank significantly helps with the smell that you can experience when dumping your tank. We have to dump the pee tank about every 3 days and change out the compost about once a month.
Happy Toilet
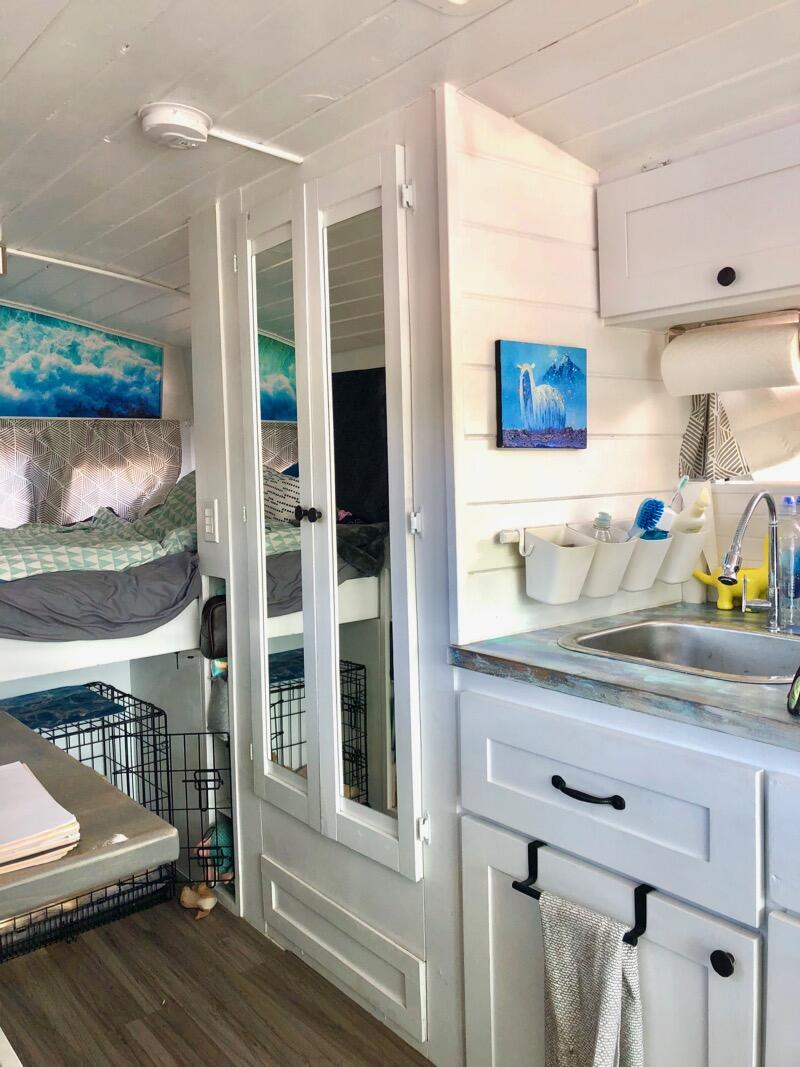
After the bathroom walls and toilet were in, we then framed the wall of the storage shelf that goes between it and the bedroom. There are 4 shelves that face the hallway on the bottom half. These shelves store all of our toiletry items as well as Miles’ grooming tools and toys (seriously this dog is spoiled – Nick gets one shelf, Heather gets one shelf, Miles gets two). The top portion of the storage wall is half closet for the hot water heater and half shelves for our night stand.
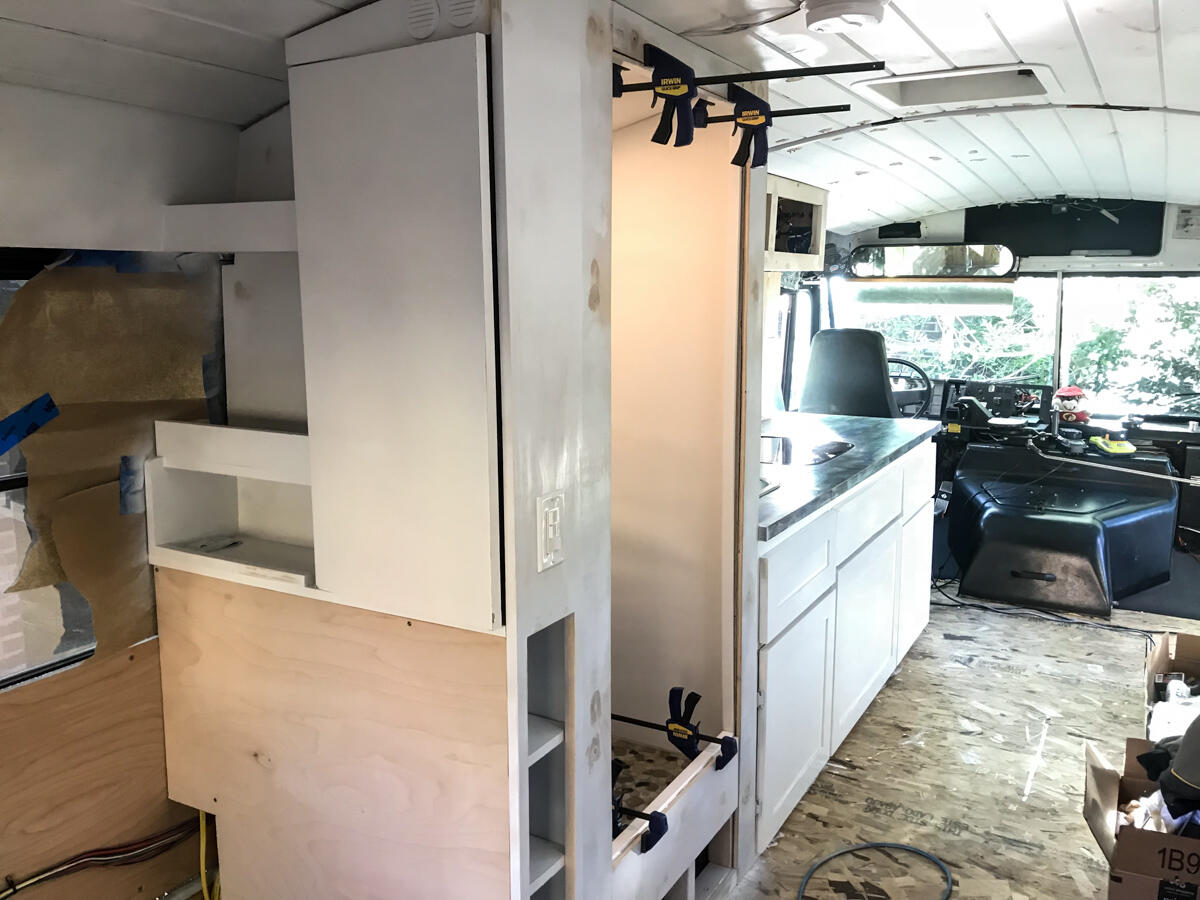
Shelf Wall in Progress
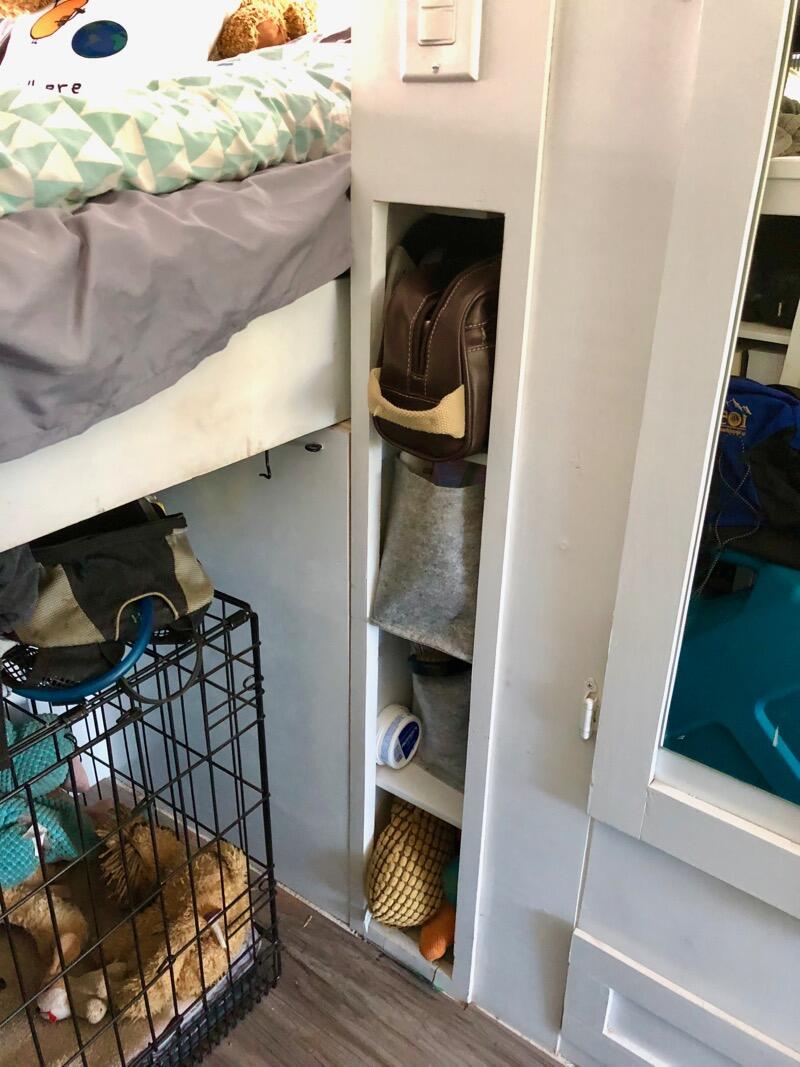
Shelves Full of Stuff
Against the directions of our hot water heater we installed it in a cabinet (it says something along the lines of outdoor use only). As extra precautions we left space around it on all sides, surrounded the space with an adhesive heat barrier and put some vents in the top of the cabinet to allow it to breathe. In order to work the hot water heater has to be connected to propane (for heat) and the water pump (for water). All of the plumbing and propane lines live under the shower pan and our kitchen sink. The detachable shower head also lives in this cabinet when it is not in use. To use the shower, you unroll the line, thread it through the notch in the top of the bathroom door and then place it in the holder on the wall in the bathroom itself. You must sit on the toilet to shower.
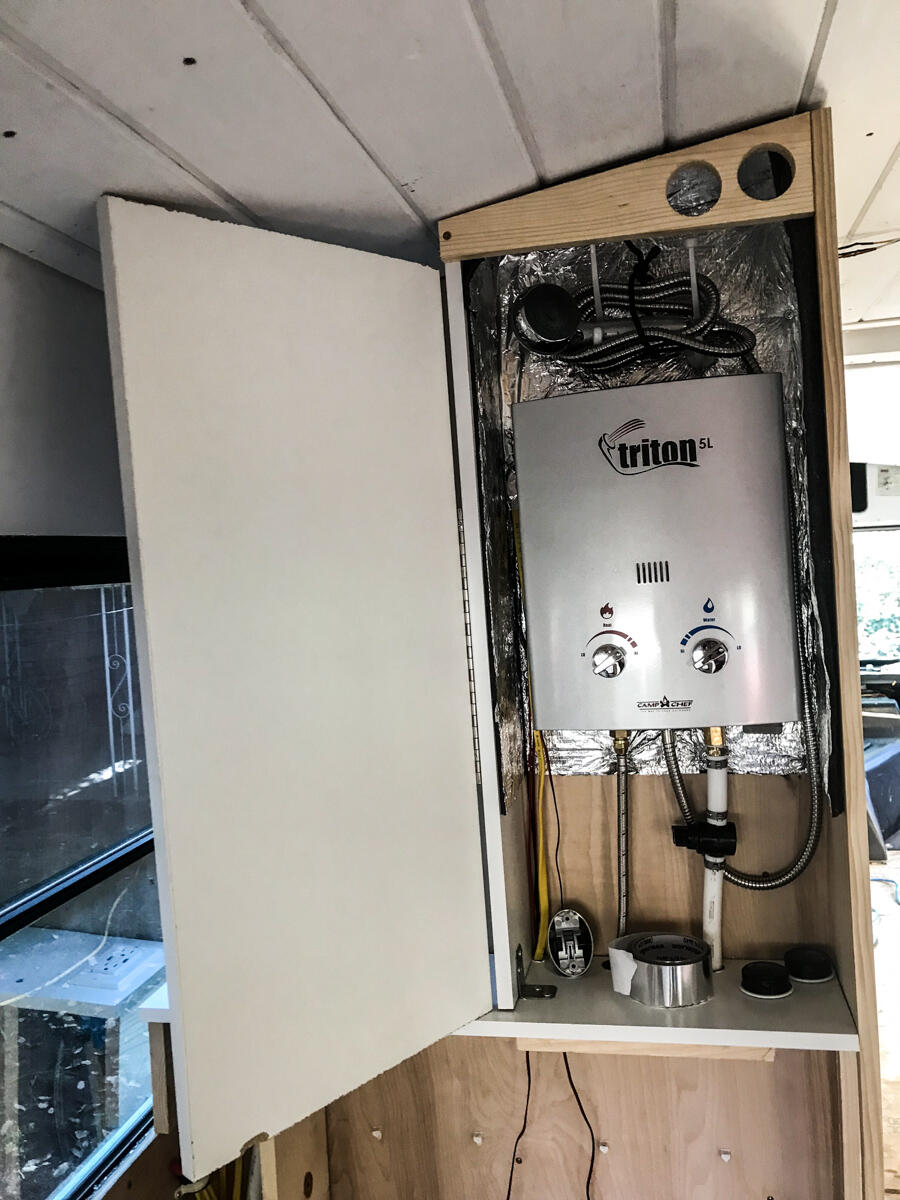
Hot Water Heater in Cabinet with Lines to Propane and Water Pump
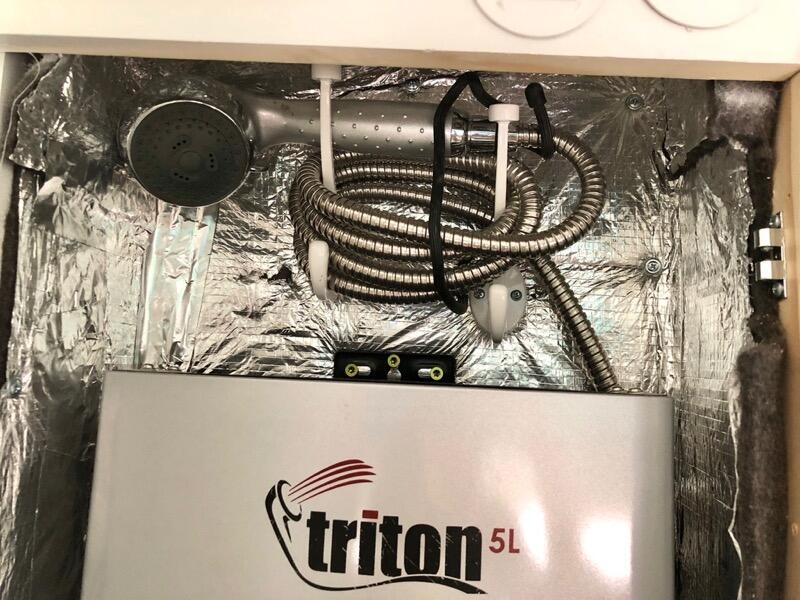
Shower Head Storage
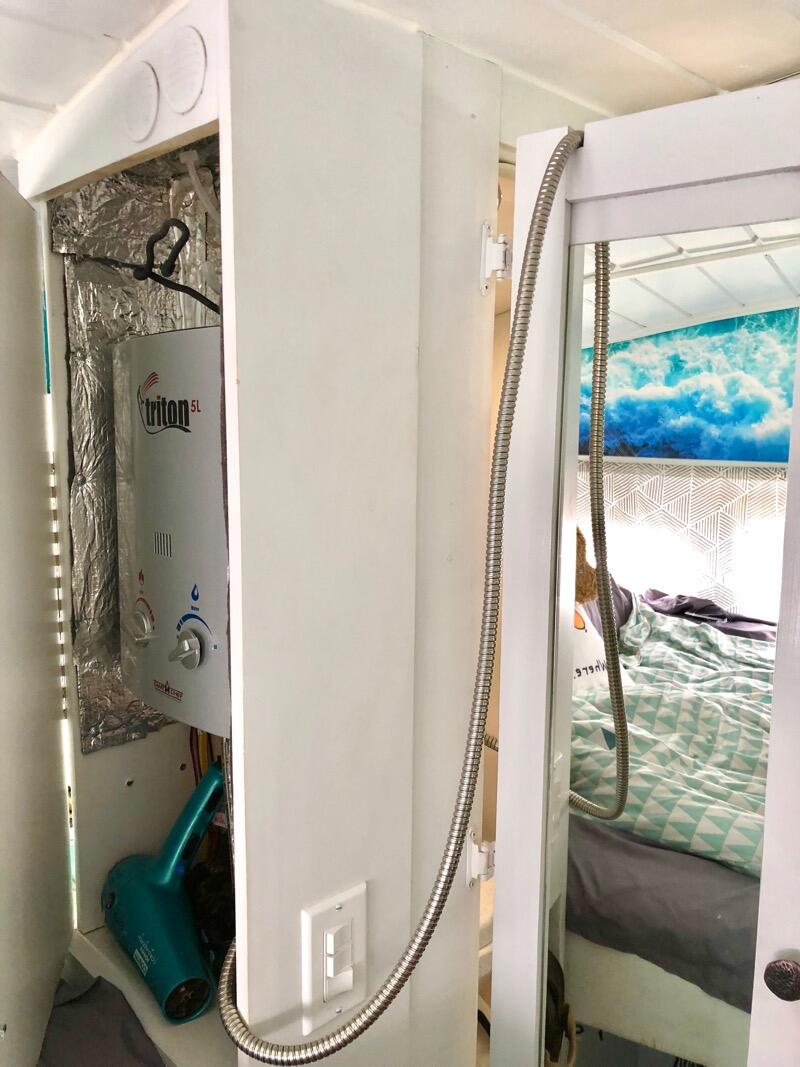
Shower Line
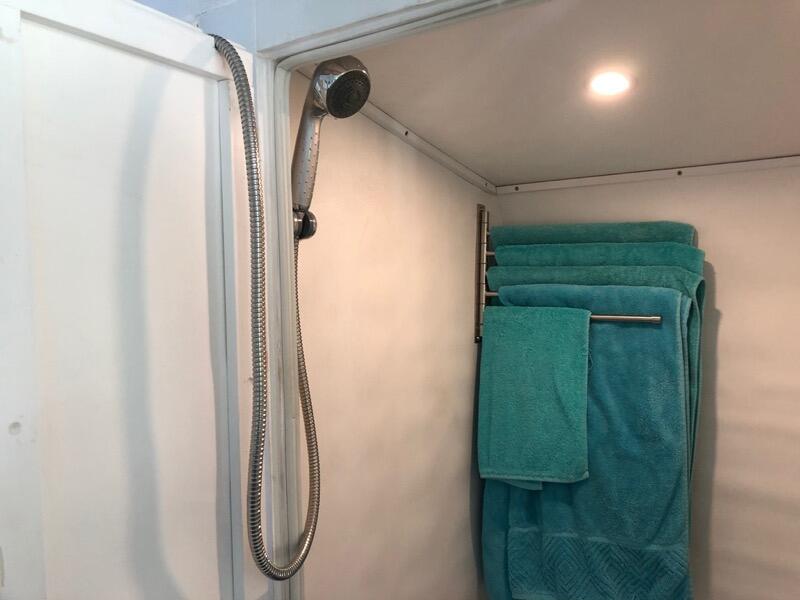
Shower Head on Mount
Now that you know how the hot water heater and shower work, lets take it back a few steps. Waterproofing. I (Heather) really wanted to keep the bathroom window – I thought it would provide great natural light and a way to vent out any unwanted smells. Nick, being the realistic one, said there was no way we could seal the place up around the windows and not have leaks and other problems, so the window got covered with insulation and plywood. Luckily, smells haven’t really been a problem (apparently we should have been composting all along). This left us with three solid walls. The fourth wall is a pair of french style doors. All four walls and the ceiling were covered with FRP to create a waterproof protection layer. Over time this has bunched and bubbled some and our walls have this lovely ribbed texture to them. Nick’s theory is he should have smoothed out the adhesive better to prevent this.
Three Walls Covered in FRP
Here you can see the ripples on the wall
The bathroom doors are made from plywood and then framed it with 1x2s which are wooden on the outside of the door and a plastic composite material (for more waterproofing) on the inside. The frame of the bathroom itself is edged with weather stripping material (you can see it in the photo above) to help provide a nice waterproof seal. On the outside of the doors we added mirrors. These help to make our bus space look bigger and also give us a place to look at ourselves for things like makeup, putting on face sunscreen without getting it in your eyes and seeing how badly your outfit doesn’t match. We searched high and low for mirror panels in the width we needed and couldn’t find them anywhere until we found ones just the right size at Ikea, however, they had frosted glass polka dots all over them. We found out you could scrape the frosted part of using copious amounts of windex and razor blades and with a little bit of elbow grease we had beautiful mirrored doors.
Here are the Doors
From the outside of the bathroom we also have one more storage compartment that is under the shower pan and in front of the plumbing (see bottom trimmed rectangle in photo above). Here we store medications and first aid items, giant “shower” wipes, extra coconut coir and other miscellaneous items.
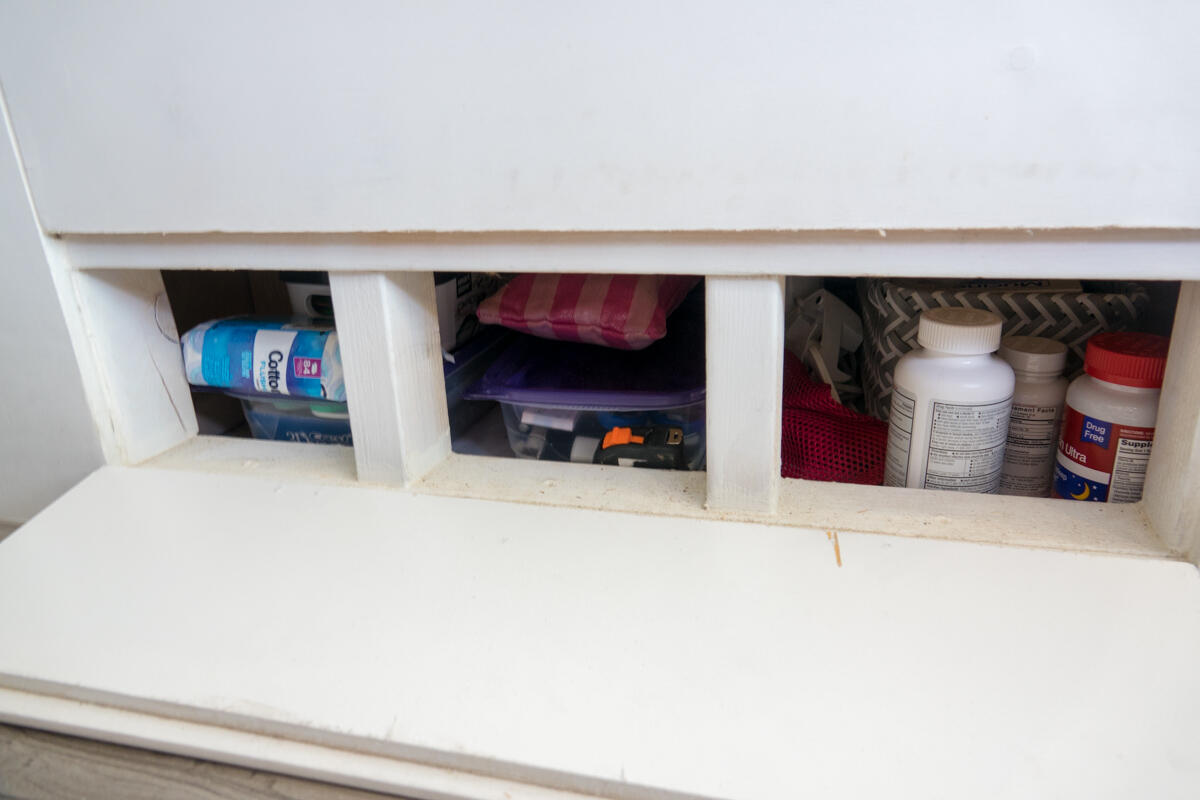
Under Bathroom Storage
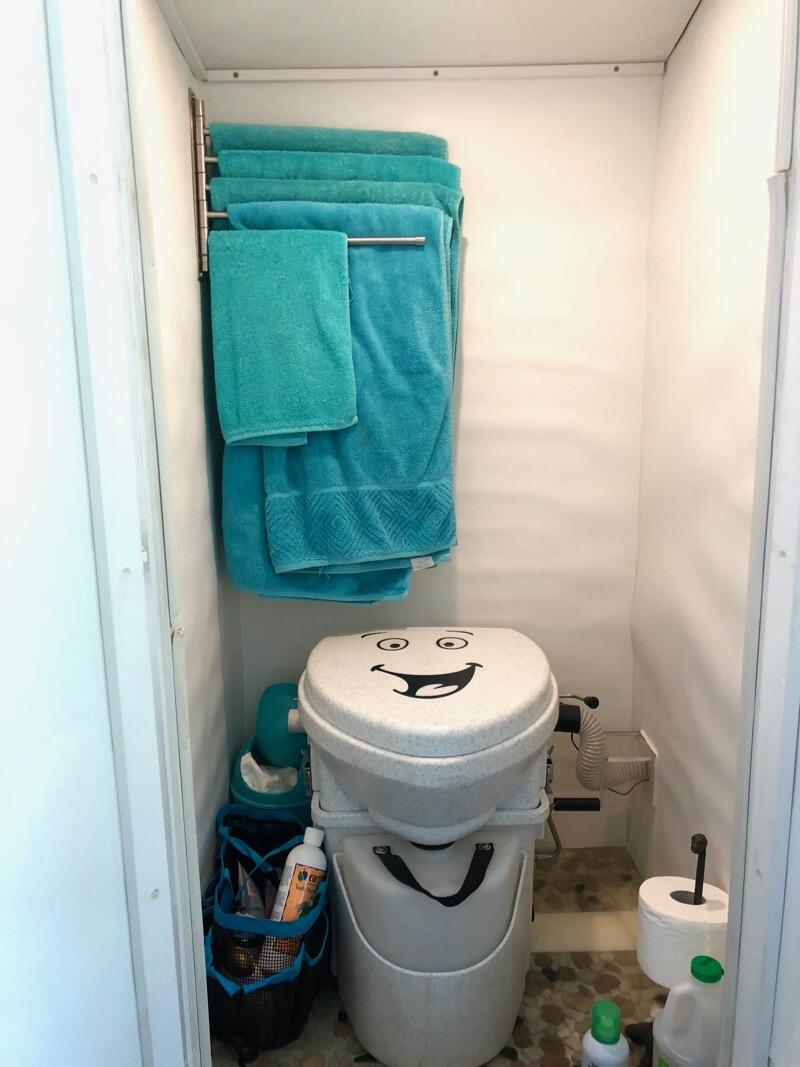
Inside the bathroom we have a dinosaur toilet paper holder that holds two different kinds of toilet paper – special RV single ply crappy toilet paper that easily breaks down for putting in the composting portion with your number two, and nice fluffy luxurious double ply for when going number one that then goes in the trashcan off to the side. We also keep our shower caddy in here. Most of the time we shower at campgrounds or rec centers and its nice to have it all in one easy to carry bin to take wherever you need. We also have a towel rack with movable arms that our towels live on. It’s great because if everything is dry you can compress it and it hardly takes up space, but if somethings wet you can move the arm so it has more space to dry. I also like to use it to dry laundry items that I don’t want going in laundromat dryers.
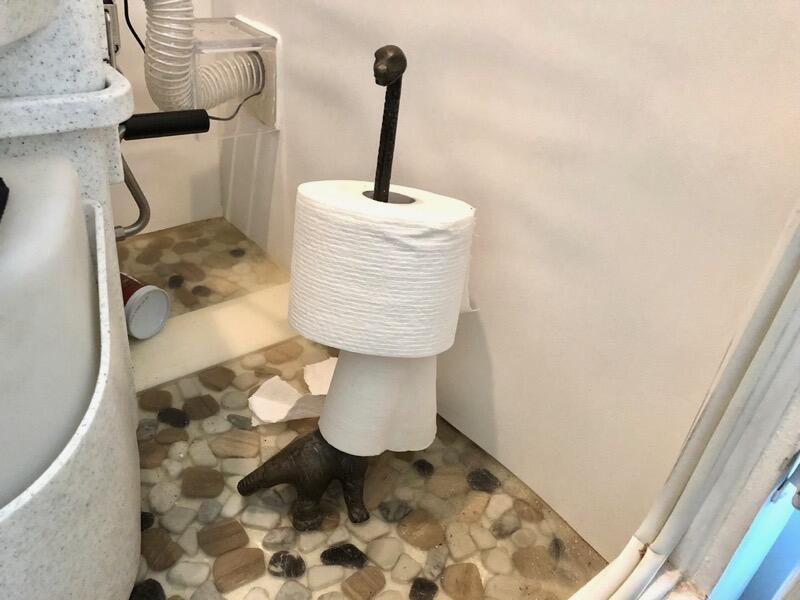
Dino TP Holder
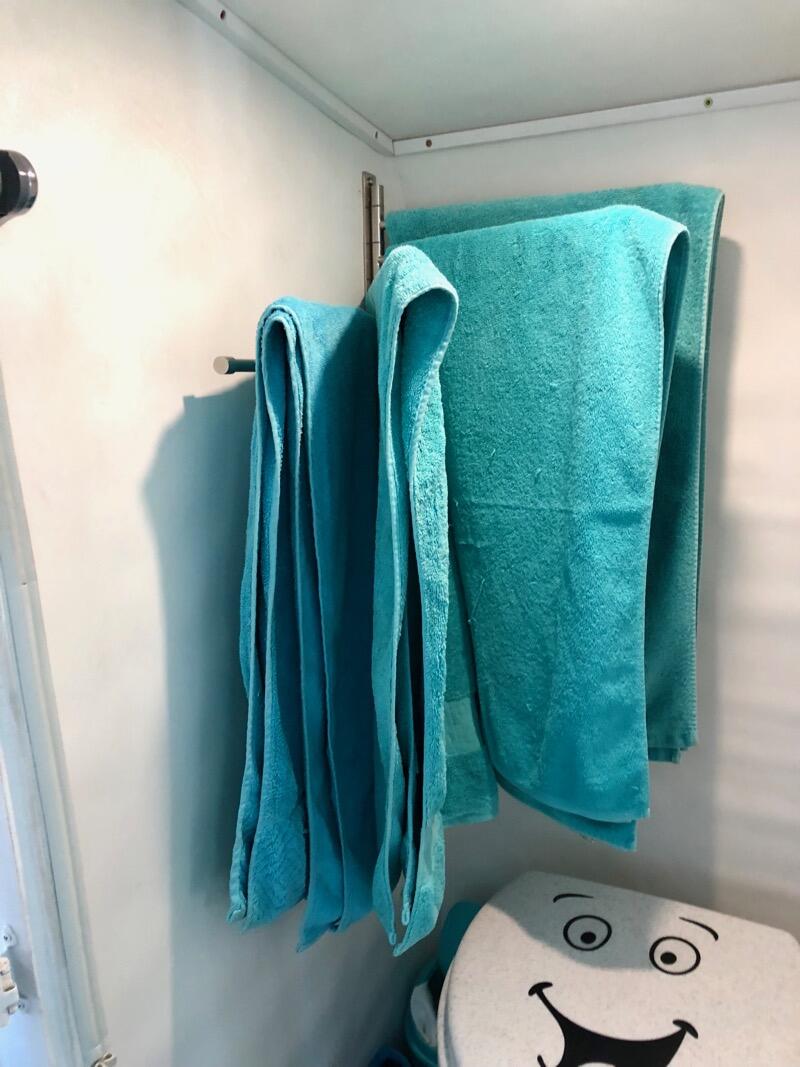
Towel Rack Expanded
Overall, we are not sure that all the extra work we did to have our bathroom be a wet bath in order to shower was worth it. We don’t really use the shower in our bus, because it would use a huge chunk of our 24 gallon water supply in minutes. Therefore, if we are boondocking we chose to be dirty or to use these giant body cleaning wipes in order to preserve water for drinking and doing dishes so that we can stay in nature longer. If we are somewhere that has water hook-ups available, they usually also have showers, in which case we chose to use their showers so that we can stand up and turn around in them. If we realized this from the beginning, we probably would have skipped having the shower in the bus or just bought a solar bag shower to use outside. But hey, its nice to know we have it if we need it!
To go back to Our Complete Bus Conversion Guide click here.
Completed Conversion Tour
You can see a full set of photos from the completed conversion here, and you can see a video tour of Vicaribus below.
We hope you enjoyed reading this post and now feel more like you too know what it’s like to live in a bus. If you would like to keep feeling this way, subscribe to our email updates and we will let you know when we make new posts for your vicarious pleasures. Just full out the form below and click subscribe!