We purchased our bus in January but didn’t drive it across the country to work on it until the end of March, so we had a few months to work on our floor plan before diving in. We used the computer program Sketchup to map out a bunch of designs, trying to fit as much as we could into our 23 foot short bus.
-
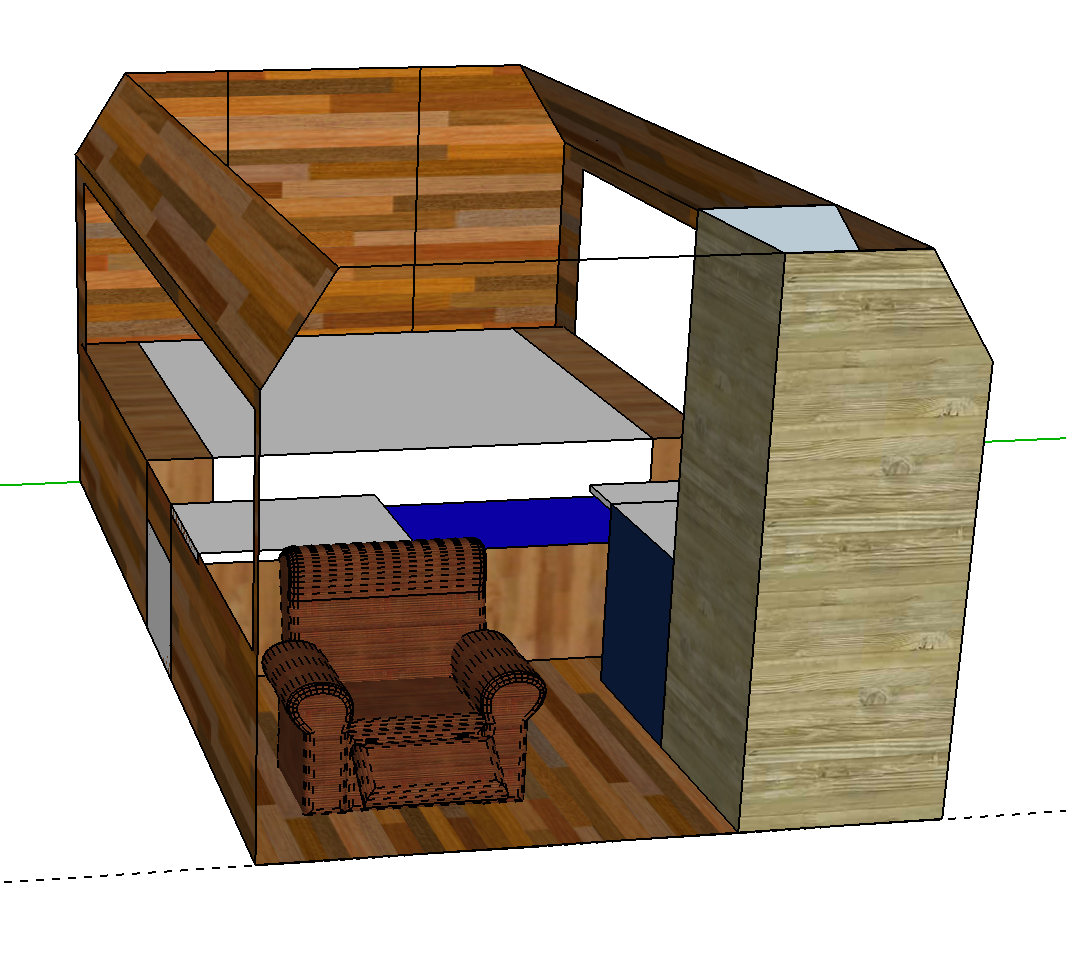
- Early Design Version 1
-

- Early Design Version 2
-
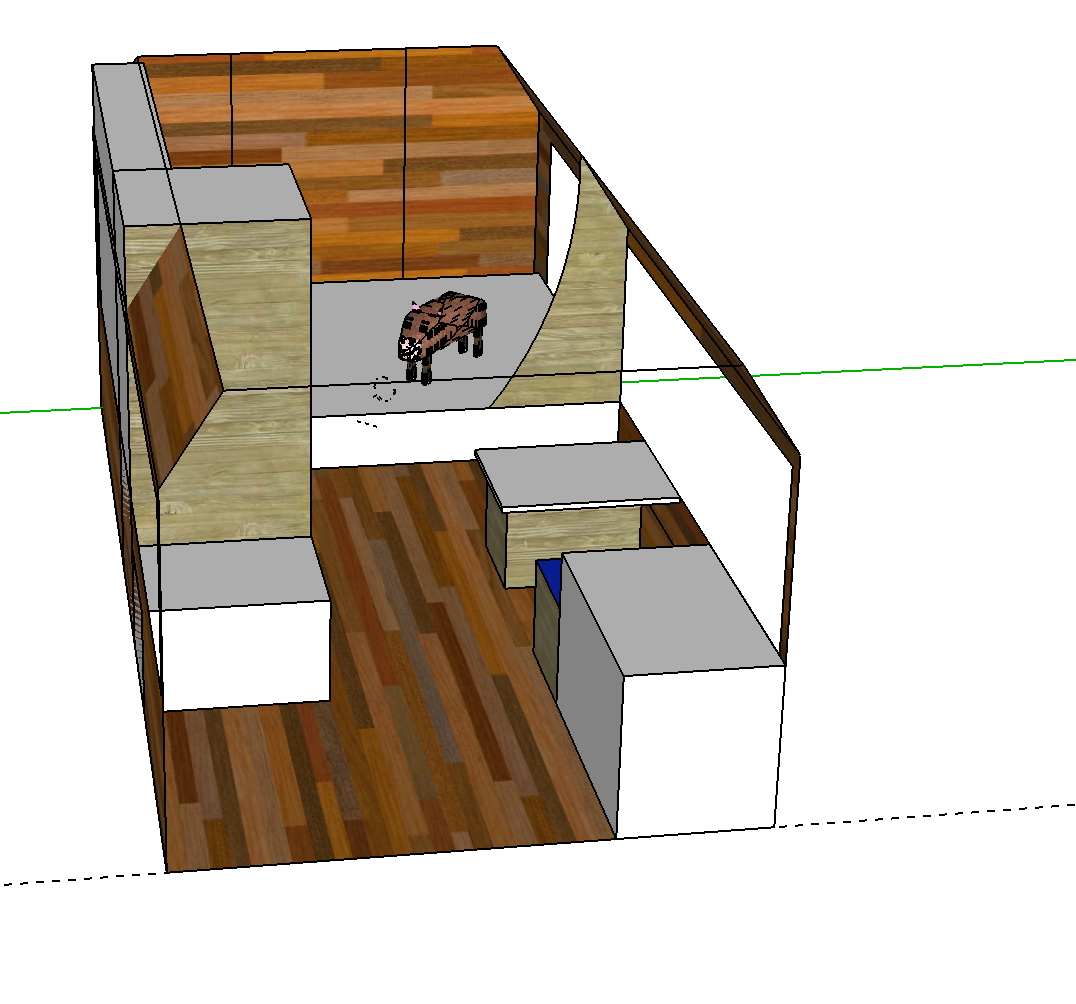
- Early Design Version 3
The rough dimensions of our bus are 17 feet by 7 feet of interior space, which shrinks to 14 feet by 7 feet from the stairs back giving us about 100-120 square feet of living space to work with.
These are things we knew we needed to fit in the bus: bed (hopefully our queen size that we already have), couch/lounging area, work station, bathroom (hopefully with a shower) and as a big of a kitchen as possible.
After moving all the bigger pieces around in Sketchup, we knew the bed ultimately had to go sideways at the back of the bus in order to give us the most space to work with for the rest of the bus and not waste any inches on things that resemble a hallway. Nick was worried about having to climb over each other to get in and out of the bed, but this hasn’t turned out to be a big deal.
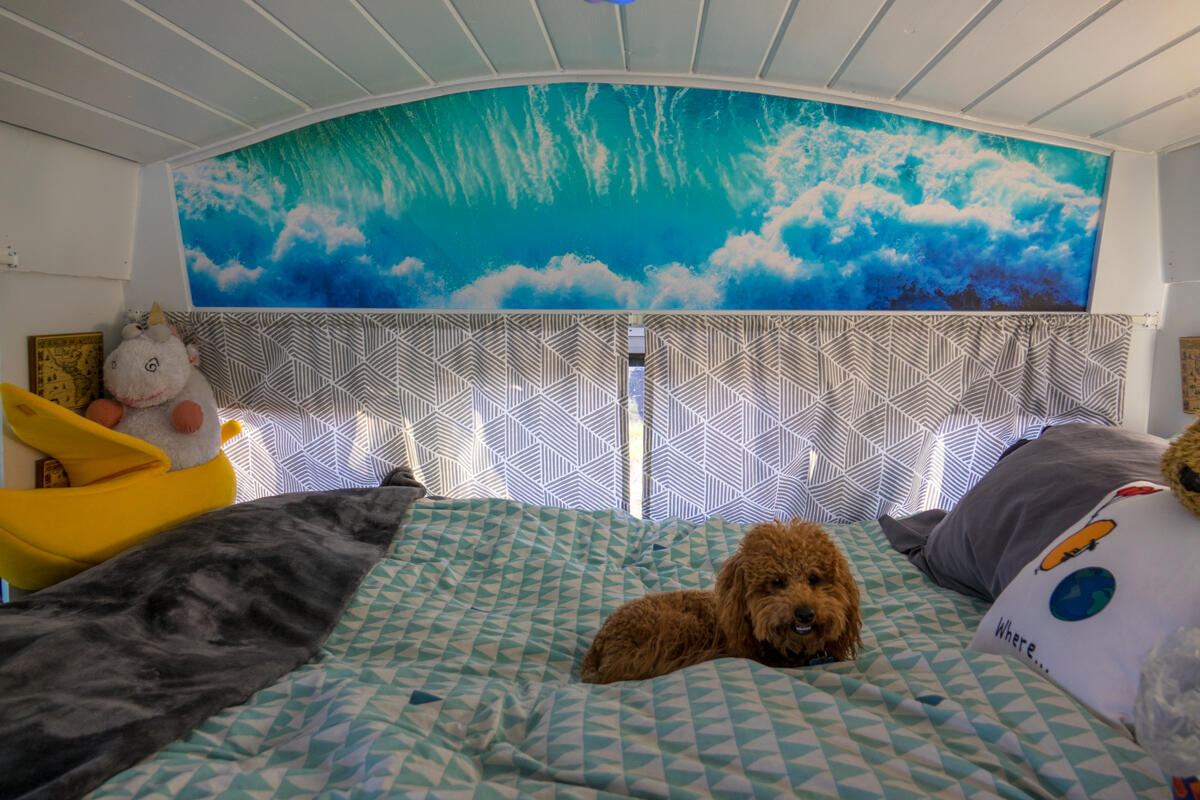
The Bedroom
Now that we had the bed position figured out, we had the whole front section of the bus (about 9.5 feet) to fit the kitchen, bathroom and living area. Since building we’ve heard a lot of people talk about weight balance and trying to make things even from side to side – honestly I don’t think we took this into account at all, but at the same time we don’t have anything terribly heavy in our bus. What we were more concerned about was making the plumbing as simple as possible. This resulted in the kitchen and bathroom being next to each other. The other thing to think about is trying to keep all of your hook ups on the driver’s side, as this is where they will be accessed at most any RV park across the country. So, our power system, kitchen and bathroom all went on the drivers side and somehow magically fit. Nick also likes the bonus of the only tall wall being on the driver’s side so that nothing was obscuring his over-the-shoulder view out the passenger windows for changing lanes (although most of the times the curtains are drawn, so I’m not sure how much this ended up mattering in the end).
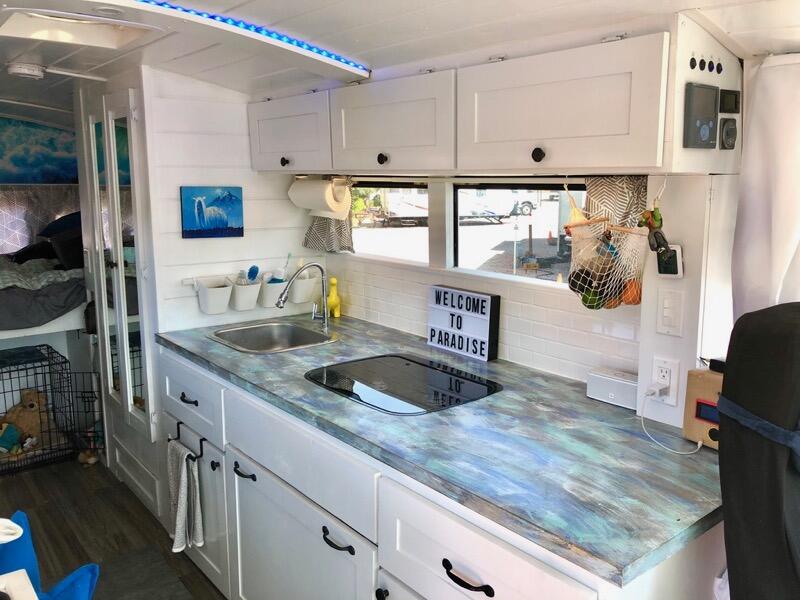
The Kitchen and Bathroom – All Plumbing on the Driver’s Side
While we planned out the general sense of our floor plan before bringing our bus home, we made up the details as we went. We built our bus one section at a time and came up with the specification of each section as we built it. Great examples of this include the wall of shelves between the bathroom and bedroom, our under bed storage area and our modular living room design.
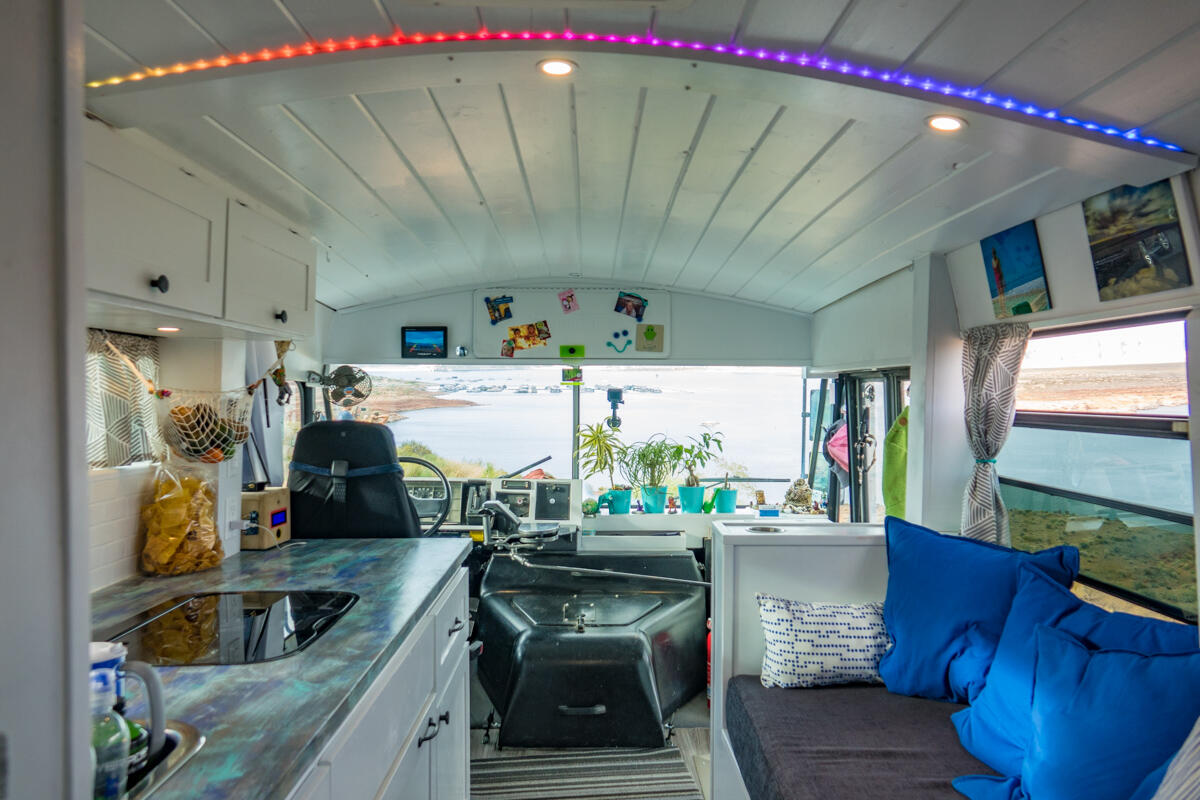
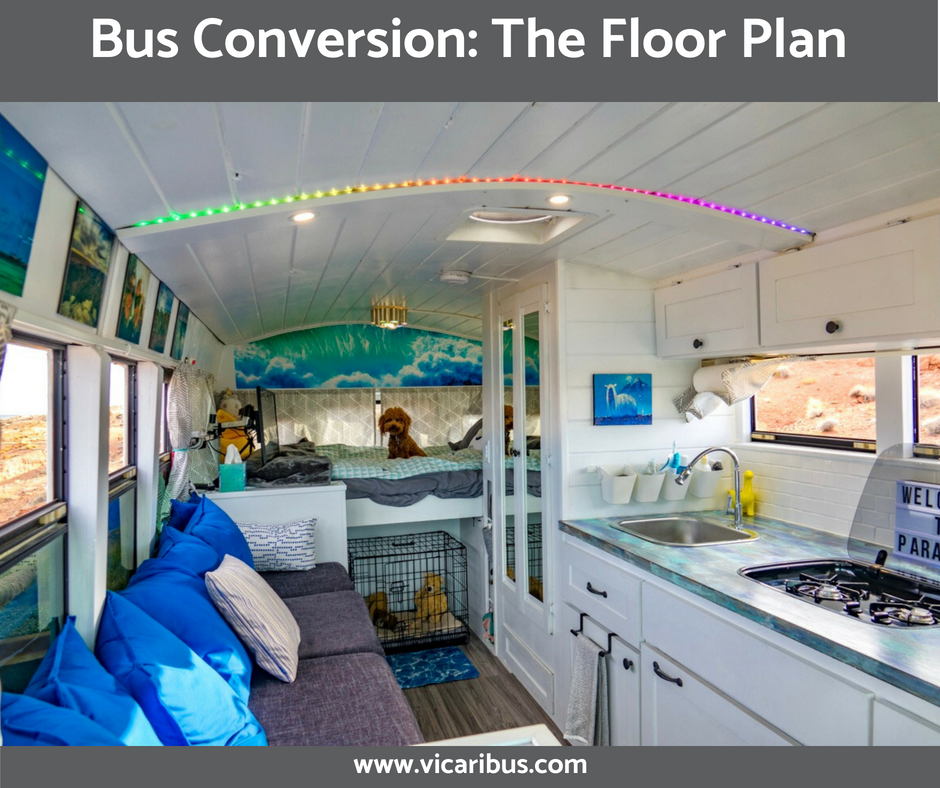
Finished Product!
To return to Our Complete Bus Conversion Guide click here.
Completed Conversion Tour
You can see a full set of photos from the completed conversion here, and you can see a video tour of Vicaribus below.
We hope you enjoyed reading this post and now feel more like you too know what it’s like to live in a bus. If you would like to keep feeling this way, subscribe to our email updates and we will let you know when we make new posts for your vicarious pleasures. Just full out the form below and click subscribe!