We spent a lot of time trying to decide what to do for our kitchen counter top. There were two primary requirements – it needed to be light and it needed to be durable – and for a bonus we were hoping it would be cheap! Once you start talking about light weight, you pretty much eliminate all stone countertop choices and durable takes away glass, ceramic. I’m no expert, but this pretty much left us with wood – solid or laminate. We started exploring the butcher block style, and while it met our criteria being durable, relatively light and relatively cheap, it looks like wood and only comes in wood colors like oak and walnut and other shades of brown. We were hoping to keep our bus in the white/grey/blue family, so these did not fit our motif. Perhaps we would have gone with one were there distressed wood or grey wood options, but insofar as our research suggests, neither of those exist. We did find a nice solid blue stain pine piece at a fancy pants wood store. It was only a cool $8000 – so that wasn’t going to work for us. Eventually we came to the conclusion that we would just make our own, and using paint and stain we could come up with any look we wanted.
Cue Home Depot trip number 327. We were wandering the aisles between the lumber section and the tiles (because one must always be exploring for the next projects), when we happen to pass by some solid wood unfinished doors, and what do you know, these doors were the exact dimensions of our kitchen countertop (80” x 32”). At $60, we thought this to be a little too convenient, so we figured we’d sleep on it and went on to the check out with the materials for building our cabinets. After framing the cabinets and double checking the size, we decided that, yes, yes we would get the $60 door/countertop.
Cue Home Depot trip number 328. Nick and I arrive separately (I got halfway there and was worried about the door fitting in my car and he was conveniently on his way home from the bus). I’m checking out the paint color selection (more on that later) and Nick goes to get the door and takes it to check out. Now here’s the best part – for some reason when they rang it up, it came up $0.01!!! The person at the register made a call and asked someone else and determined that, if that’s what it’s ringing up as, then that is the price! Nick didn’t have any change on him, so when trying to pay with a dollar, the register attendant pulled a penny out of her pocket and used that instead!
On to the actually making the countertop. I looked up a lot of blog posts on creating a distressed look or a beachwood look and decided to try a mix of techniques and see how it would turn out. I figured if I hated it I always had the other side of the door, or, hey, for a penny we could get another one!
In addition to the door I purchased the following things:
- 7 sample sizes of Behr Marquee paint and primer in flat/matte finish (Key Largo, Aloha, Misty Isle, lolite Blue, Intercoastal Grey, Dawn Grey and White) (you definitely don’t need 7 but I’m indecisive)
- Cheap brushes (I bought a few sizes but only ended up using the one size because the others were too big to fit in the sample size can…oops!)
- 80 grit sandpaper sponge
- Champagne silver glitter
- Polycrylic wood finish
To get the paint effect on the door countertop I used a dry brushing technique. With this technique you only put a little bit of paint on the brush and then scrape most of it off on the side of the can then you brush on the wood until all the pain is off of it. I decided to start with the darker colors and work my way lighter so the first color I used was Dawn Grey. This is what the door looked like after one color of dry brushing…
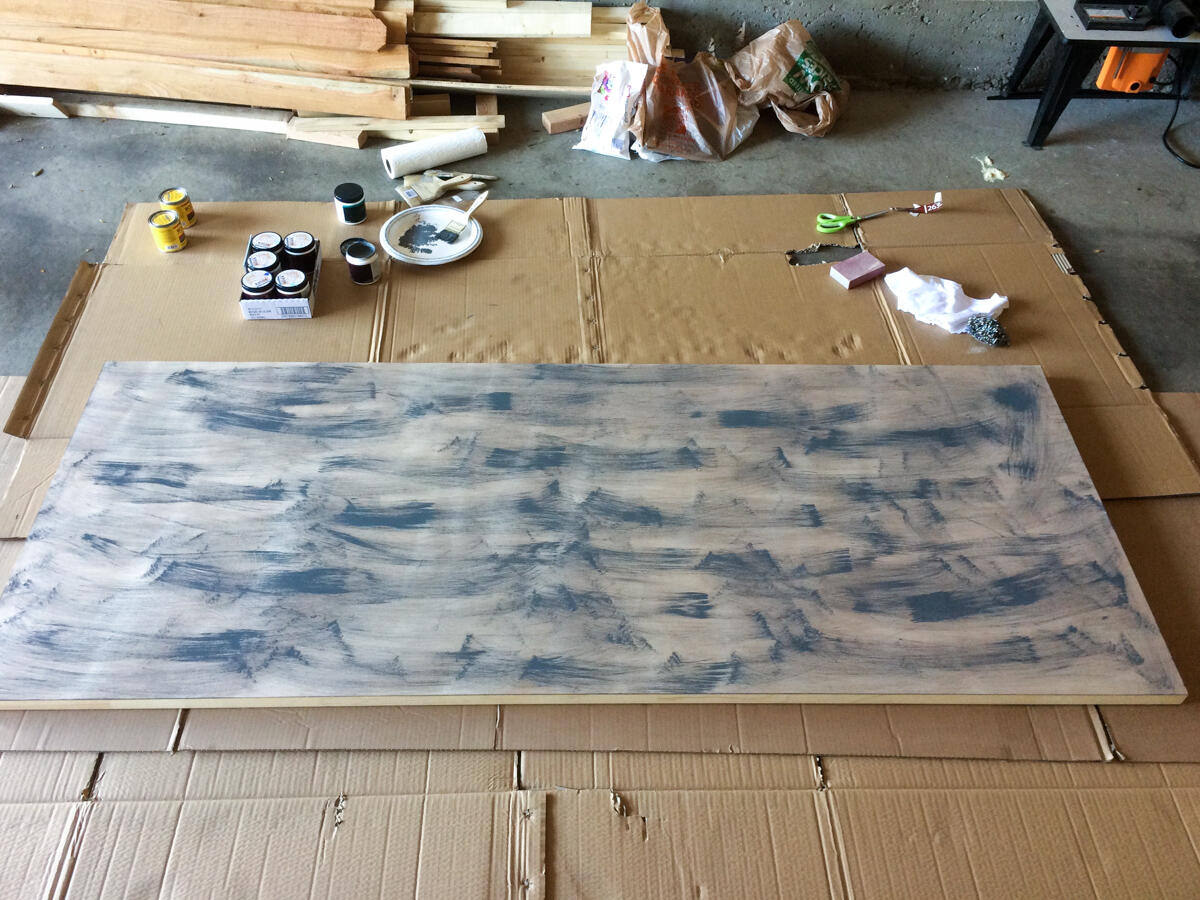
Awesome right?! I was so pleased that I thought about stopping here because it looked like grey wood now. But, I figured that took me maybe 5 minutes so I should probably keep going since that would be easy to recreate later if in the end I decided I liked it best like that. Next was the Iolite Blue…
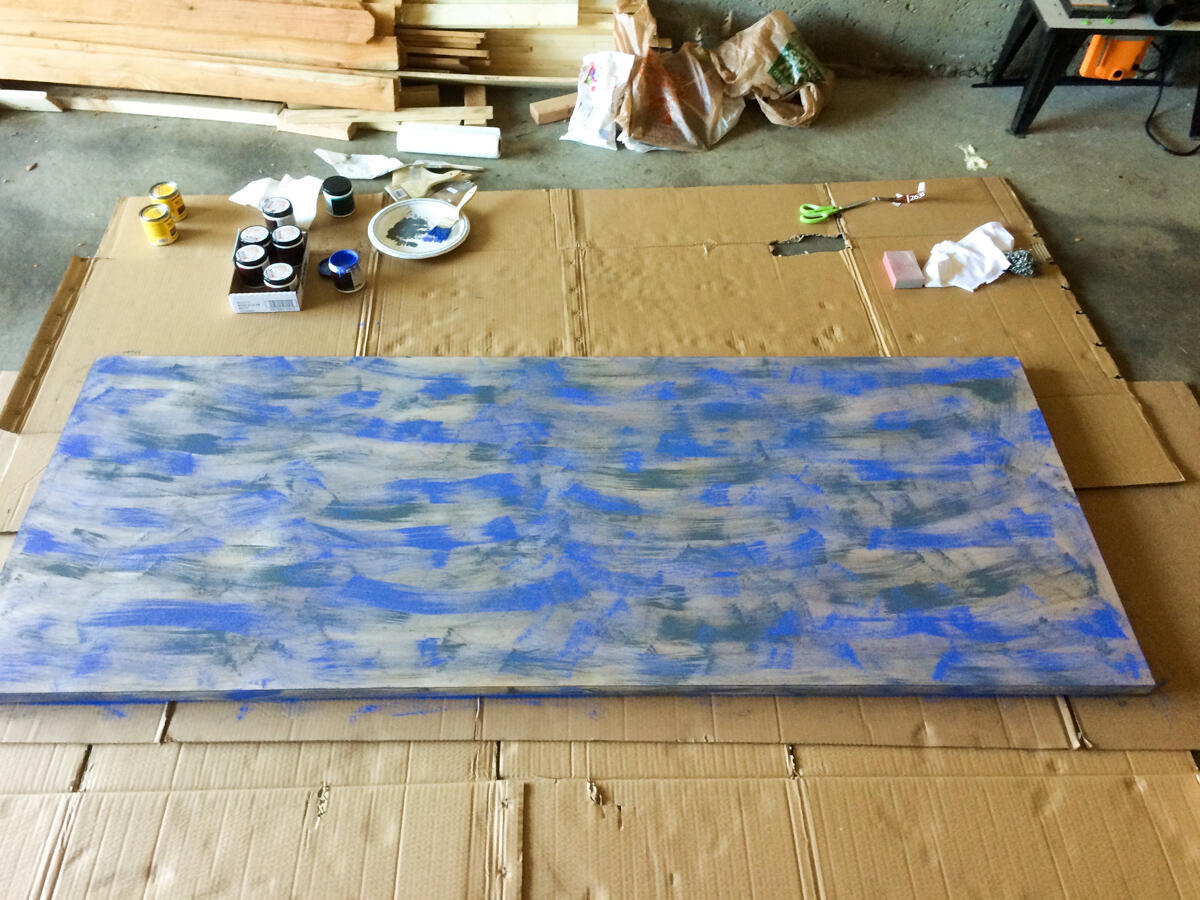
After that was Key Largo and then White….
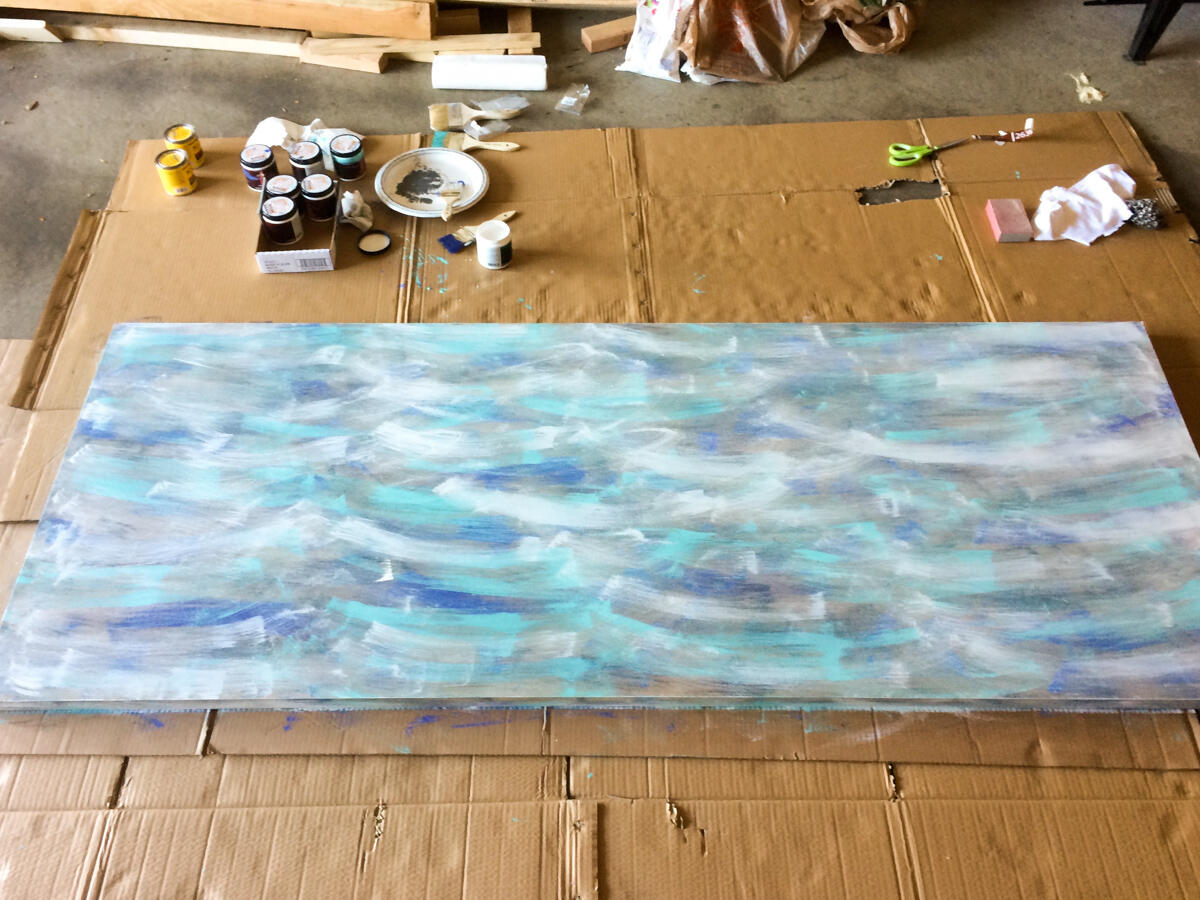
Honestly those four colors were probably perfectly fine on their own, but I figured I bought the other 3 might as well us them (soIntercoastal Grey happened next, followed by Misty Isle and Aloha). Here is the door after all 7 paint colors…
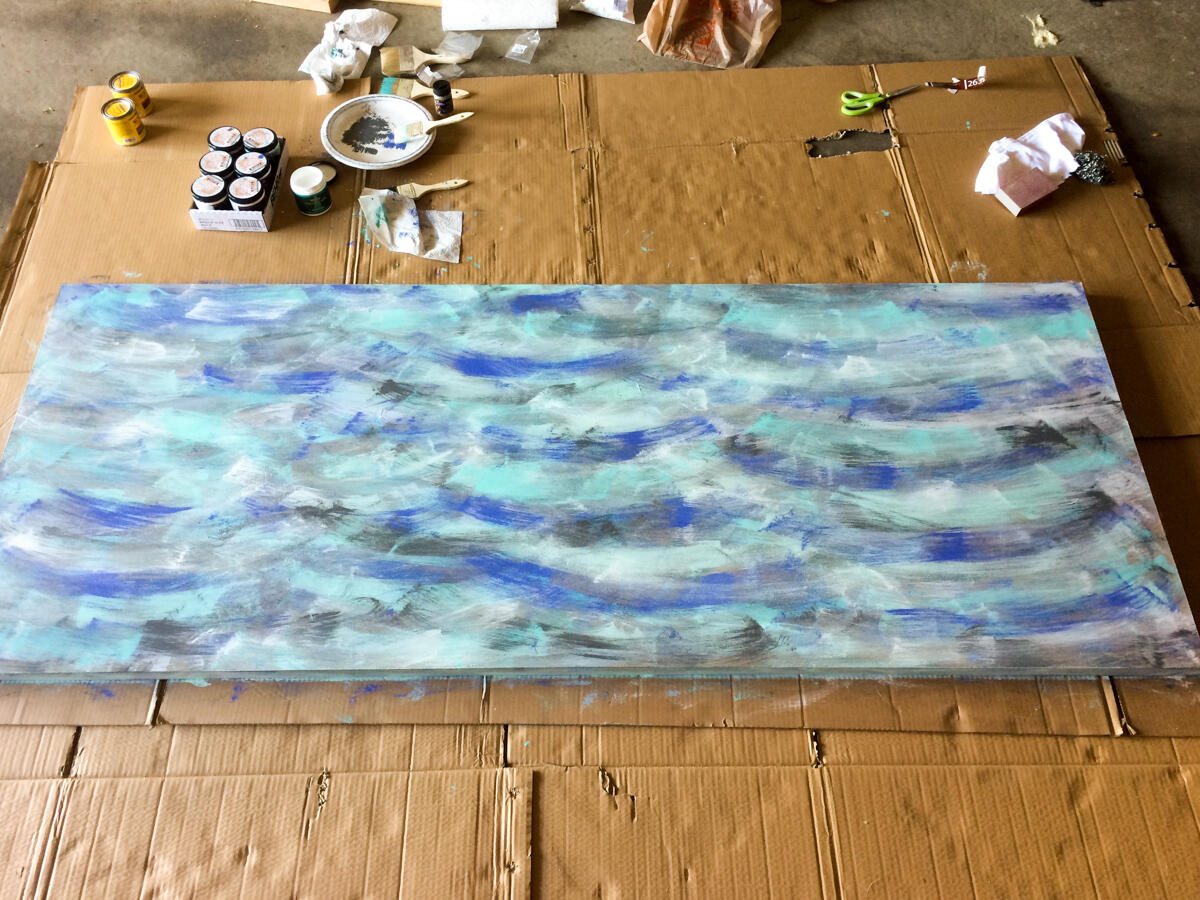
At this point I was sad I could barely see the darker blue and grey so I added some more of that on top again and then a few splotches here and there of the other colors as well with less complete coverage this time just to make the top more of a mix of colors….
Isn’t it amazing? It looks like an ocean!! Next I took my sanding sponge thinking it would blend the colors together some, and maybe I wasn’t trying hard enough, but it mostly just softened the edges of the areas of color – overall, still I think a helpful step. I probably could have tried harder using the actual sander, but that was at the bus and I was home in the garage and getting it seemed like way too much effort and, well, I liked the way it looked as is.
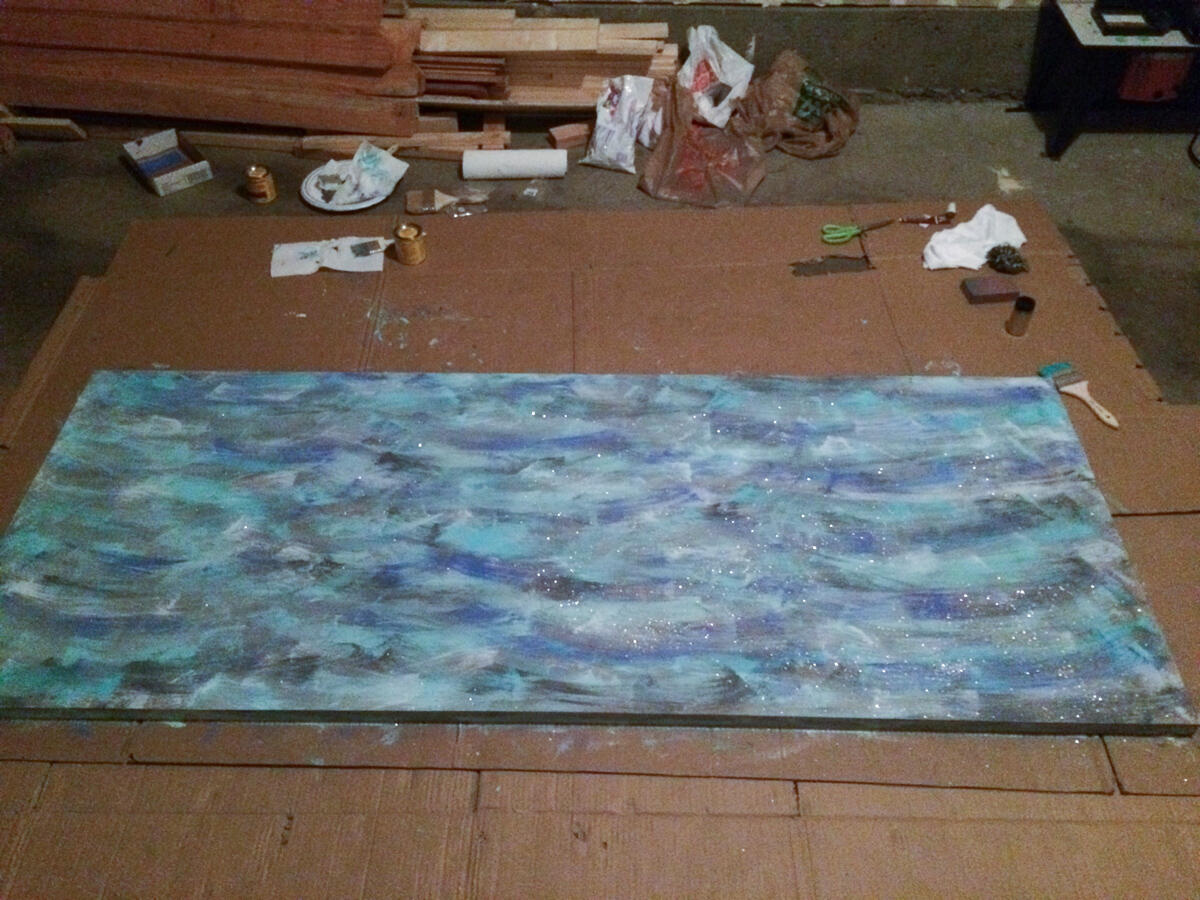
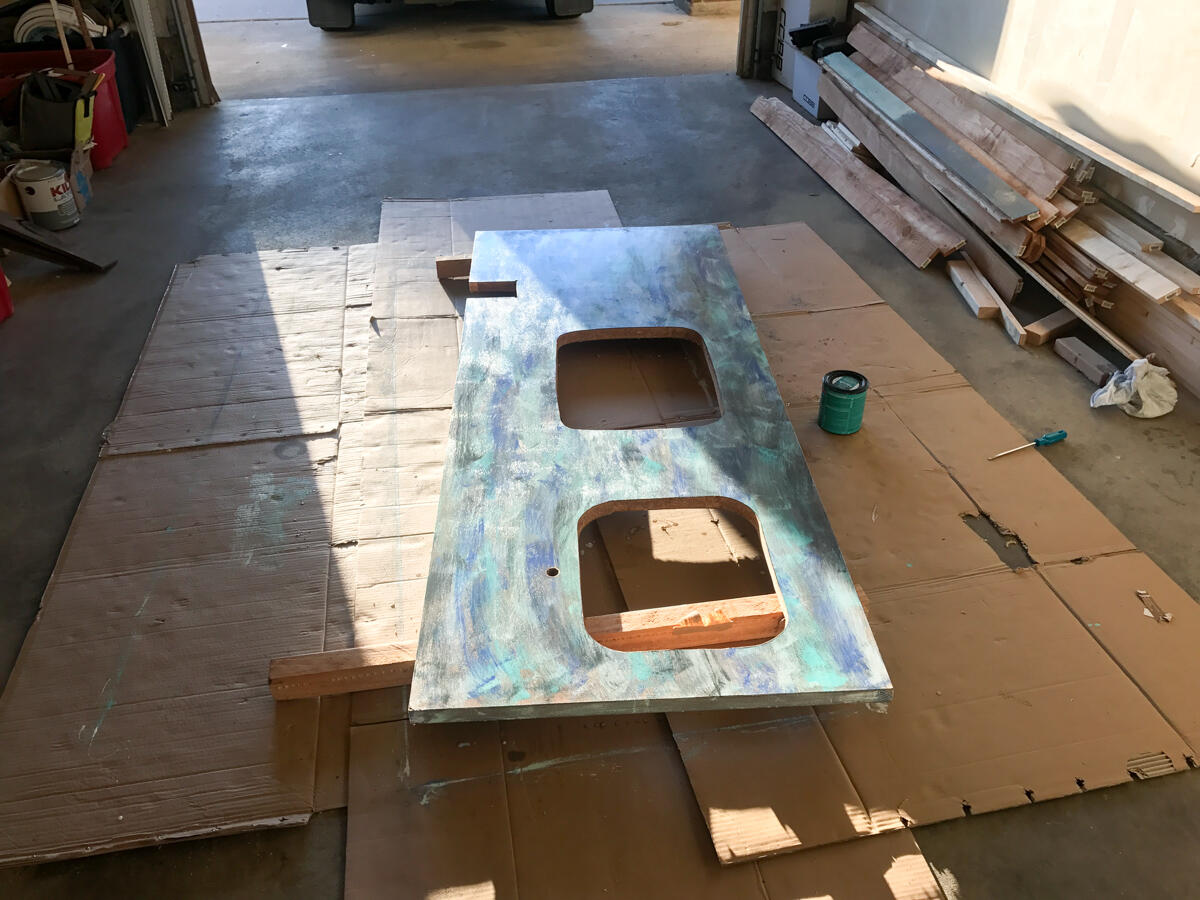
I originally planned to stain the wood next, but decided I like the wavy ocean look as is and threw my original distressed look plan out the window. The next step was to let it dry and then cut out the places for our sink and stove and get it ready for the top coat.
But first, GLITTER! I sprinkled some glitter on top and used a wider clean brush to move it around and spread it out more evenly. I think the glitter gives it that little extra that makes it looks more like a countertop.
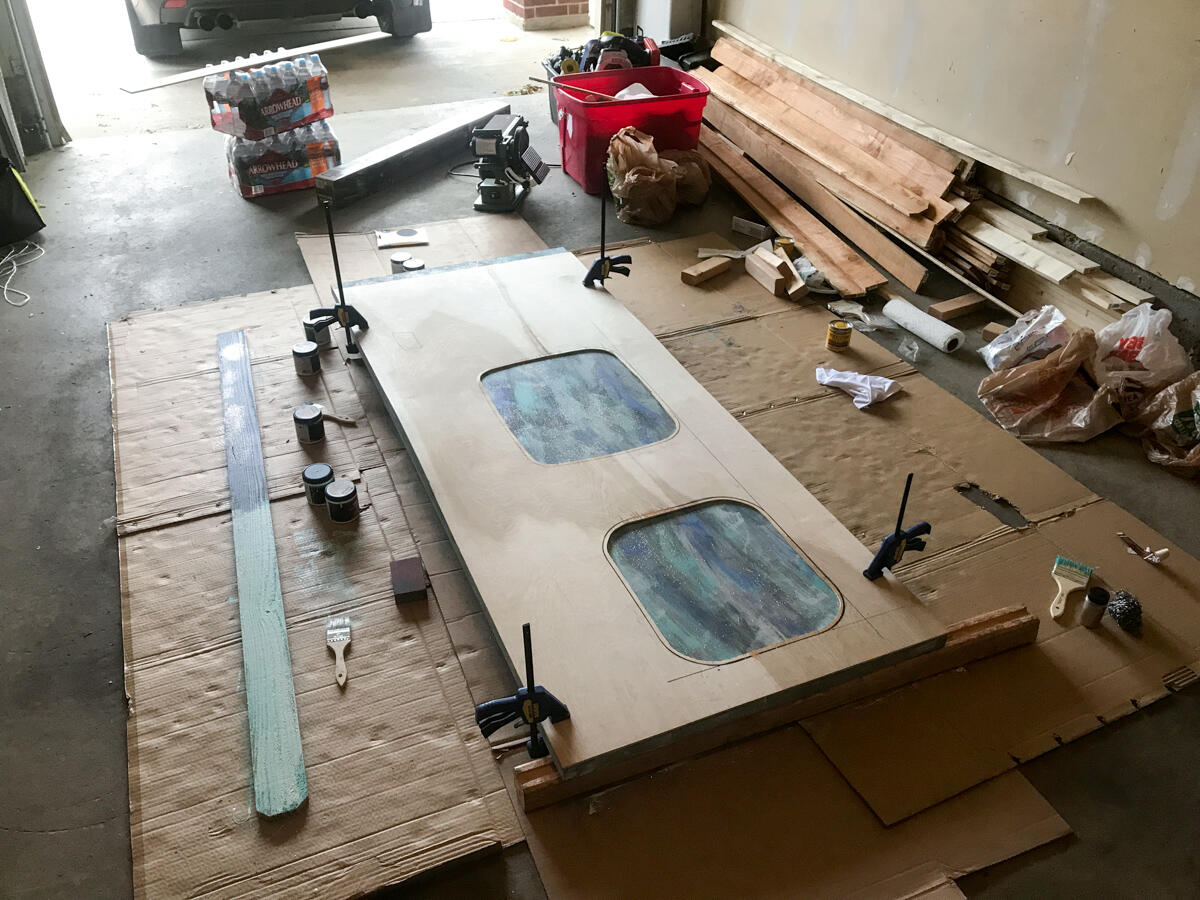
We used a cheap piece of thin plywood to mockup the cutouts in the bus since we only had one shot to get the cuts right.
Finally, on to the top coat. I did a lot of research of what to use to protect the wood and make it waterproof so that using it in a kitchen doesn’t ruin it instantly. I wanted a finish that stayed clear and didn’t amber. I finally settled on Polycrylic, because it dries clear, though, we will still have to be careful not to put hot pans directly on it or it could get cloudy and turn white.
To apply the top coat you first need to make sure the surface is clean and free of dust. Then you brush on the Polycrylic. Then you need to wait at least 2 hours for that coat to dry. Once dry use finer sandpaper (we used 220 grit) to smooth it all out. Repeat this process for multiple layers. We did five or six layers all together to really seal in the countertop, making sure to also put it on the inside rims and outer edges as well.
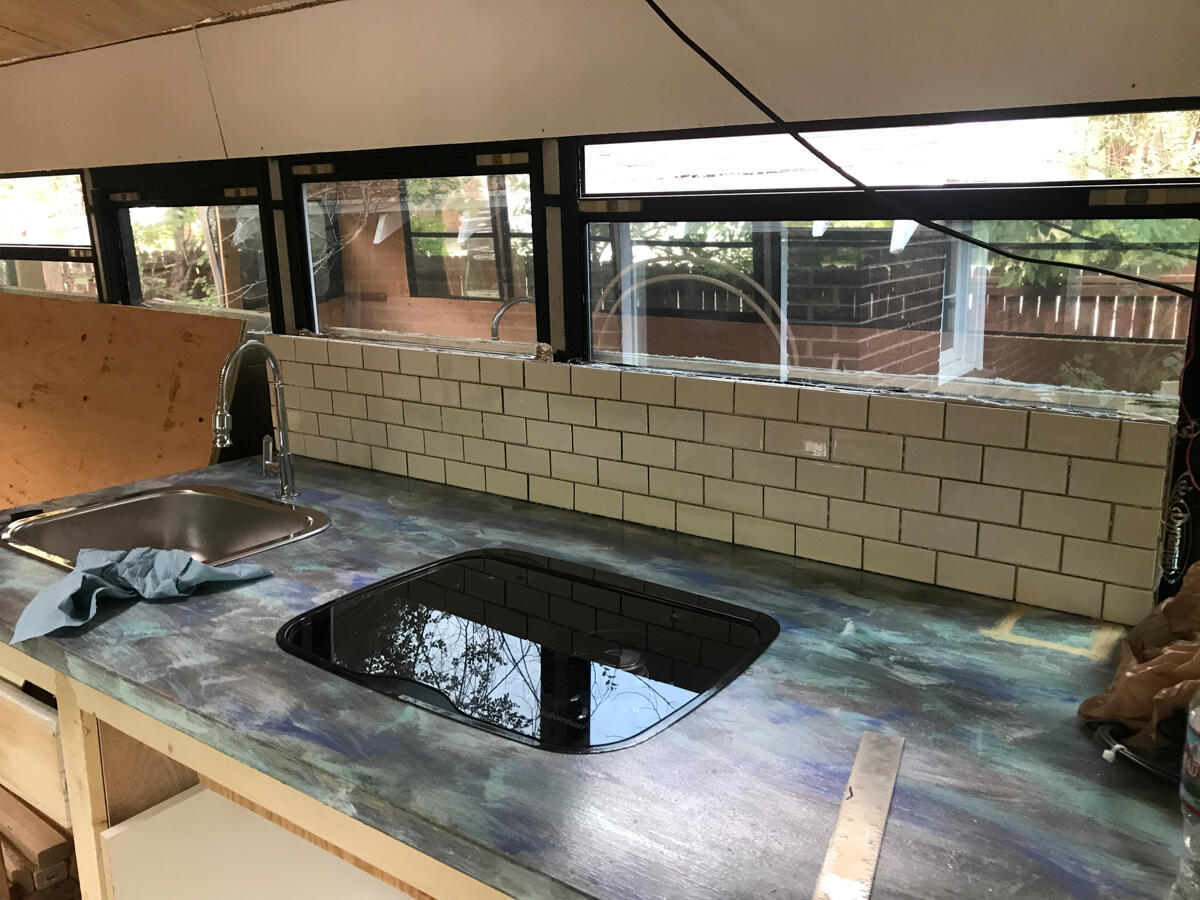
Once that’s all dry you can mount it and voila! You have a beautiful custom made countertop for the price of paint and a can of Polycrylic!