Before Michelangelo could craft a masterpiece, he first had to create a blank canvas. As it goes for Michelangelo, so goes it for Vicaribus. After the teardown was complete, the next step was re-insulating and boarding up the floor, walls and ceiling so that we could have a nice clean medium in which to apply our handywork.
If you peruse the skoolie forums, you will find lots of discussion on whether or not to insulate and if so, what type of insulation to go with. Even though we are leaving most of our windows exposed (bus windows are quite the thermal succubus… ha, pun intended… after the fact), we decided to go ahead and insulate the crap out of Vicaribus.
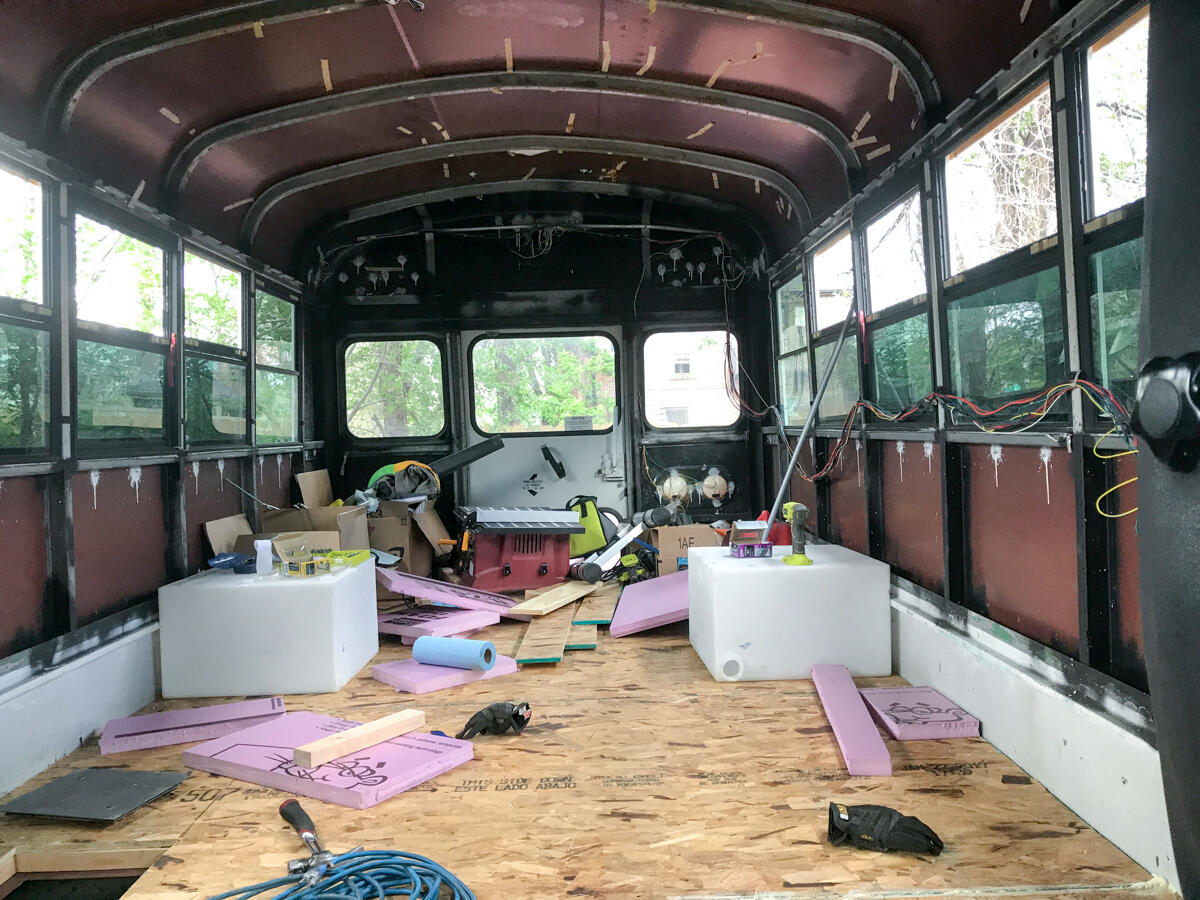
We started with the floor, which wasn’t too painful. Step one was to frame it up with some 2×3’s. Step two was shaping some 1.5 inch thick FOAMULAR (the rigid pink stuff at Home Depot) to lay within the framing. Step three was to cover the frame and insulation with some screwed down 1/2 inch thick OSB. This is what it we ended up with:
It was only after the last board went down that I looked down and read this:
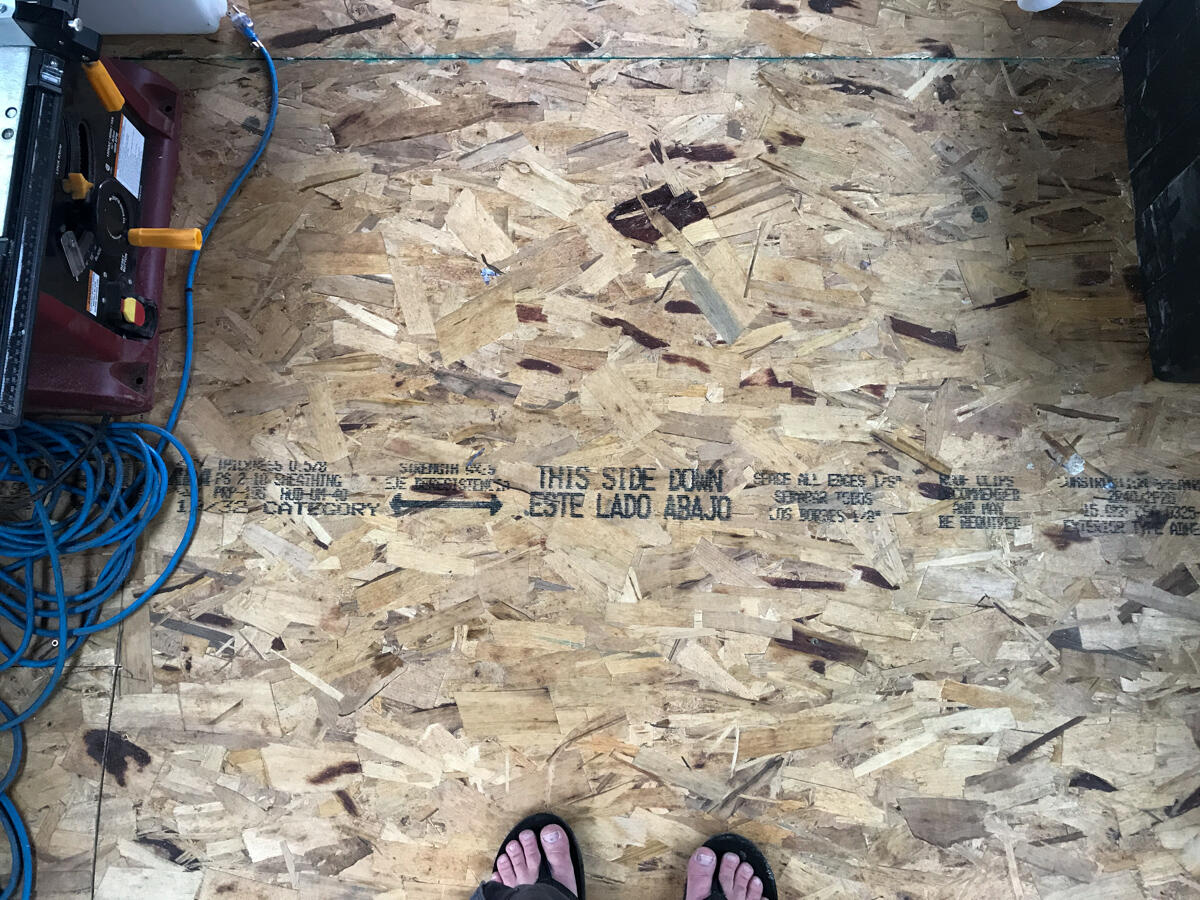
I’m just going to assume that doesn’t apply to bus conversions.
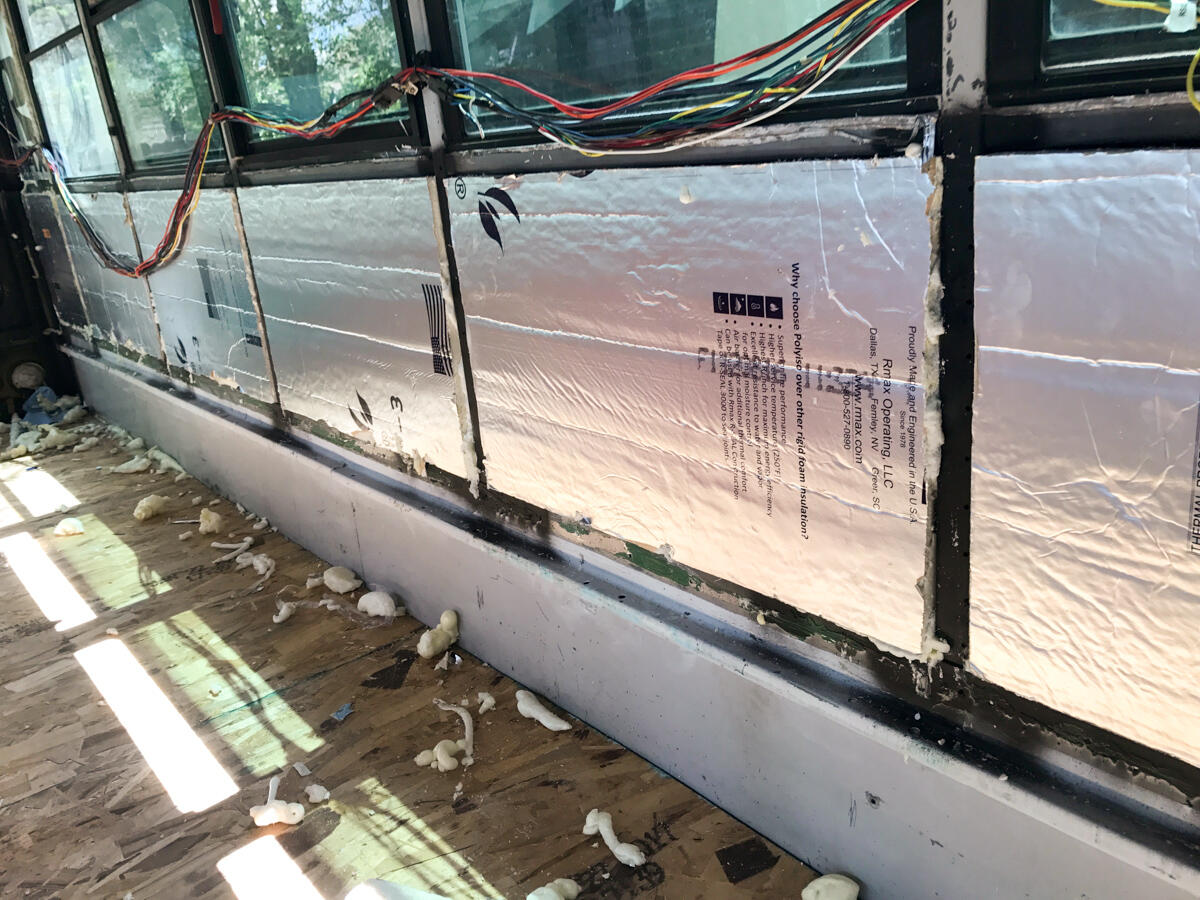
After the floors we did the walls. For the walls there was no framing necessary, as the bus frame provided the nice pockets in which to fit the insulation. For the walls we went with 2 inch foil lined Insulfoam (also found at Home Depot). We then covered this with some bubble wrap-like reflective insulation and sealed it tight with foil tape. The final layer was, again, plywood, but for the walls we opted for sanded 3/8 inch varietal, which was screwed directly into the frame. When filling in the walls, there were plenty of gaps, so we also went through quite a few cans of Great Stuff gap filler. Look at the wall insulation:
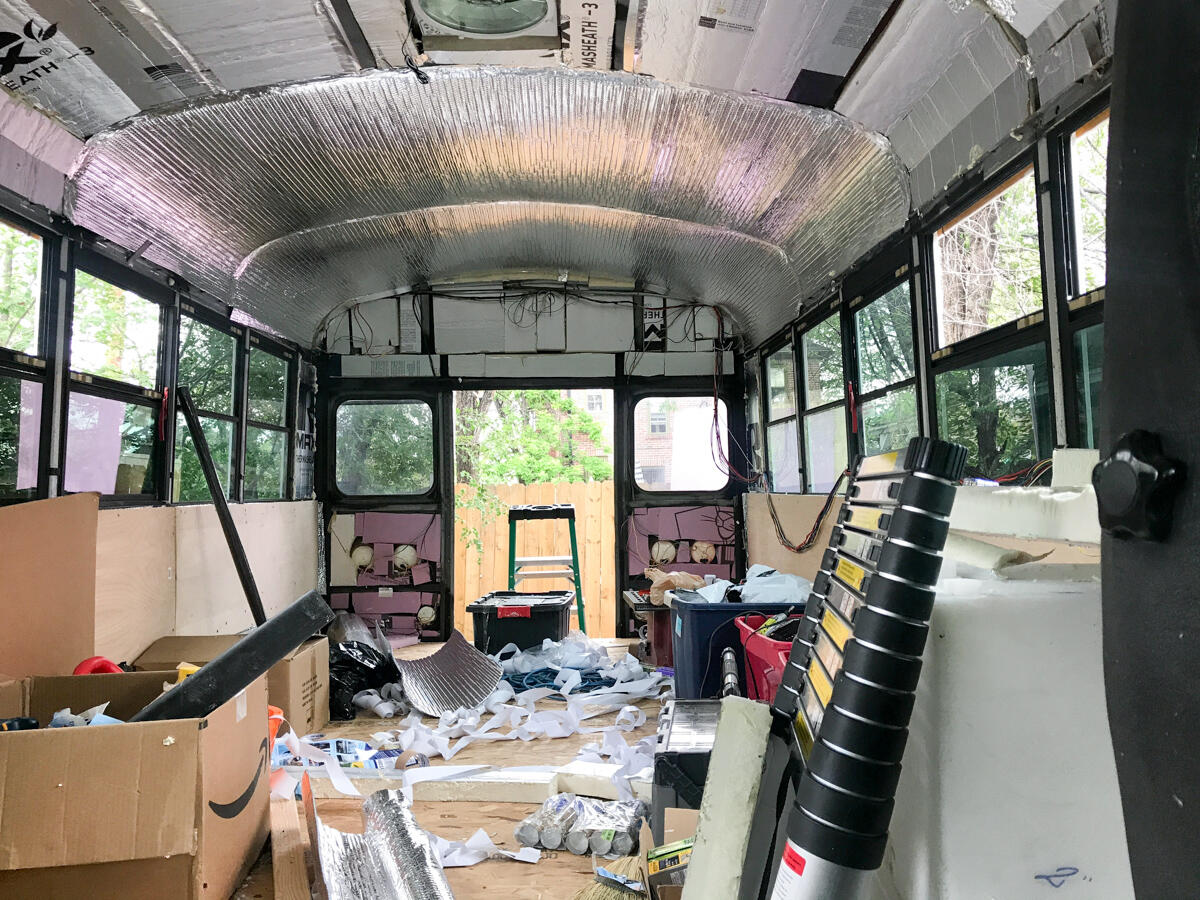
With the walls complete, we moved on to the ceiling, naturally. The ceiling used pretty much the same materials as the walls, just a lot more cussing was involved, because, you know… gravity. We also downgraded to 1/4 plywood to fit the curves. Here you can see Heather filling the gaps:
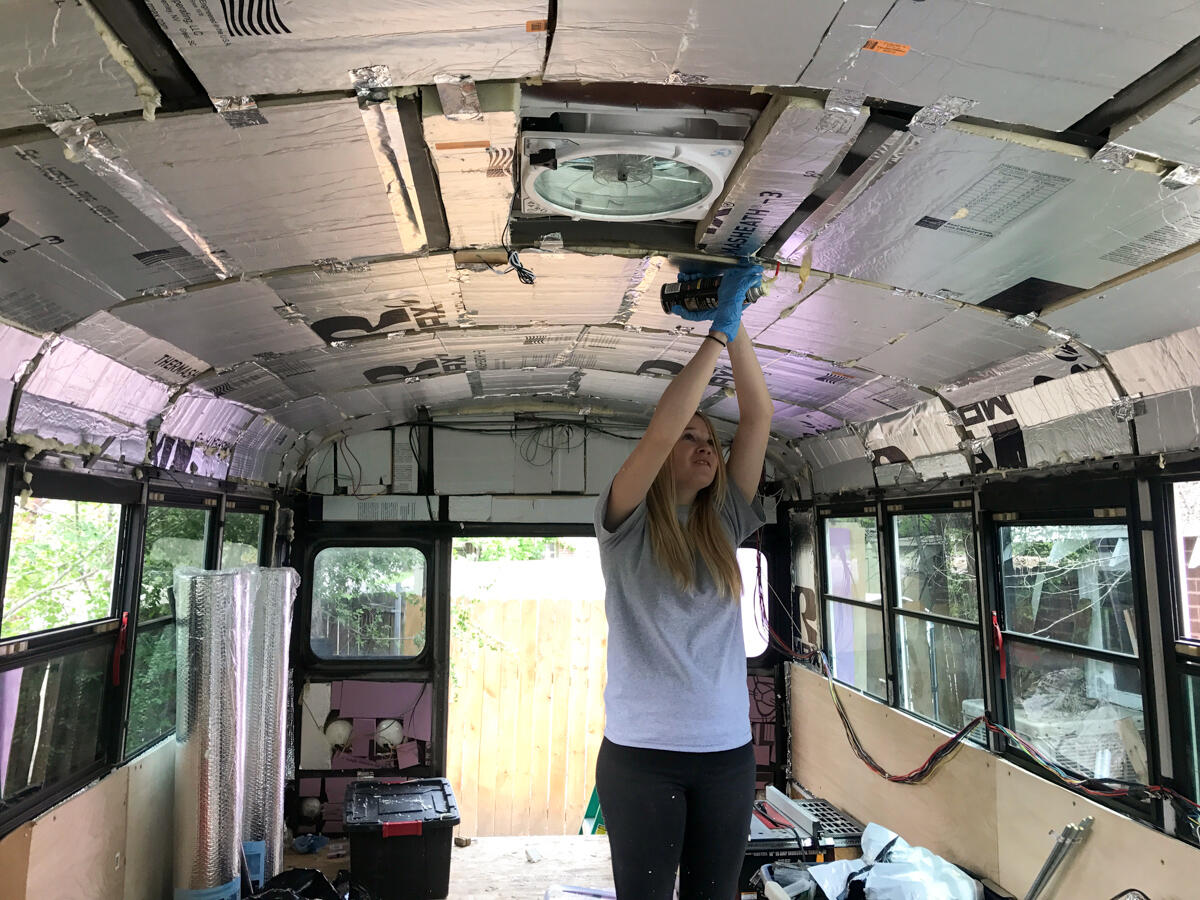
And here is a nice shot of the bubble wrap-like thermal insulation sealing the whole thing up (ha, pun intended, after the fact). To me it looks like stovetop popcorn from the ’80s (probably other decades as well):
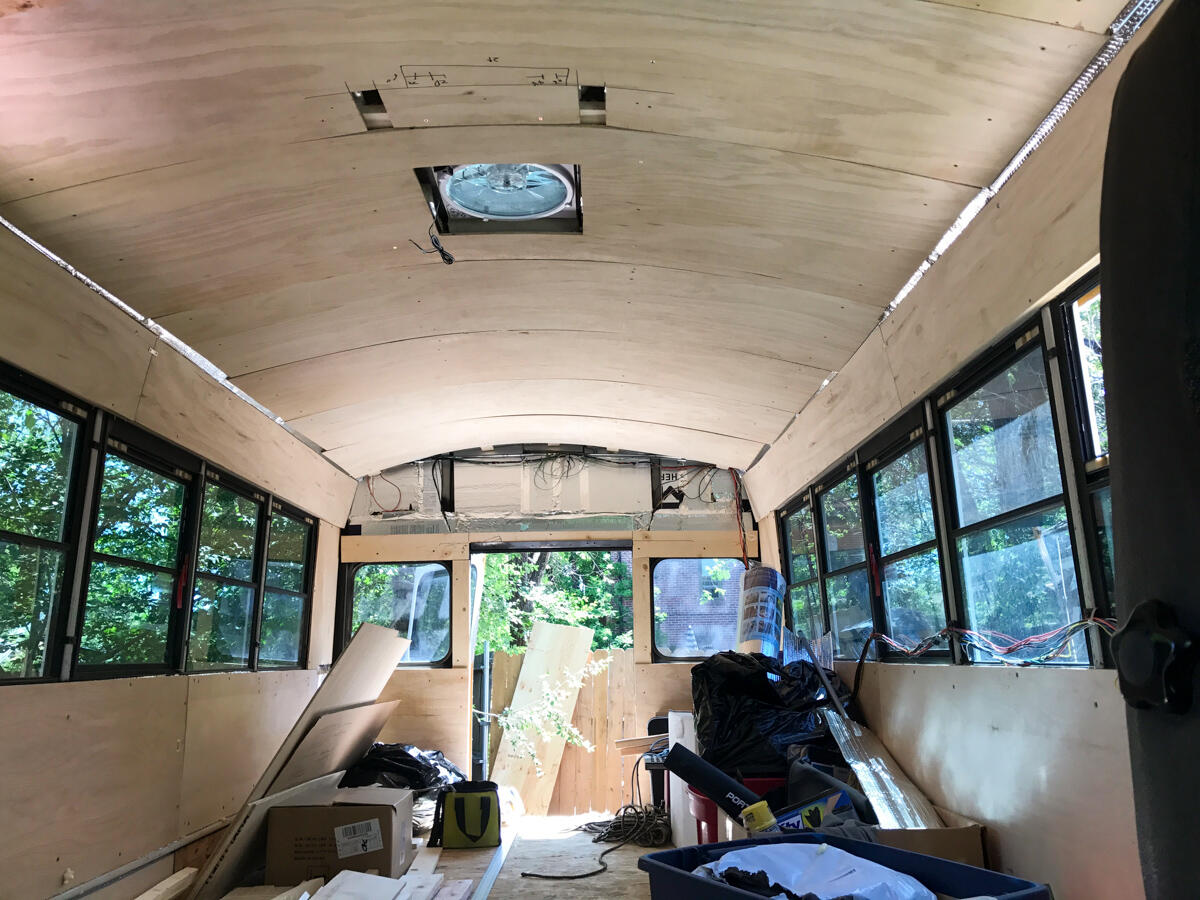
Many, many minutes later, we had our canvas:
Next up, all the fun stuff! Stay tuned.