In this episode of the Vicaribus bus conversion blog-a-thon we will go over the Vicaribus water system and installation. You’ll not want to miss it, because it includes bonus footage of slow motion awkwardly positioned welding by our good friend Chad at C-Squared Studios.
When adding a water system to a bus there are lots of options as to how you can go about it. You will typically have a fresh water tank, a grey water tank, and possibly a black water tank. The fresh tank is your sparkly clean fresh water for drinking, cooking and bathing. Your grey water tank is where the waste water from the sink and shower go. The black tank is where the stinky gross remains of your body turning food and drink into fuel go.
We have opted to not have a black tank, and instead will just stop using the bathroom… no.. no.. no.. actually, we got a composting toilet instead.
Since Vicaribus is on the smaller side of busses (no offense buddy), our options were limited as to where we could place our tanks and what size they could be. Some folks put them on the inside, but as we did not have the room for that, our only real option was under the bus. And as it turns out there were two nice spots on the driver’s side that could fit a couple tanks, albeit, smallish ones.
We ended up getting two 24 gallon custom tanks from plastic-mart.com and just needed a way to get them up in there. That’s why we called up our guy Chad (see Bus Conversion: Getting decked – coming soon), and had him devise, build and install a nice little system for mounting the tanks that even allows them to easily be dropped back out if need be.
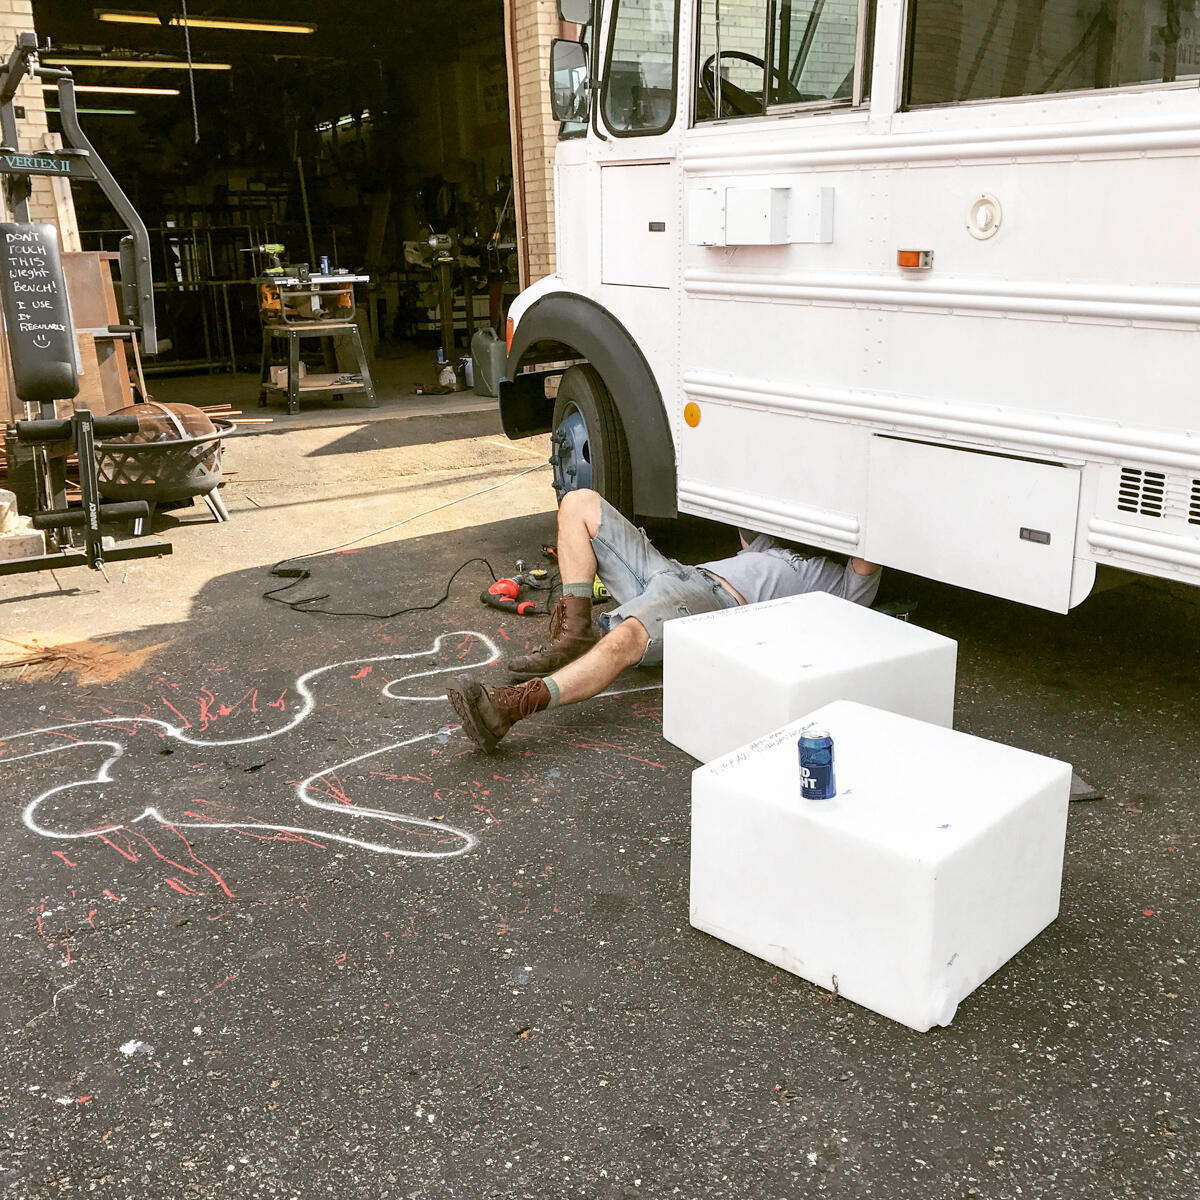
Here you can see our tanks and Chad getting run over:
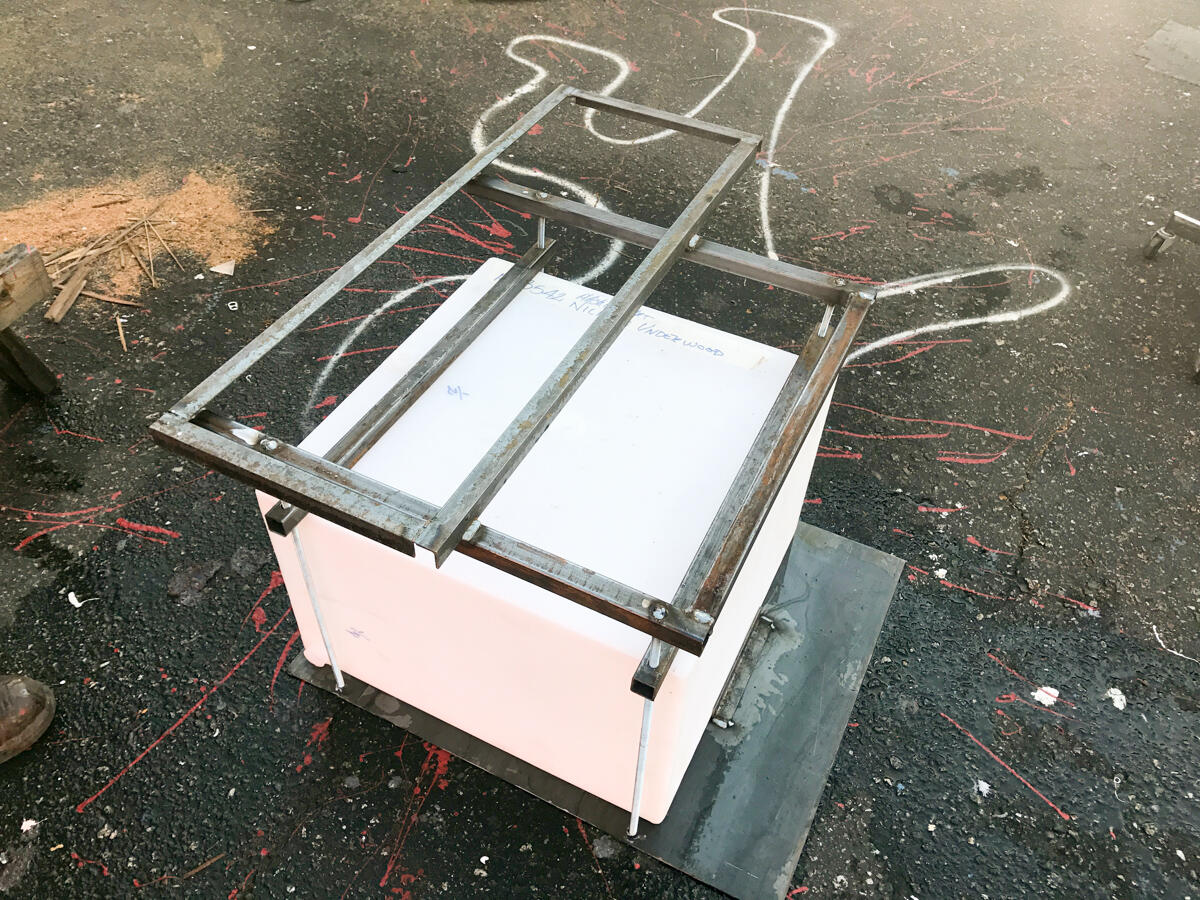
And here is the frame for the front tank; custom designed to fit just right. Note the all-thread in each corner. That’s how we secure the tank in a non-permanent fashion.
Preparing to install.

Chad was run over. It happens a lot in this lot.

And finally… the promised slowmo: