
The rooftop deck was actually one of the first things we constructed on the bus. (Priorities right?) We did this so early on mostly because we wanted to accomplish everything that put holes in the bus before covering the ceiling and walls up, and also because if you’re going to take an empty bus camping all summer it might as well have a rooftop deck right?
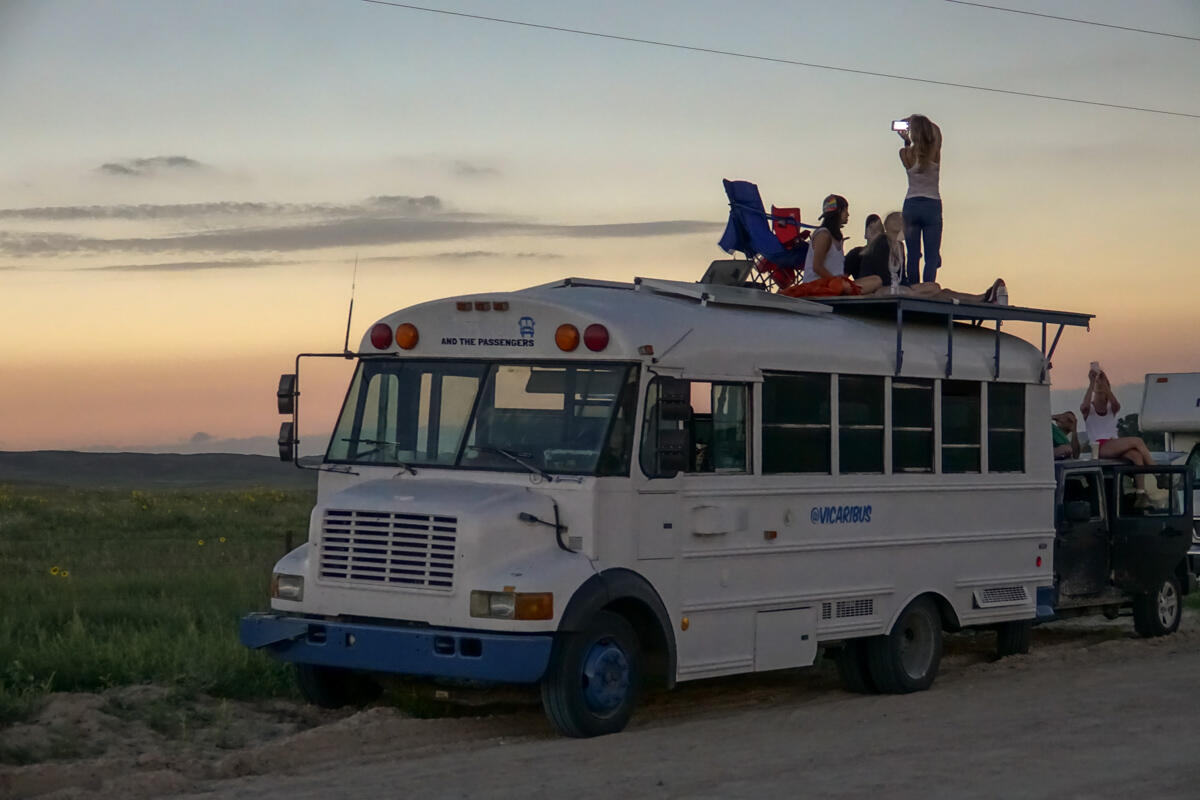
Rooftop Eclipse Watching
In order to build the deck we employed the help of a welder. Originally Nick went to a beginner’s welding class thinking maybe he’d pick up another new skill, but it seemed safer and more efficient to just hire the guy who taught the class and this is how we met Chad from C-squared studios. He has since moved to Oregon, but luckily we got all of our welding needs in before then (he also helped with the mounts for our water and propane tanks and our front and rear hitches).
They started by framing out the deck which attaches to the rain gutters on the side and back of the bus with turn buckles. In theory, we could remove the deck without damaging the bus but nobody knows why we would want to take it off.
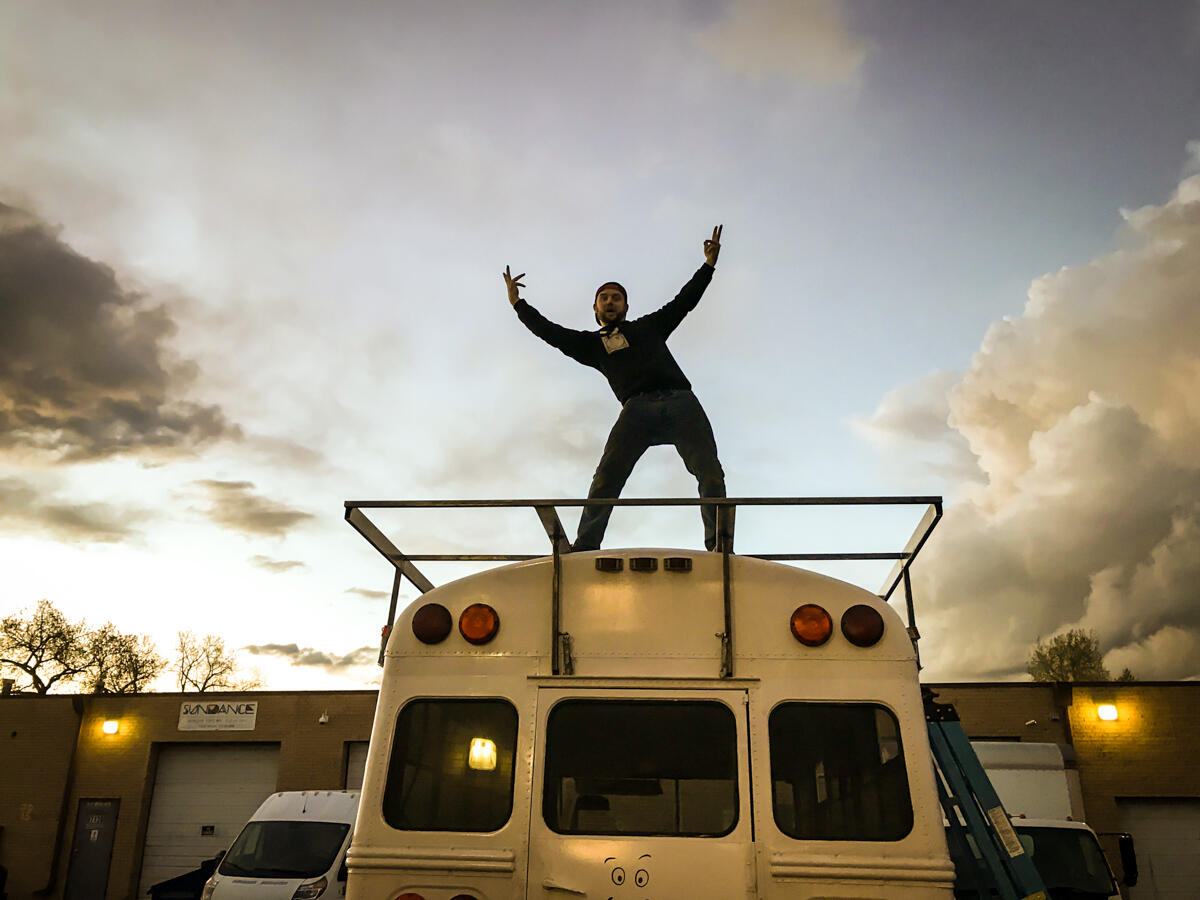
Chad With the Frame Attached
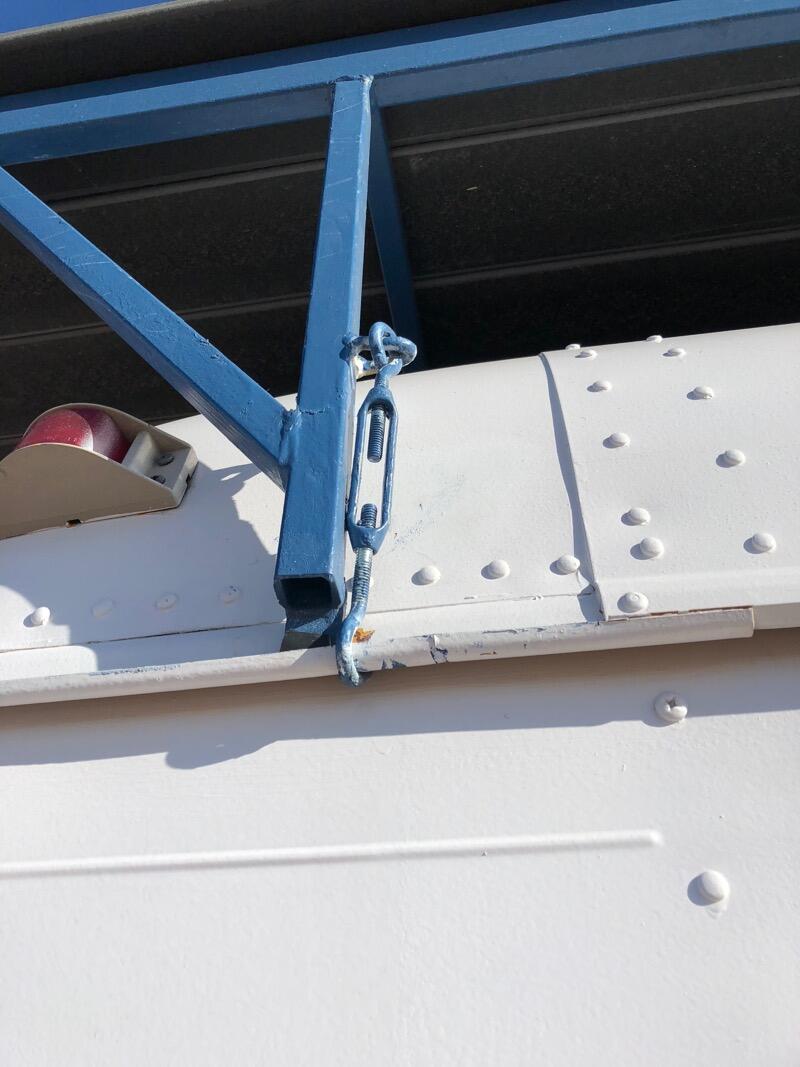
Close up of Turn-Buckle Attachment
Once the frame was attached we had to decide on decking material. After serious consideration of having the roof be a putt putt course, we decided to throw the budget out the window (again) and use composite Trex boards that we purchased from Home Depot. These boards even came in grey to match our interior color scheme.
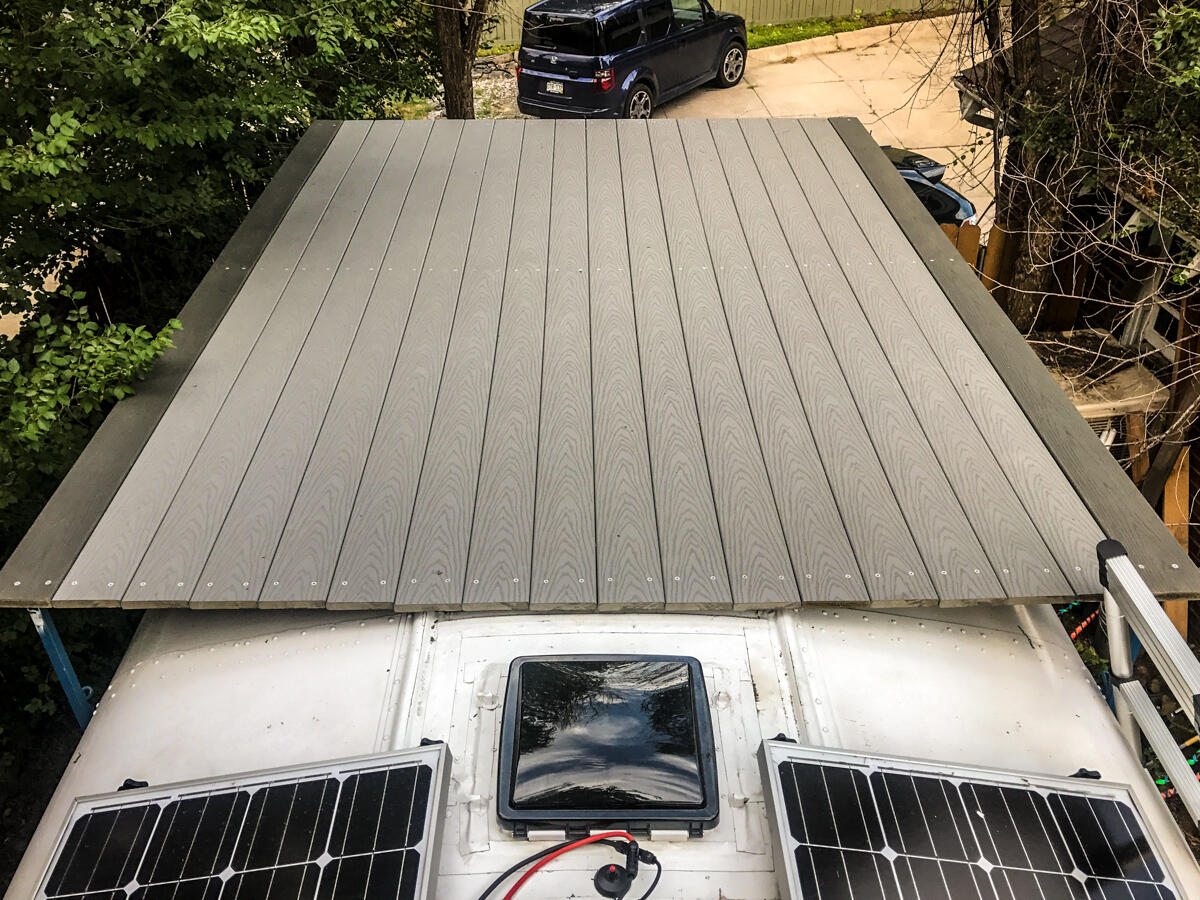
Boards On the Deck
The deck is about 8 feet by 10 feet and it hangs off the back of the bus creating an awning. We put eyelets on the deck frame so that we can hang hammocks back there when there are no trees around.
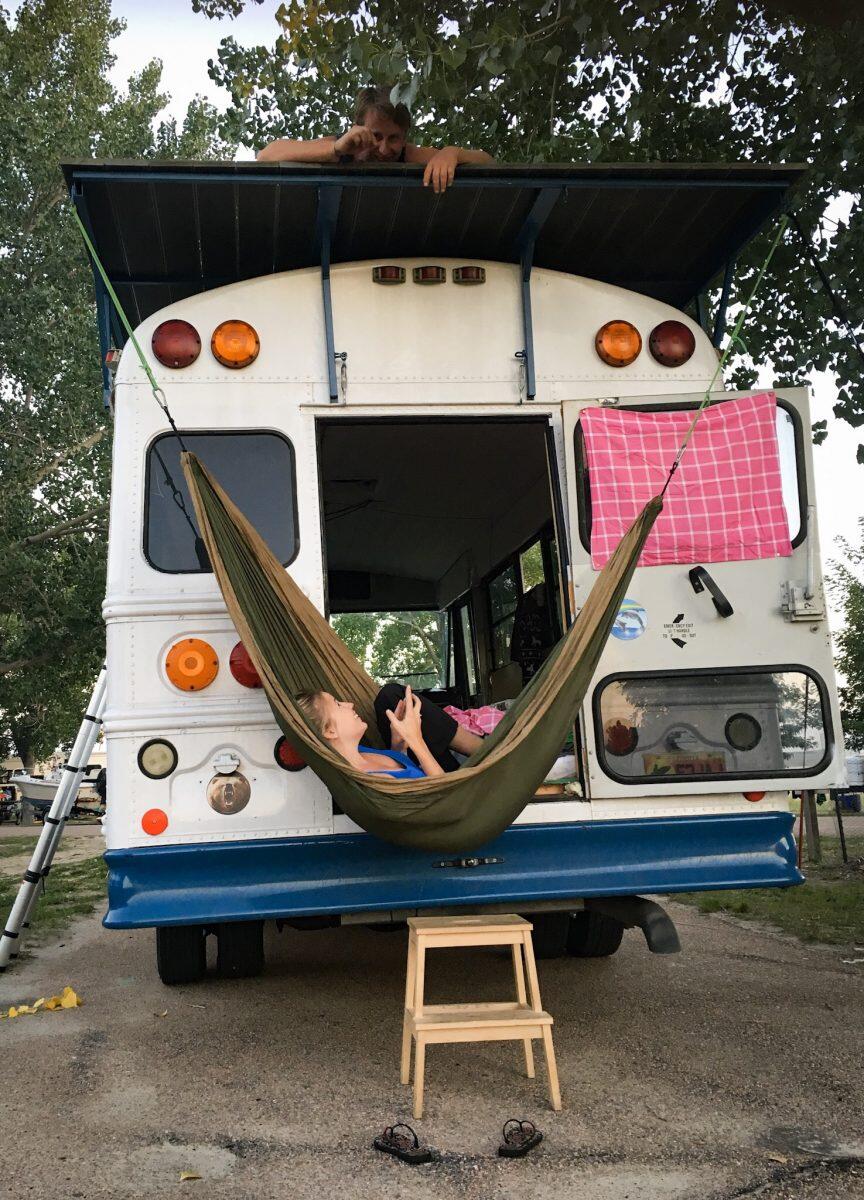
Hanging From the Deck
We debated a few different options when deciding how to access the roof and while rock climbing holds sounded like the funnest way we ultimately decided on a telescoping ladder that we can store in the bus when we are traveling. This was nice because it didn’t involve putting anymore holes in the bus, it can be moved around to access the roof from different points, it means random strangers can’t get on our roof when we park and leave it places, and it gives us a ladder to use for anything we may need.
To return to Our Complete Bus Conversion Guide click here.
Completed Conversion Tour
You can see a full set of photos from the completed conversion here, and you can see a video tour of Vicaribus below.
We hope you enjoyed reading this post and now feel more like you too know what it’s like to live in a bus. If you would like to keep feeling this way, subscribe to our email updates and we will let you know when we make new posts for your vicarious pleasures. Just full out the form below and click subscribe!