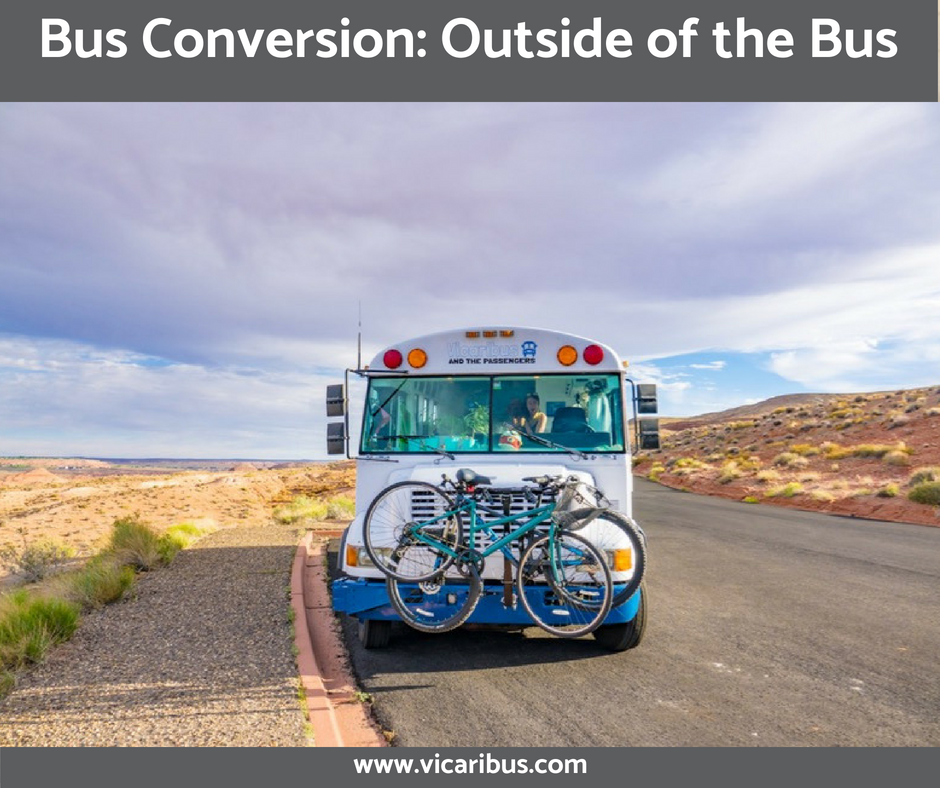
One of the best things about our bus purchase was the fact that it was already painted (Praise Be!). This saved us a ton of time and hassle from having to remove decals, sand things down and paint the whole bus. We’re hoping since we bought the bus in sunny Florida that the previous owners used reflective heat blocking paint, but other than not feeling like an oven inside we have no way to know for sure.

This is the Bus When We First Got It
Since we had a blank slate to work with we decided to decorate the bus to make it our own. On the front of the bus we have our Vicaribus and The Passengers logo that Nick designed. On the sides of the bus and on the back door we have our Instagram handle and website information so that when people are stuck behind us going slow on the highway they can check us out. All of these decals were ordered from Car Stickers.
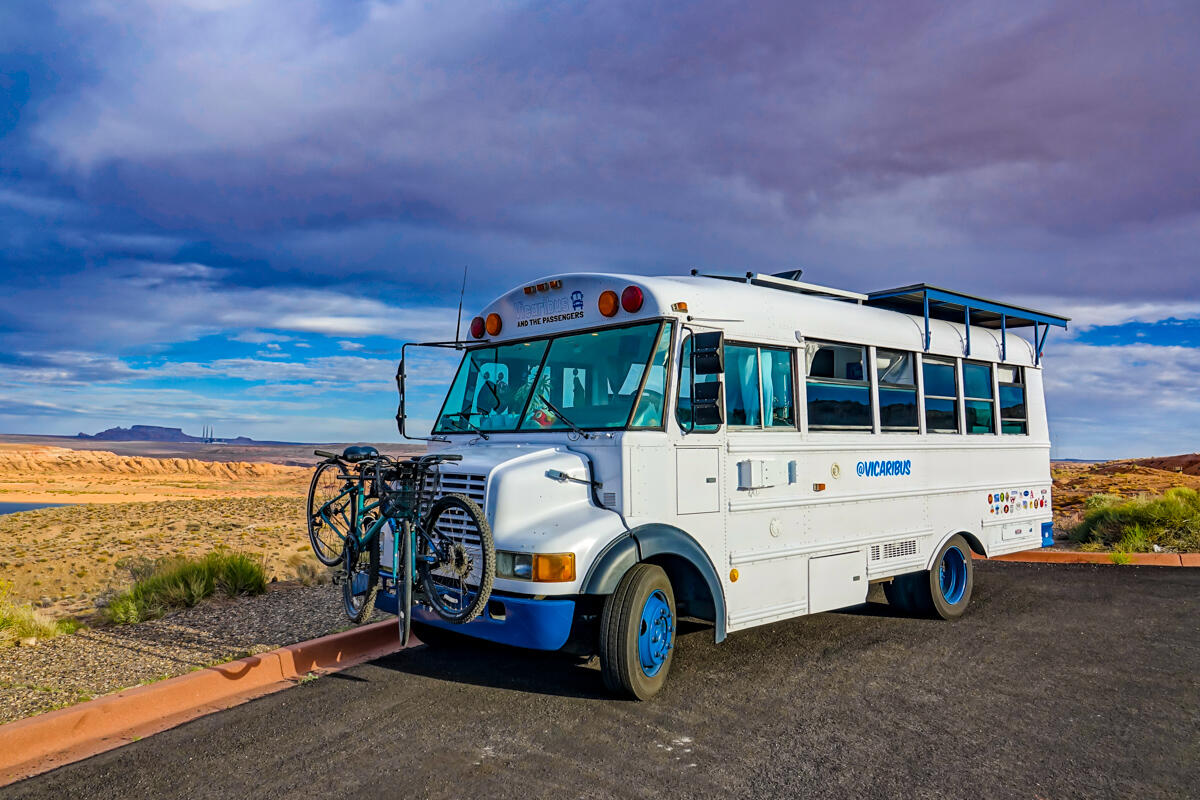
You can see the front and side decals in this picture
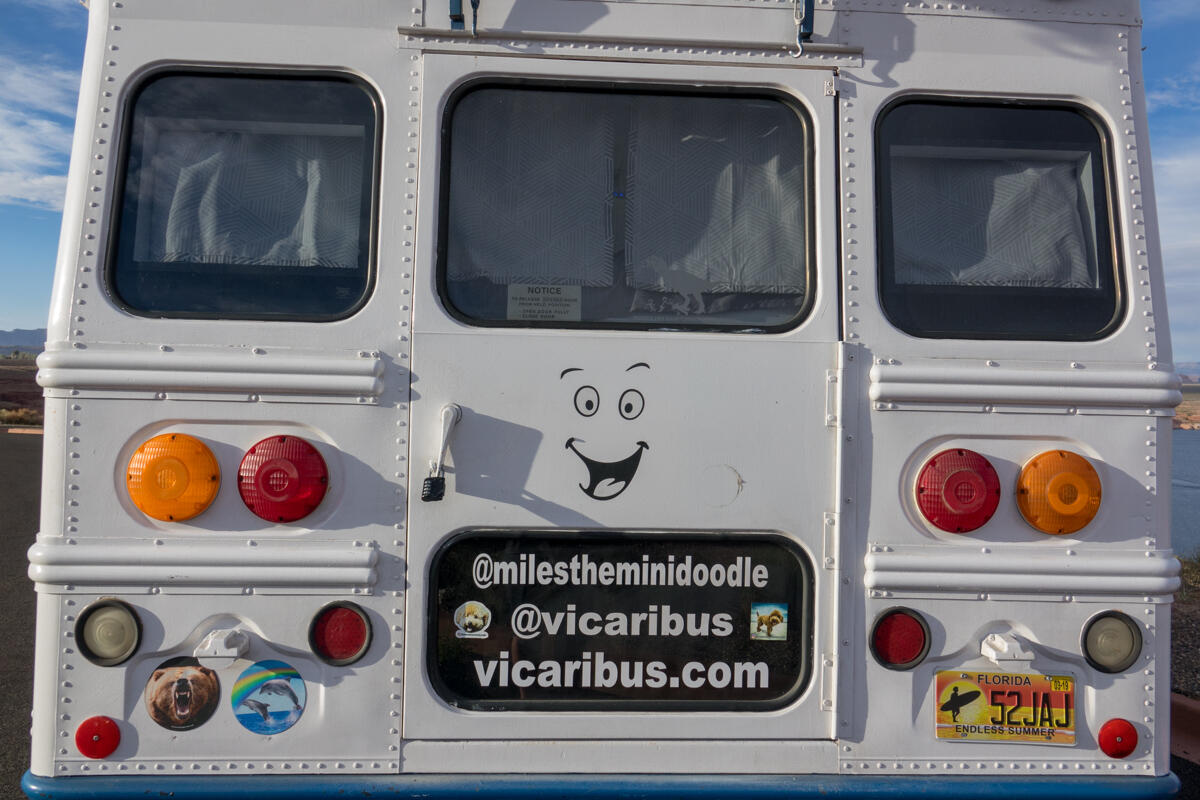
And here’s a great view of the back decals
Another decoration we have on the outside of the bus is our sticker collection. We started with a few of our favorites before leaving Denver and now we pick up a new one everywhere we go on the road. Before you know it, the whole bus will be covered!

The Beginnings of the Sticker Collection
After finishing decorating, we added some things to the outside of the bus that are for more than just looks. One of the most helpful things we added was the back up camera, which is mounted on the rear bumper. We removed the rear view mirror inside the bus as it was pretty much useless and replaced it with the monitor for the back up camera. We also have a front mounted camera but for some reason it doesn’t function and it hasn’t been enough of a problem to fix it yet.
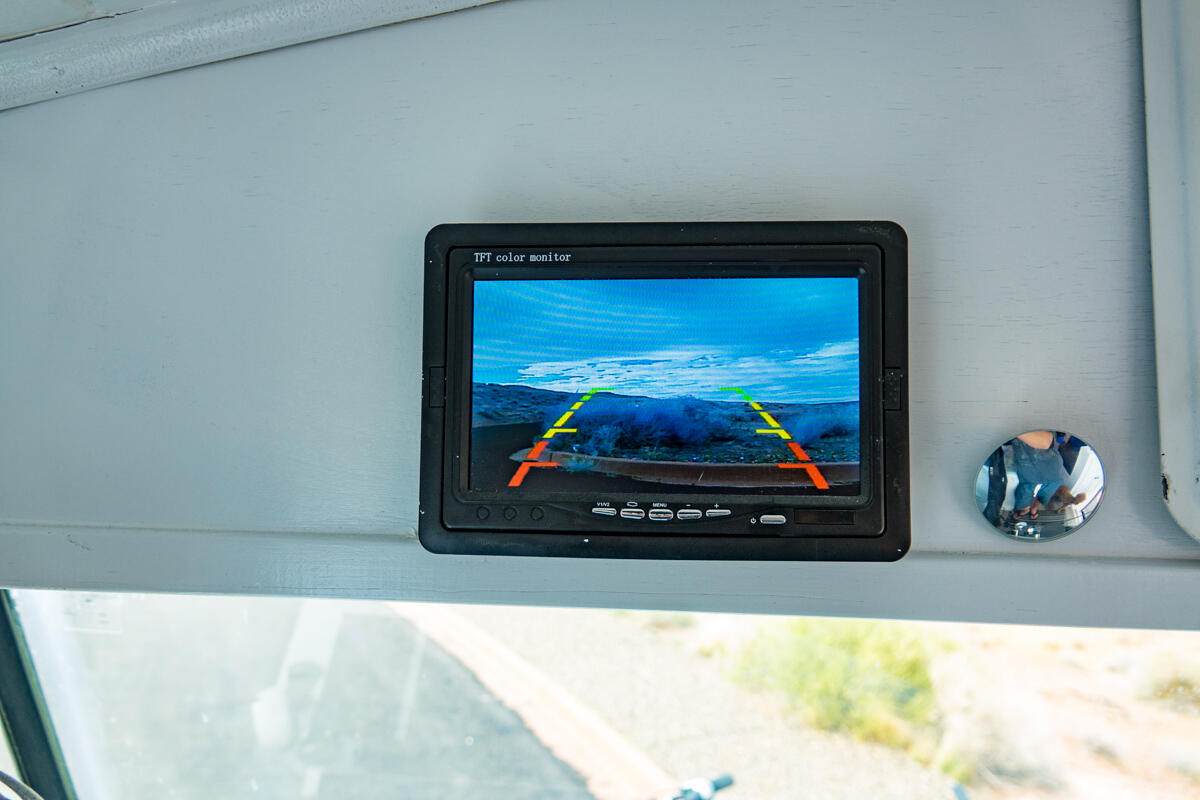
Back Up Camera Monitor Serves as the Rear View Mirror
We also added both a front and a rear hitch to the bus. Both of these were put in with the welder we worked with, Chad from C-Squared Studios. On the front hitch we have a bike rack that keeps our bikes in a safe, out of the way place. We found these bars that attach to the frame of the bike that help them hang level and lower which keeps them out of the line of sight. On the back hitch we put a step plate which is great since we are both short. It helps us to reach things in the “trunk” section of the bus as well as climb into the bed from the back door.
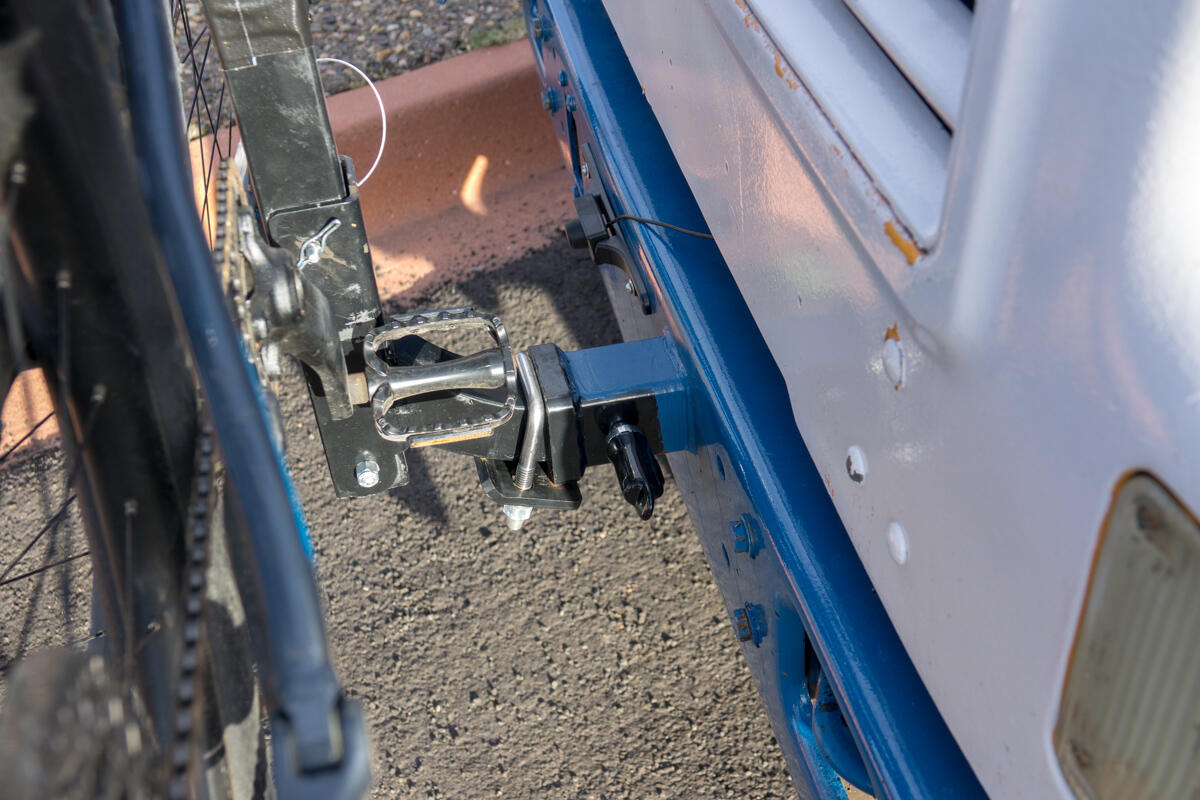
Bike Rack Hitch
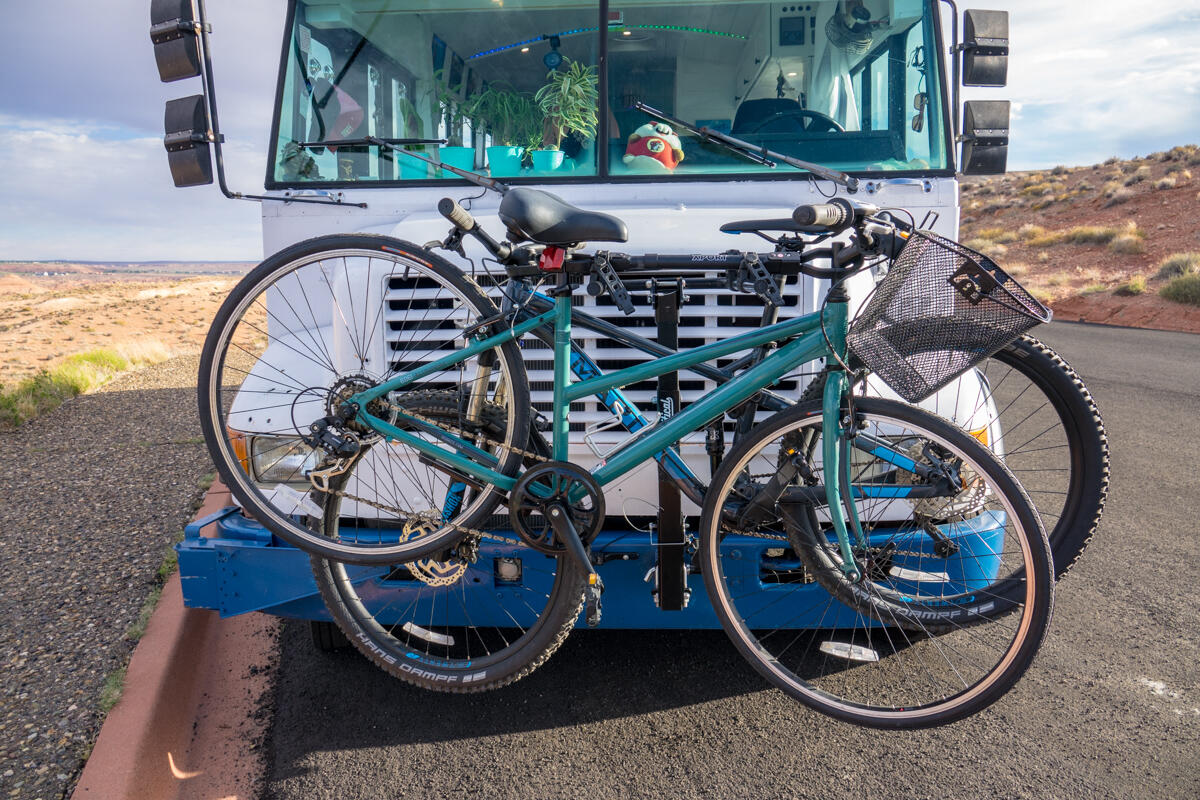
Bikes on Bike Rack

The Step (you can also see the back up camera)
To secure our bus we use numerical padlocks with a secret code- we chose these so we did not have to worry about carrying around and/or losing keys. We added a latch to the outside of the front door that we found at home depot in order to secure it from the outside. If we are inside the bus we secure it by locking the door open/close arm in place. The back door already had a hole perfect for the lock so we did not need to add anything in order to be able to lock it from the outside. We can also lock the back door from the inside with a slide out that is attached to our bed frame that prevents the handle from going up.

Door Latch
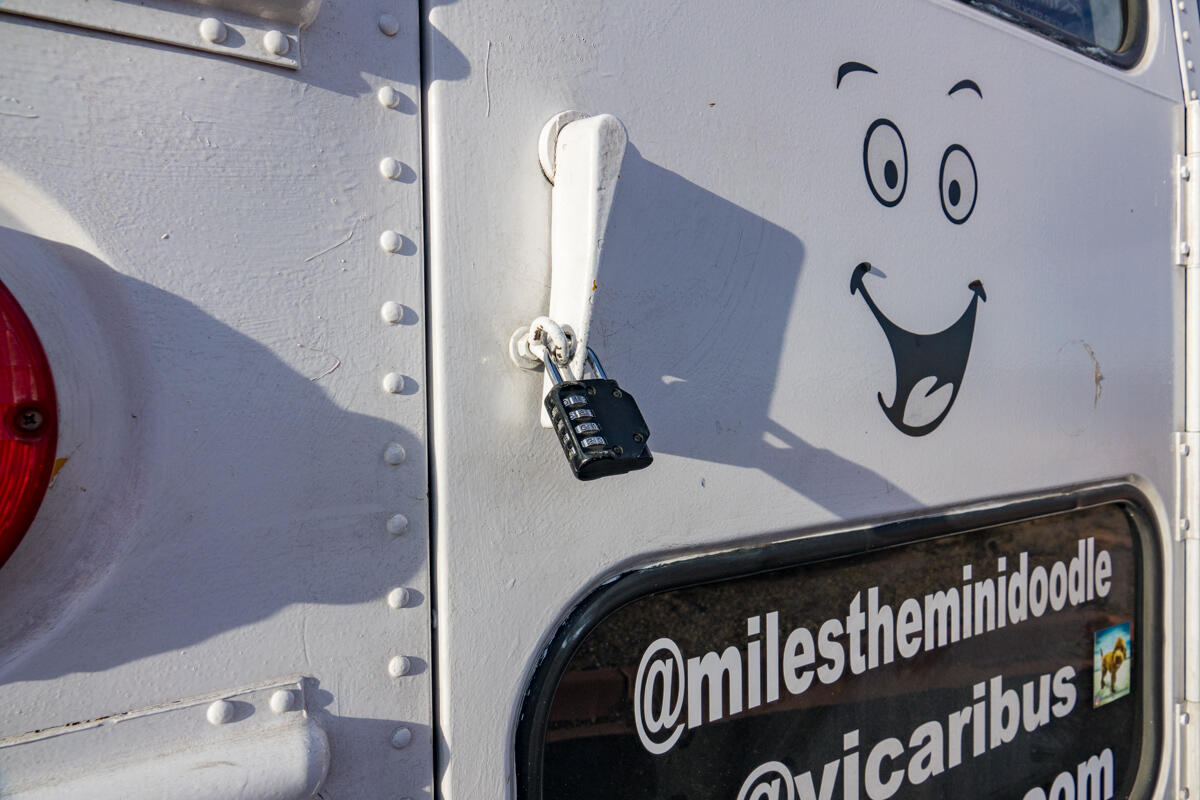
Lock on the Back of the Bus
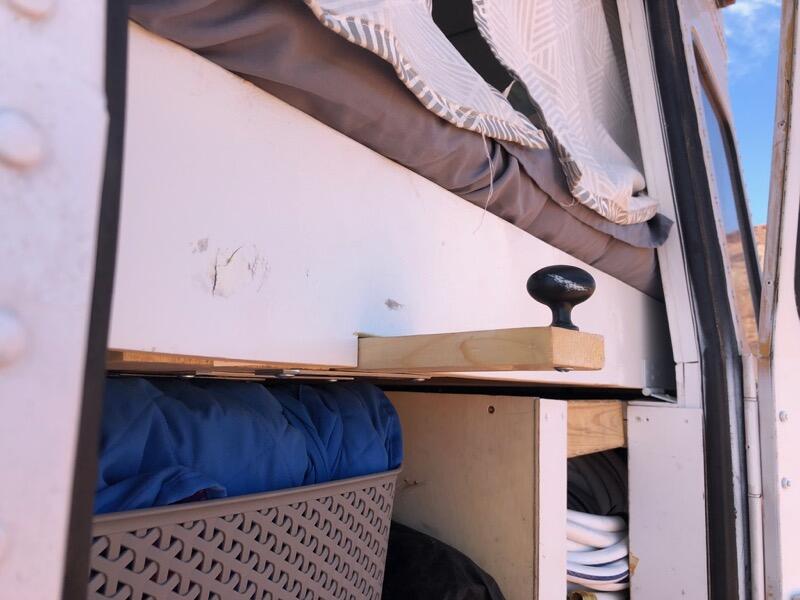
Sneaky Interior Door Latch Blocker That Locks the Back Door From the Inside
The rooftop deck also has numerous hooks for attaching things to the outside of the bus that get stored away while we are moving. This includes things like twinkle lights, hammocks and our canopy for shade. We use hammock straps to attach the canopy to objects other than the bus (and we also put a D-ring hook in the middle of the deck to attach Mile’s leash so that he cannot fall off.
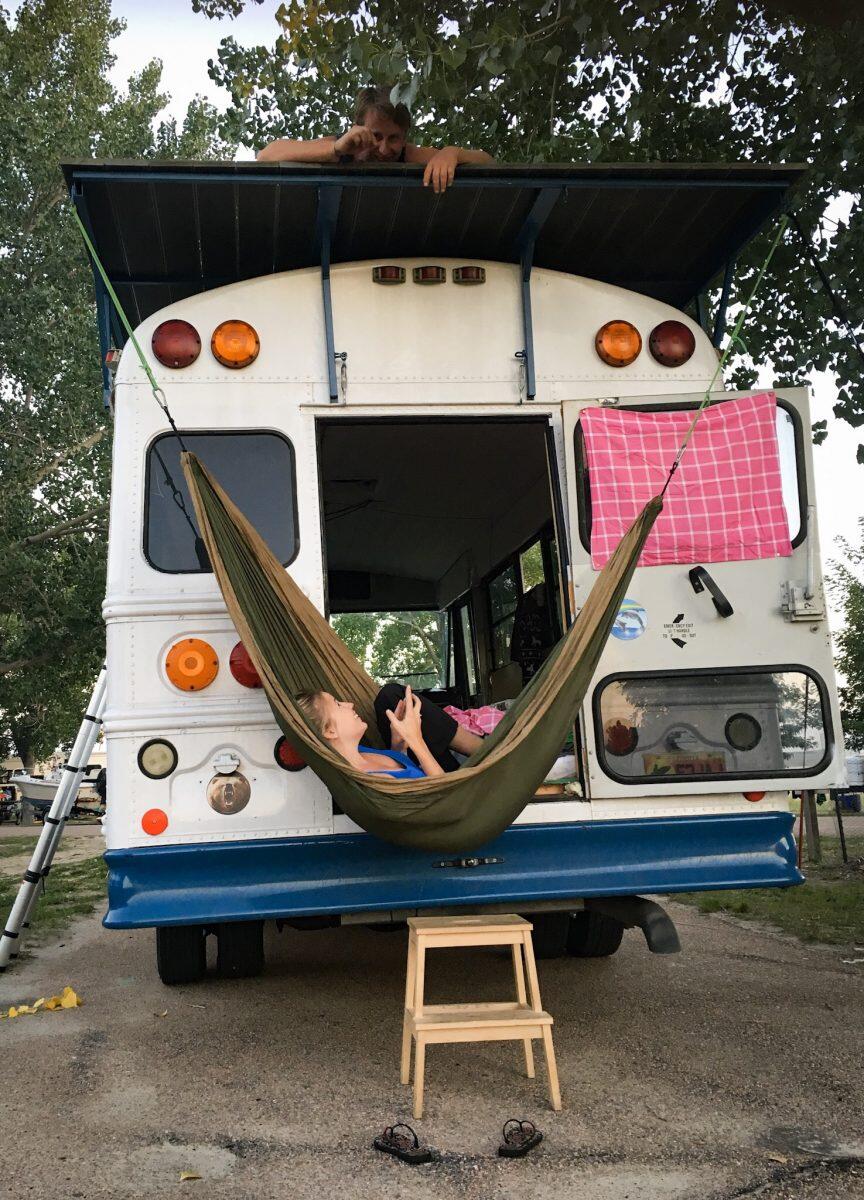
Hanging From the Deck
You can see our canopy hooked on the back of the deck in this picture
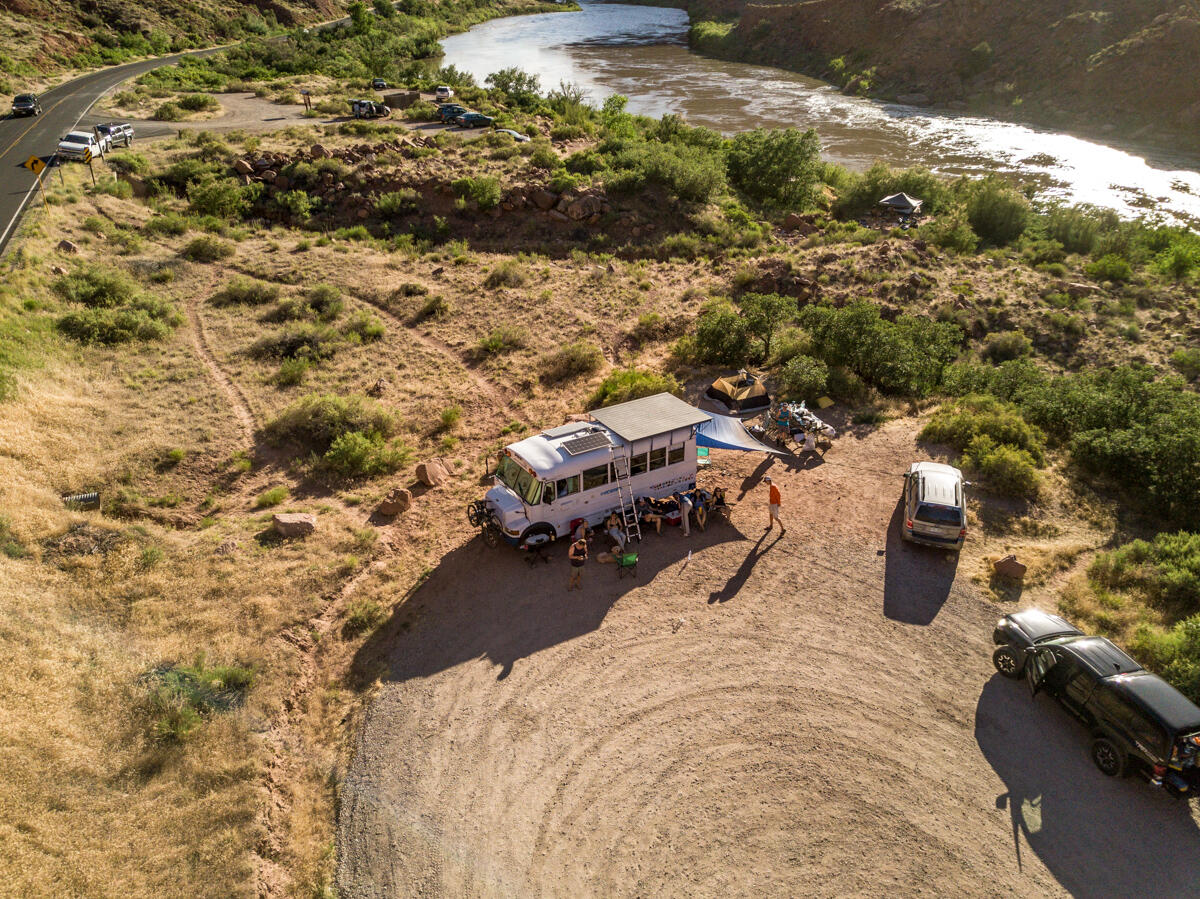
Aside from all of this, the best part of the outside of the bus is that nature around us and the fact that we get to move and experience different scenery all the time!
To go back to Our Complete Bus Conversion Guide click here.
Completed Conversion Tour
You can see a full set of photos from the completed conversion here, and you can see a video tour of Vicaribus below.
We hope you enjoyed reading this post and now feel more like you too know what it’s like to live in a bus. If you would like to keep feeling this way, subscribe to our email updates and we will let you know when we make new posts for your vicarious pleasures. Just full out the form below and click subscribe!