It seems we are due an update. As these things go – in this case blogging the conversion – the momentum has waned, but fear not, the conversion itself carries on as strong as ever.
Since we last spoke, a lot has happened. The kitchen is pretty darn far along, as is the bathroom. These will be the focus of this post, but do note that since the last update, there have been other ancillary bits of progress as well. These include, but are not limited to, full installation of the ceiling boards, installation and plumbing of a propane tank under the back of the bus, wiring and outlets, new livery on the back, and the addition of a permanent cellular hotspot which lets us monitor the power system and smart smoke/fire/CO/gas alarm from anywhere in the world.
Ancillary bits of progress
For these items listed here, I will provide a sentence or two before carrying on to the meet and potatoes of the post.
The ceiling consists of tongue and groove blue stained pine boards painted white and running front-to-back. You might wonder why we would get nice blue stained pine and then paint it white, since blue stained pine is expensive and very pretty. The answer is simply that the Home Depot had them on clearance, making them the cheapest option, and we wanted a white ceiling. If you are not familiar with blue stained pine, it is wood taken from deadfall from the beetle blight that is ravaging this part of the country. The beetles do, however, bring along a fungus that adds a nice bluish stain to the wood as it murders it.
The propane tank was a bit of a kerfuffle, but worked out quite nicely in the end. Knowing next to nothing of how propane tanks operate, I ordered a nice 50 gallon vertical tank to go under the bus. Little did I know that vertical tanks must remain vertical to operate. Thus, we ended up with a second tank, this one horizontal, a 1/4 of the capacity and triple the price. The bright side is that this second tank fit like a glove in the perfect spot that even provides access from a panel already on the side of the bus.
Wiring is wiring. We have 120V AC running around the bus, as well as 12V DC lines for lights and what not. I only shocked myself 3 times. So far.
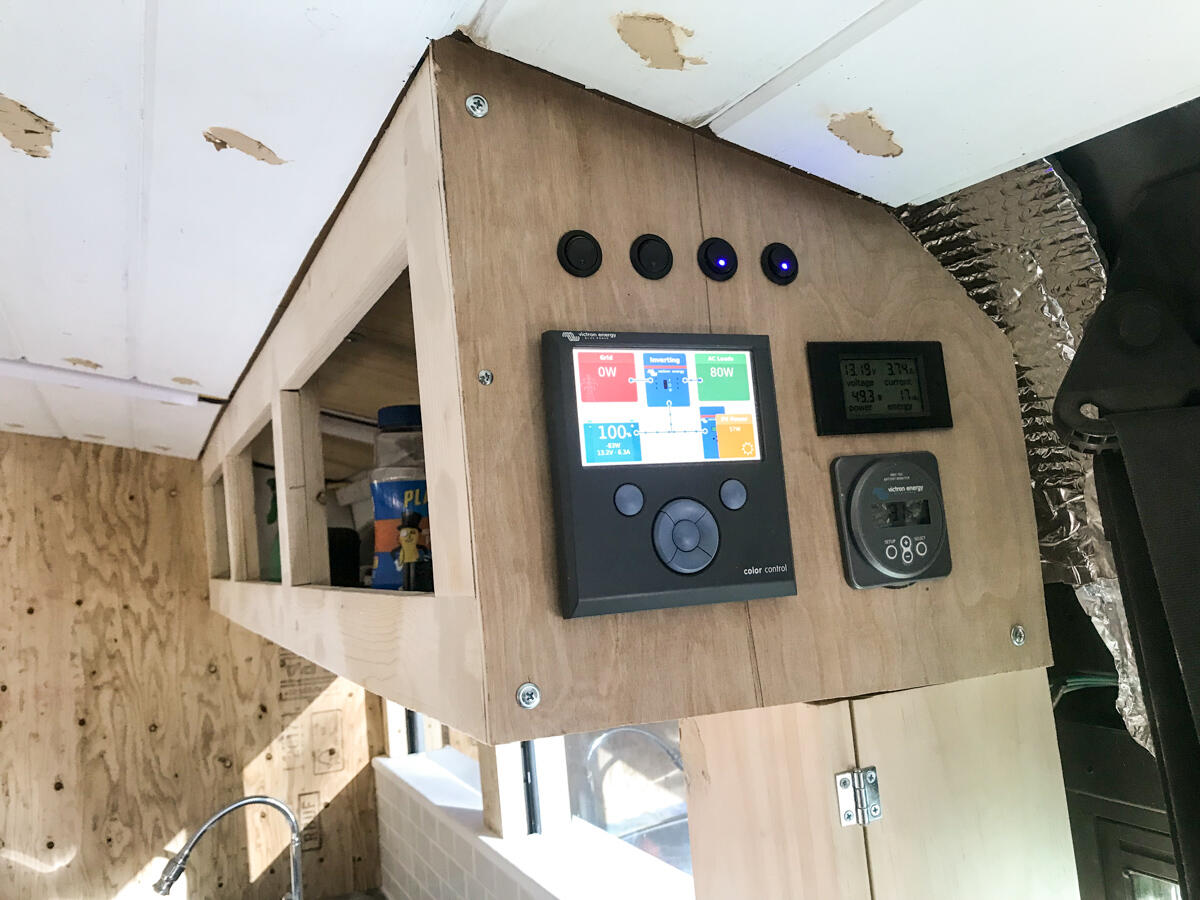
I stalked AT&T’s web store for months to get my hands on a ZTE Mobley hotspot, since they are most often out of stock. They are intended for use in a vehicle with an OBD port and provide a connection for up to 5 devices. Buses don’t have OBD ports, but a small USB power adapter can be on Amazon to use it anywhere. It’s a $10/month addition to my unlimited data plan and works great so far!
Here’s the new power monitoring setup:
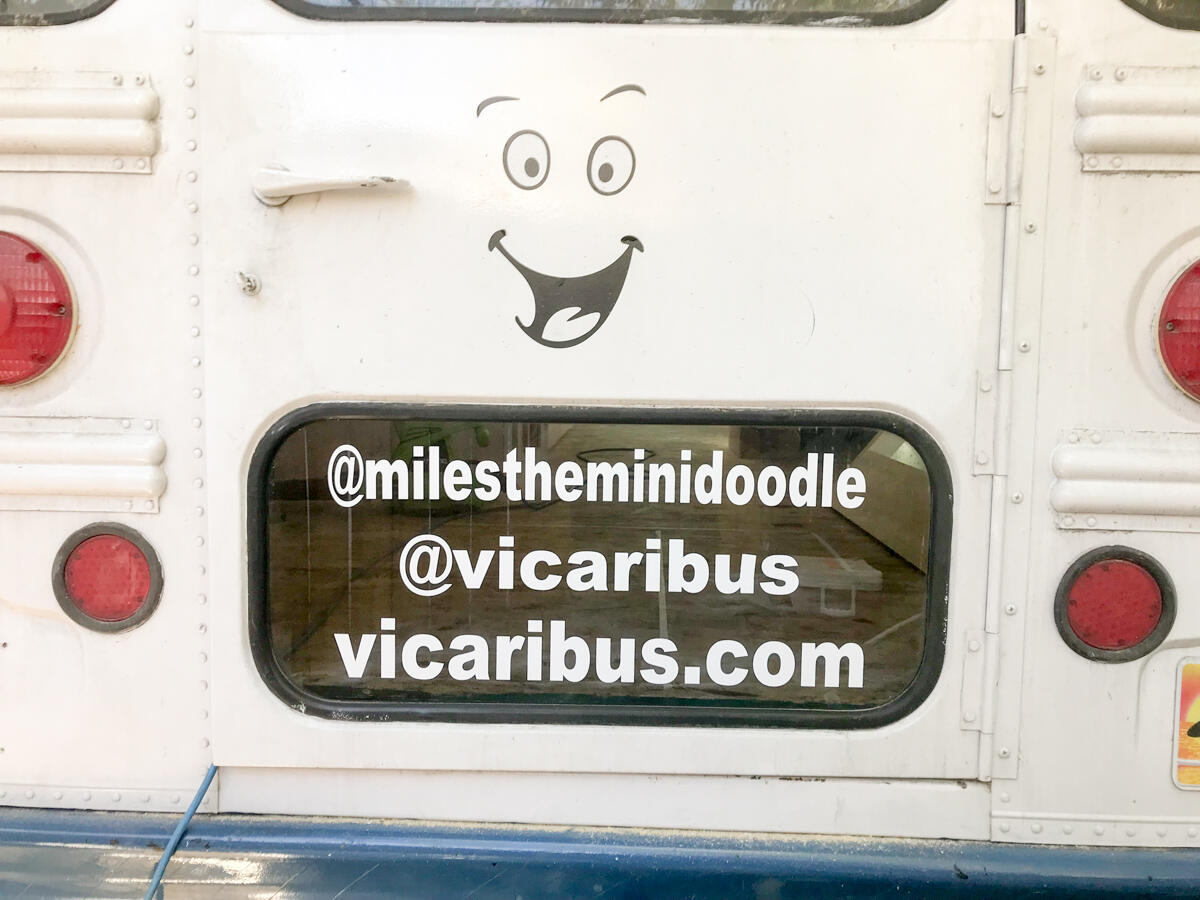
Here’s the new livery on the back:
Kitchen
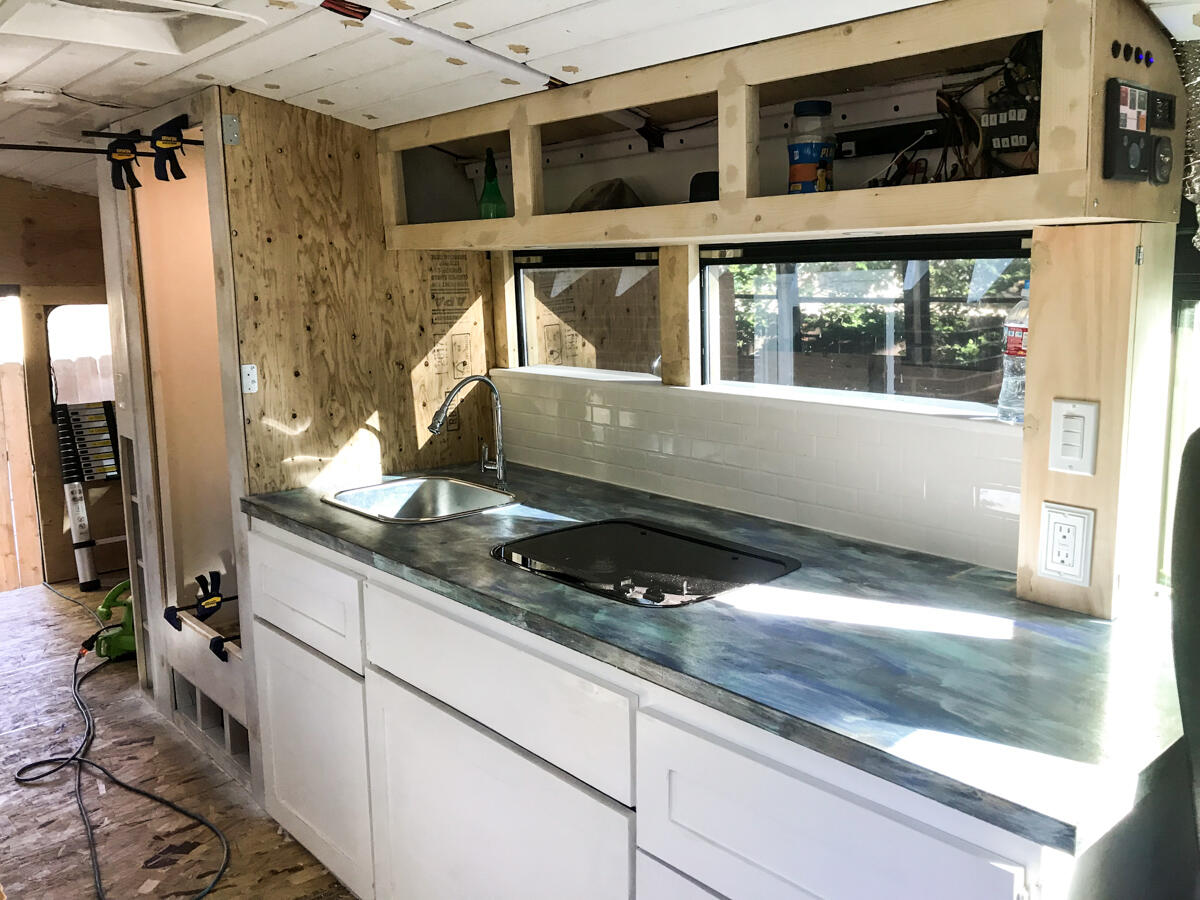
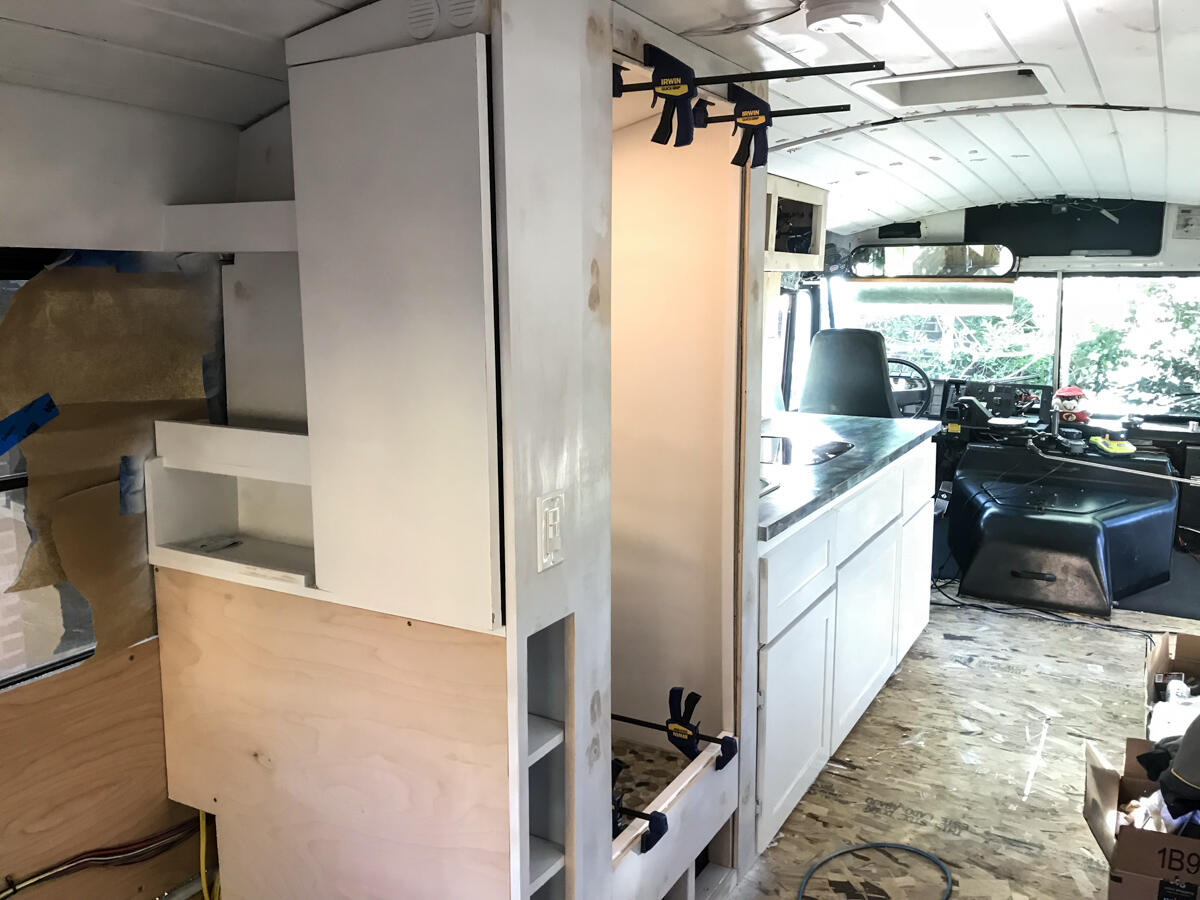
In the previous post, Heather covered the making of our glorious kitchen countertop. Since then, we have added cabinets on the bottom, a fully functioning 2-burner stove, a small DC powered fridge, a functioning sink and are nearing completion on the upper cabinets. It turned out quite nicely, if I do say myself. And being that I made up the whole thing as I went, making some quite interesting framing choices along the way, it is only barely not square and/or even in certain places, providing nice character. We did opt to order the cabinet doors and drawer faces online, so that they would have as minimal character as possible. Check it out y’all!
Bathroom
The bathroom was something I dreaded, but eventually made peace with. We have very limited space in our little bus, and decided to go with a wet bath – i.e. a shower with a toilet in it. In our case, we also went with a composting toilet to forgo the trials and tribulations associated with a black tank. Only time will tell if the trials and tribulations associated with a composting toilet are less trialsome and tribulating than those of a black tank.
Unfortunately, there were no off-the-shelf shower kits that would fit our tiny space, so that meant we had to make something waterproof on our own. This is how we did it:
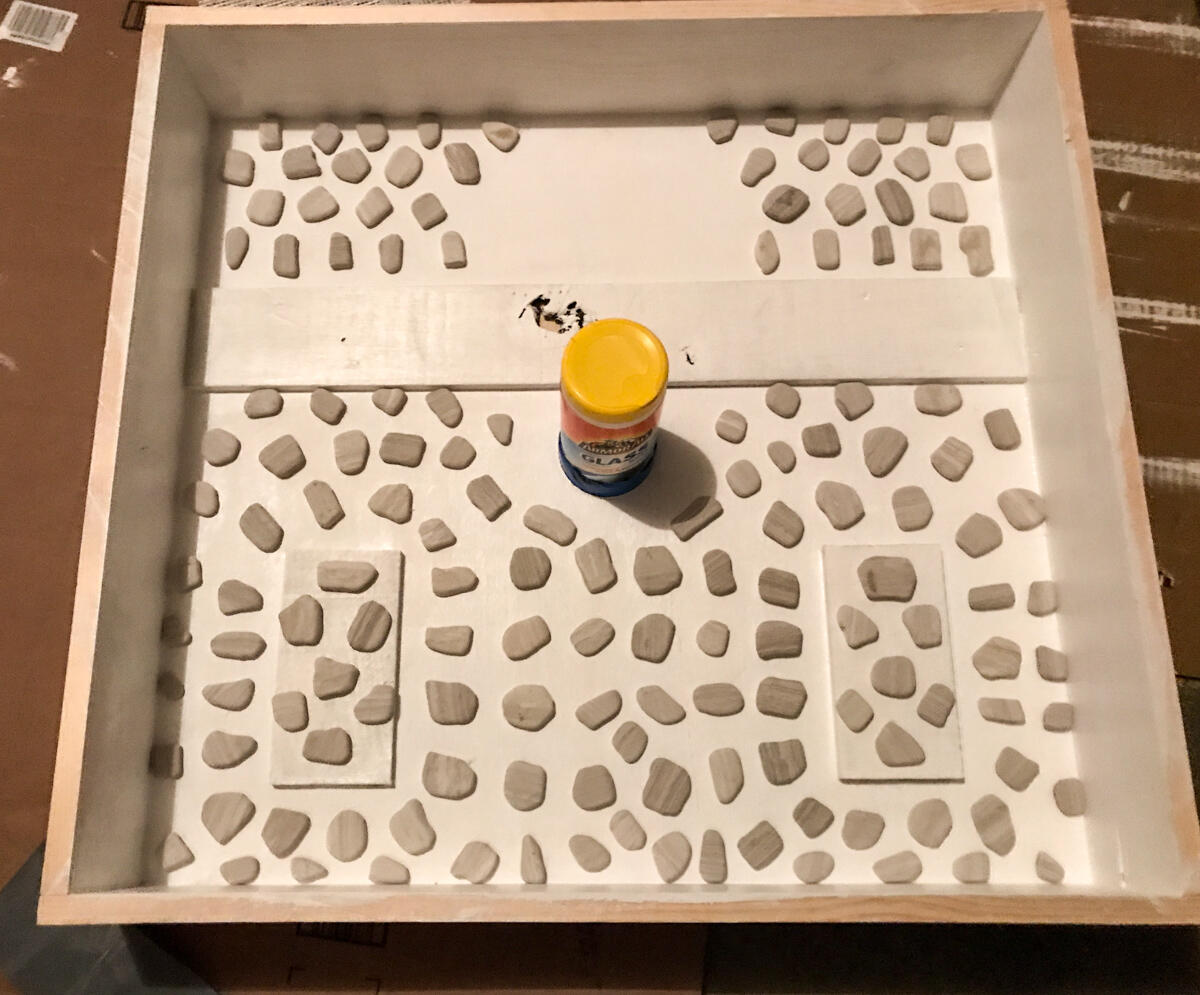
Step 1: Build a raised-up waterproof base/pan. Raised-up so that drain plumbing can run under it. Waterproof, because duh. This finally gave me an opportunity try my hand at making something with epoxy resin – something I’ve been wanting to do for a while. Essentially I built a square wooden base out of pine boards and plywood, painted it white, cut a spot for a drain, put down some decorative stones and started pouring in the epoxy. I probably did 12 or so layers of epoxy pours. I tried to slightly angle the epoxy down towards the drain to help prevent pooling of water. That kind-of worked. I also put in some glow-in-the-dark blue pigments for pizazz. As far as I can tell, all this did was give the epoxy a pee-yellow tint, which is precisely the color you want of your wet bath floor.
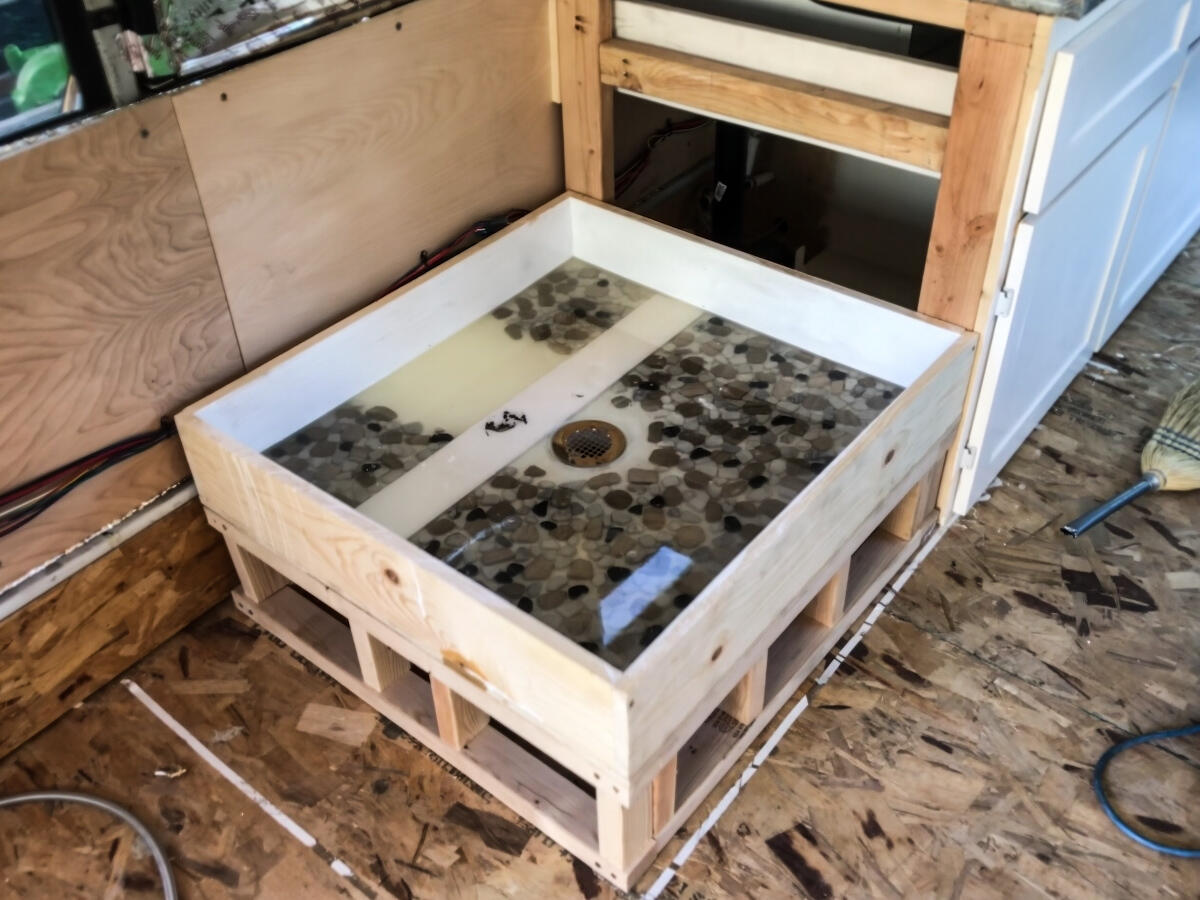
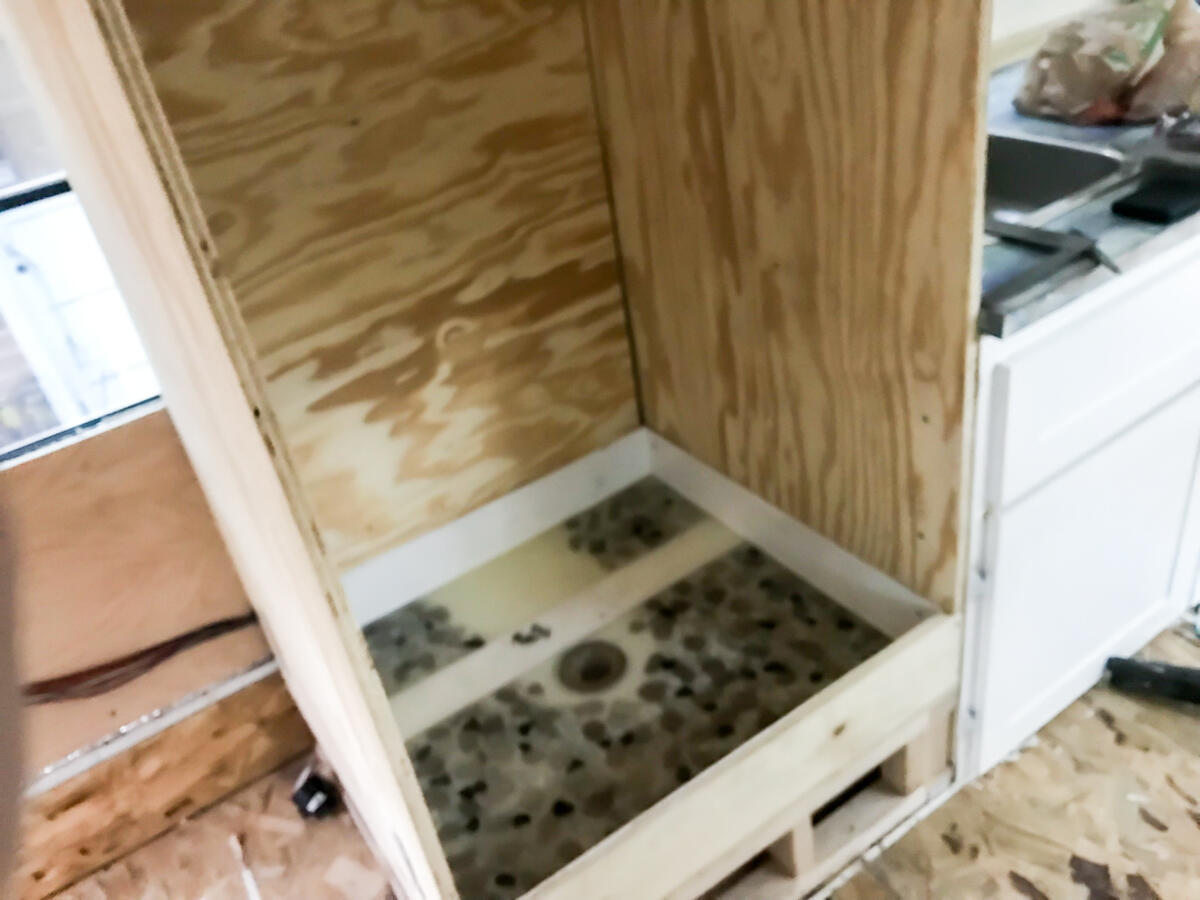
Step 2: Mount and plumb the base in the bus, then build up the rest of the bathroom walls with 3/4 plywood. Had to cut some jigsaw puzzle plywood pieces, but this went pretty well.
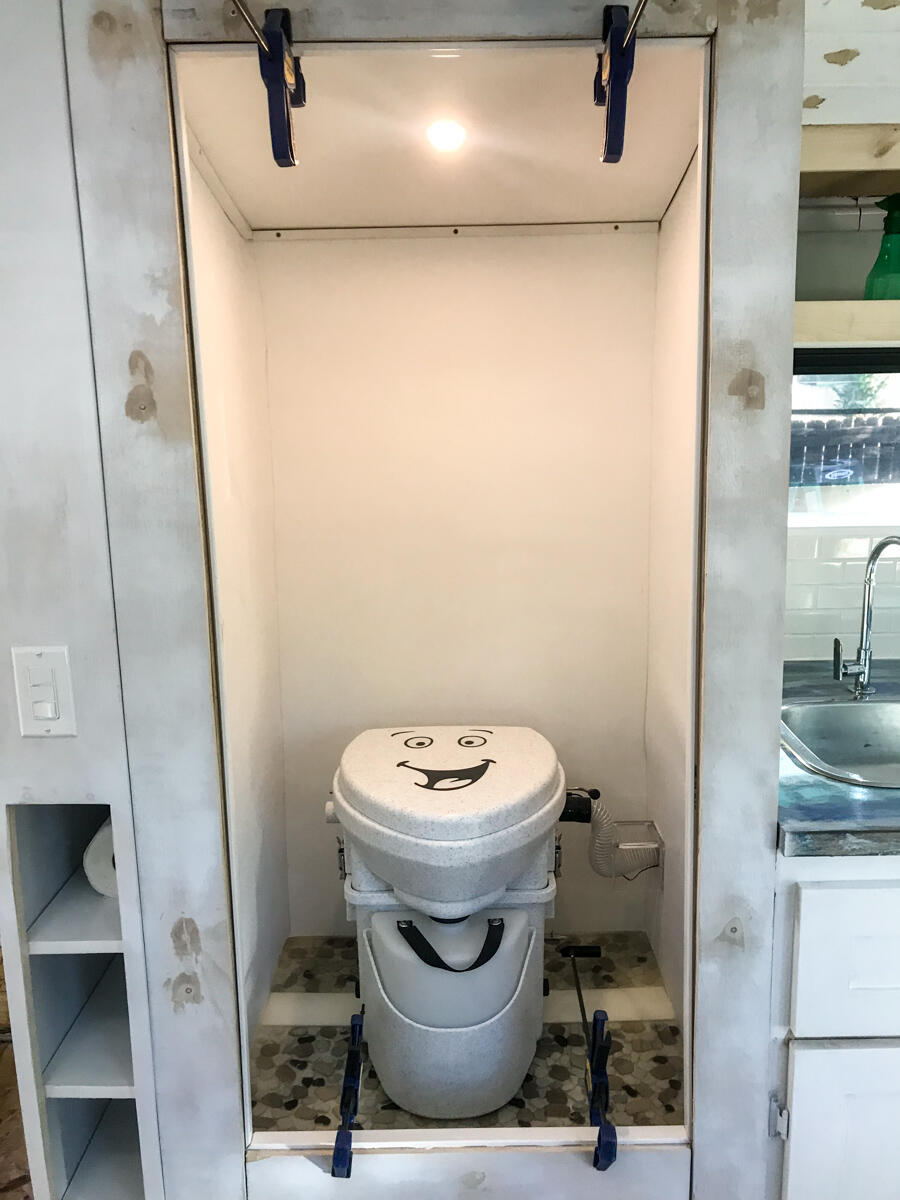
Step 3: Install polywall on the inside walls and ceiling to waterproof it.
Step 4: Install the composting toilet.
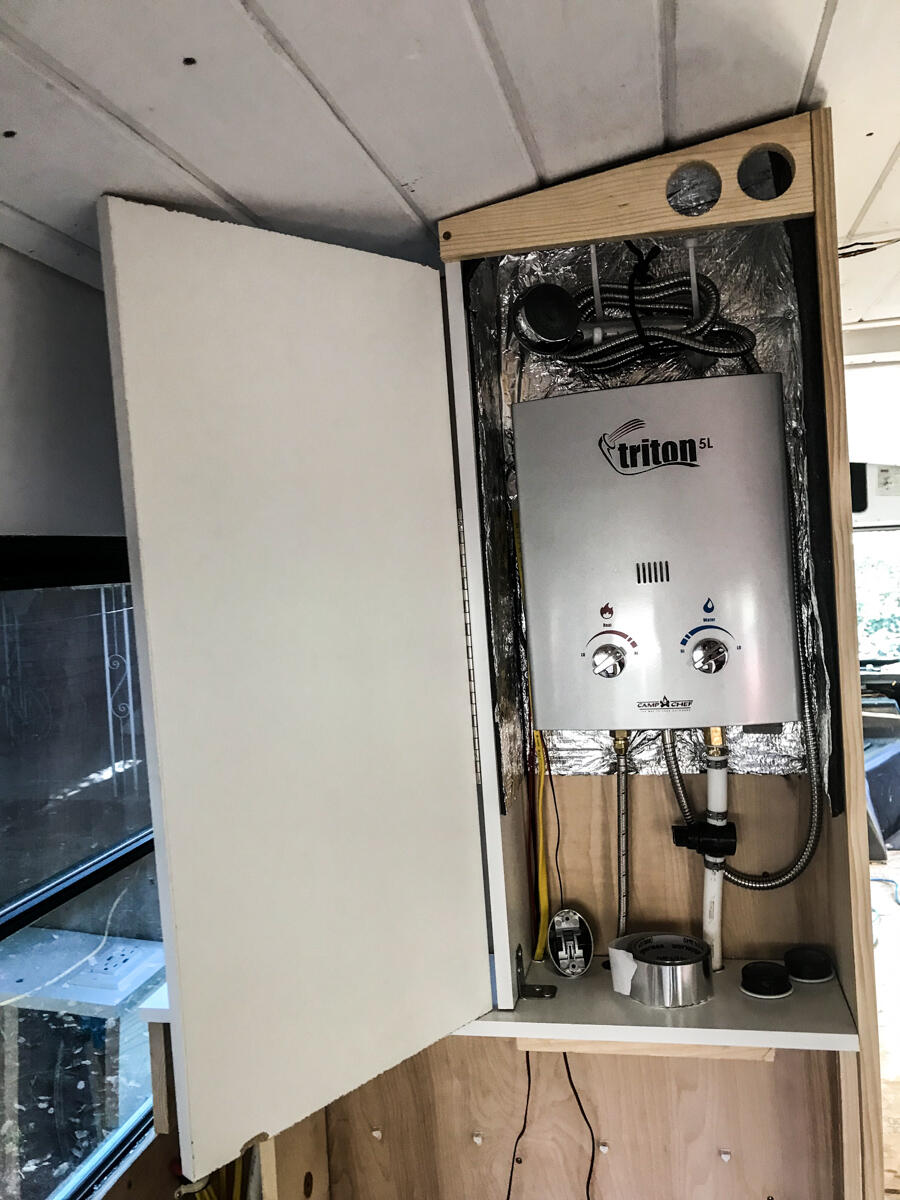
Step 4: Install the hot water heater for the 4-5 minute hot showers.
Bonus step: Add some storage and shelfs in the section between the bathroom and what will be the bedroom:
Step 5: Add mirrored french doors. This has not happened yet, and is next on the list.